Category: Language

More water to bats

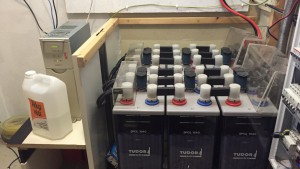
Haha today put more water to batterys, it took abit over 10liters  to fill em from min to max 🙂


It seems need maintanence at least once a year, now they are on low use, they consume alot water, on float voltages 🙂

If anyone has technical specs what is factory float voltage for this kind water flooded batterys please comment, i have keep em 13,4V and boosted width solar panel to 13,9. Once a week also charger automatic bring them up up to 14,4V (programmed)

China post bring Mail!

Got this from china postage today:

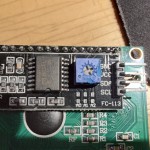
img_6191.jpg 2 x LCD screen SPI /i2c interface.

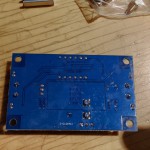
One charger/voltage DC-DC step-down converter


This LCD screens are part of my project creating a homemade KWh meter, ill be connecting arduino to raspberry pi, reason i need arduino is the analog pins. Price of this items was around 5€ on ebay, super cheap china-stuff 😀
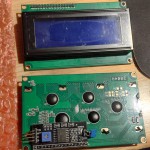
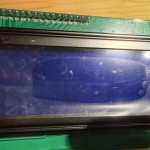
img_6193.jpg img_6194.jpg img_6195.jpg

Arduino has ordered same time but it taking very long time to arrive!

This is for home-automation, about to connect 3-phase Mains + 12 volt systems + charge from solar panel, let the hardware count and bring the numbers into screen how much there is energy coming from sun and how much is spending.
About this i going write more later, as now i cannot even start build it because lack of missing parts 😀


About DC-DC converter

Its a 75W 5A Adjustable LED Driver DC-DC Step-down Charge Module With Voltmeter, it cost about 3,70€ on ebay.
Im about to try this on solar panel tomorrow in a hope to get rid of need charge controller (on small panel)
Charge controller does not work at all with 40cell panel, lol. too much voltage even the manual says 50V is maximum.
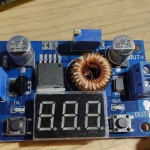
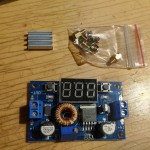
img_6198.jpg img_6196.jpg img_6197.jpg

The DC-DC converter came with small heatsink and nice screws!
heatsink can be deployed to the FET i guess, there is nothing else where i can put it. But there is a char what is best efficiency and if that certain voltage is more than 90% i think no heatsink is needed on that point. The screws where good, i can mount it to the wall afterwards.

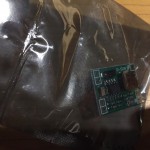
There was a extra component what i dident ordered
img_6192.jpg

It is step down converter 3A one, i know this because i have few of them already 😀
Have no idea why it came on same packet, well it is free stuff, why not!

Earlier came
img_6199.jpg img_6200.jpg

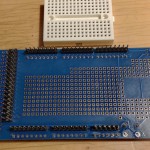
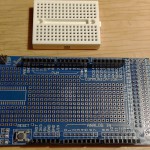
A proto board for MEGA (Arduino)
Oh yeah i need this for doing connections for HAL-Sensors and current transformers.

Seems it came with a small white proto board, what is not needed. its nice to have extra stuff 🙂 i don’t complaint. this white thing was part of the component so it belongs to that item.
Good cheap CLOUD storage up to 10T best cloud storage service

HUBIC Good backup space, works linux/mobile/windows/etc

logo

I have been using now about a year hubic cloud storage, it will give free 25Gig space for you. (been using free plan)

If you want more space, it will cost 50€ for a year or 5€/month for 10T. What makes cheapest cloud ever.

Hubic is part of OVH-Hosting its very big and trusted company, so this is risk-free. its best cloud backup service for the money.

If you are interested trying for free 25Gig account, do it here please, there is a referral program what gives you more space, what more friends you get.


QUICK TUTORIAL: Installing HUBIC on linux and mount a directory via mountpoint:
Im going trough very fast how you get hubic work on linux debian via mountpoint:

apt-get install gcc make curl libfuse-dev pkg-config libcurl4-openssl-dev libxml2-dev libssl-dev libjson-c-dev libmagic-dev
# IF YOU GET ERROR NOT FOUNT LIBJSON-C-DEV then Change it to libjson0-dev!
cd /tmp
wget https://github.com/TurboGit/hubicfuse/archive/master.zip
unzip master.zip
cd hubicfuse-master/
./configure
make
sudo make install

Setting up it:

Go to hubic my account -> setting -> developers -> Add an application -> add name some random text
hubic1

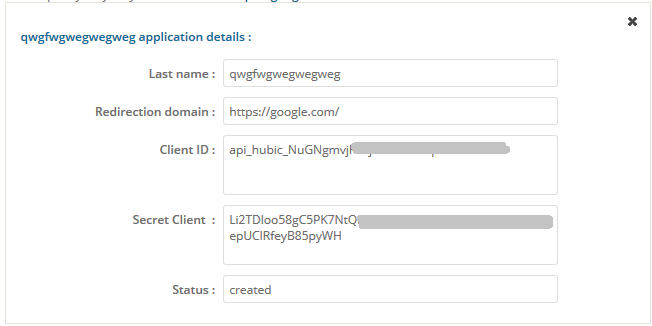
after you add those info press OK. then go details, you get this:

hubic2

Then continue on linux:

at the hubicfuse-master directory where you compiled the program there is a binary what will not install on system its called hubic_token.

./hubictoken

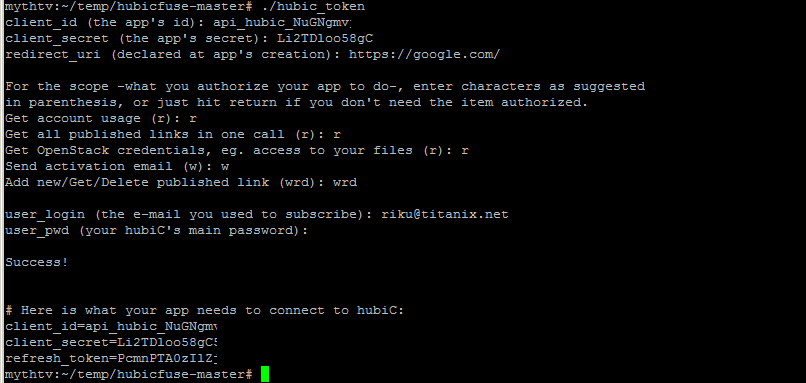
Fill the information:

hubic3

FILL EVERY QUESTION r -> r -> w -> wrd don’t leave it empty or it will FAIL!

now cut&paste those info to config file /root/.hubicfuse

nano /root/.hubicfuse

now mount it:

mkdir /mnt/hubic
hubicfuse /mnt/hubic -o noauto_cache,sync_read,allow_other
ls /mnt/hubic

its done! remember read readme of hubicfuse there is issues on root dir of cloud and renaming files, read the instructions.

REGISTER NOW HubiC it’s free!

If you like this, Please leave a comment 🙂