Category: Computers

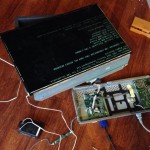
LG FLATRON L22ETG-WF Repair / Mod to LED back-light

Doing this post as English to other ppl understand as well.

POWER SUPPLY:

Okey i have this LG lcd screen what i repaired, there is switching power supply the caps, there was 5 of them what needed to change, there is plenty of instructions how-to change on this unit the parts, so im not going to write about that part. the power supply part num is: PLLM-M602A (15/5 volts) the 604 i think is 12volt version.
IMG_0648 after changing caps i got power to VGA control board.


POWER SUPPLY PROBLEM STILL EXISTS:

After changing caps i put everything up and just connected to pc to test it out and noticed there is no back-light, so i started to search that problem.
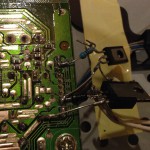
After looking abit i found a burned N-Switch there, part no: P2103NVG (found this info on russian forum by google). Well i started to thing where the hell i gonna get this part.. this problem is found on inverter side what powers up CFFL back-light lamps, so everything else was working fine. Already this monitor started to take more time than usual so i ended up on easier solution, convert the whole thing for use LED as back-light.
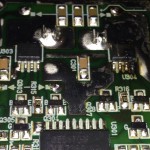
IMG_0645 pic of burned fet, i removed it later to not cause anymore problems


CONVERSION PROCESS PART: dismantling everything

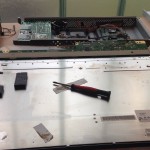
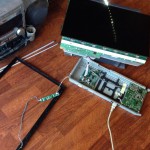
Taking all apart, there is alot videos on youtube about opening a LG LCD monitor. its not rocket science i did not even look the instructions..

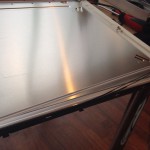
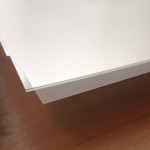
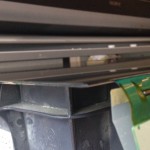
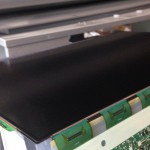
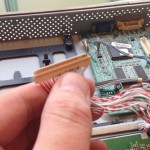
IMG_0653 IMG_0655 IMG_0650 IMG_0649 IMG_0652 IMG_0651 IMG_0646 IMG_0647


CONVERSION PROCESS PART: Installing LED

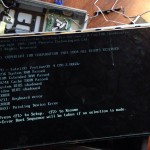
testing that lcd is working first then install the leds.
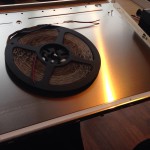
LED are from DX.COM SKU number is 65715 the color is 7000k and wattage is 4,8W/meter

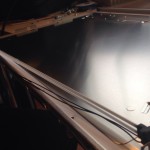
IMG_0659 IMG_0660 IMG_0661 IMG_0662 IMG_0663 IMG_0664


CONVERSION PROCESS PART: Power to LED

This was tricky one, i know already its not perfect.
Connected 7812 regulator with a diode(on gnd) on +15Volt rail to get 12,6volts output for the leds,
using a transistor BD129 to cut power from led when screen is on power safe.
Connected first on “ON” line the transistor signal, but after i changed to rail named DIM so i guess i can dim light from menu of screen, and yes it works. only problem is this transistor base current is alot even a 800 ohm resistor is not enuf, i need later to reconstruct this part.
Other thing lack of current on base there is only 11volt on output this can be fixed in 3 ways: 1. add more diodes to gnd of regulator to raise its voltage. 2. add second transistor to drive the power transistor. 3 change to power fet. Best method is get voltage up to 13volts to get best light.

IMG_0671


CONVERSION PROCESS PART: final product

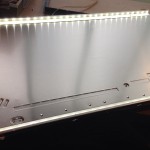
on images you will notice the led-strip there, its not smooth on bottom and top of monitor, this can be fixed by adding other type of strip or adding something to get light better. For me is ok.

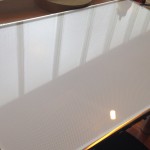
IMG_0673 IMG_0676 IMG_0675 IMG_0674


FINAL WORDS

was it fun?
YES 🙂

was it worth?
Took lot time, but only parts there what really cost money was caps all other parts was already existing.

This was good learning project. i hope this info will help someone else.

Halpa tee-se-itse aurinkopaneeli

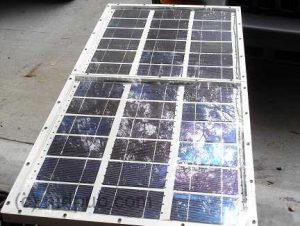
Tossa taanoin löysin yhden tähtitieteilijän sivun, jossa oli hyvät ohjeet tee-se-itse aurinkopaneelille kuvineen. Paneelin hinnaksi tuli vain $104 dollaria.

Paneeli runko on itseasiassa ainot osa joka on itse tehty, itse aurinkokennot on ostettu ebaysta erittäin halvalla (segundaa) tarkoittaen osittain rikki, joku kulma. ei vaikuta toimintaan.

Samalla kurkein vähän lisää, löysin paljon uusia kennoja, jotka oli tosi vähän kallimpia kun noi. laskin, että postikuluineen suomeen tilaus tulisi maksaa  alle 200euroa (n. 170eur) 100kpl 3×6 kennoa, siitä saisi tehtyä jo 2 paneelia. ebayssa myös myydään 108 kenno paketteja. alottelijan on kuitenkin hyvä aloittaa sellaisella paketilla, jossa on ylimääräisiä kennoja jos menee rikki.

Kyse on 60W paneelista, eli ei mistään pienestä. Jo halvimmat 60W paneelit maksaa 400euroa. Tolla alle 200eurolla voisi saada itse tehtyä 2 paneelia, jossa yhteinen teho olisi 120W. kun niitä paneeleita tekis enemmän, niin alkaisi hyöty olla tosi hyvä jo omaan käyttöön.
Täytyy viellä mainita, että yli 100W tehdastekoinen paneeli maksaa lähellä 1000euroa.

Tossa voisi olla jo jopa järkeä. Hinnat alkaa olee kohdillaan. Tässä on myös hyvä puoli se, että voi itse tehdä paneelin suomen olosuhteisiin. Ja kaikesta parasta vihreäää sähvöö 😀

Ai niin sittenkun sais viellä naapuri hakkaamaan pari mäntyä pois eteläpuolelta, niin olisi itselläkin hyvät olosuhteet. Tilanne on nyt niin huono, ettei edes sateliitti(TV) näy 🙁

Omani MythTV PVR nauhoittava tietokone

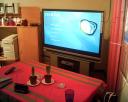
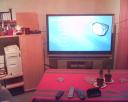
Kaverini tossa pyysi ottaa kuvia mythtv:stä, otin siitä nyt sitten pari.

hpim0030.jpg hpim0027.jpg hpim0028.jpg hpim0031.jpg hpim0029.jpg
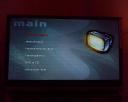
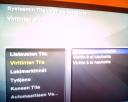
screenshot1.jpg screenshot2.jpg screenshot3.jpg hpim0033.jpg


MythTV koneen kokoonpano:

  • AMD athlon 1000+
  • 512M RAM
  • 2 Gig kovalevy juuri / käyttöjärjestelmää varten
  • 20 Gig / 120 Gig kovalevy /nauhoitukset
  • 2x saa7134 Tuner korttia DVB-Tdigivirittimiä maanpääliseen verkkoon.
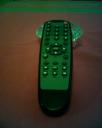
  • Kaukosäädin TV-Kortin oma.
  • Näyttö/telkkari, 50″
  • Debian 4

Lisäätietoa:
TV-Kortteja varten täytyy olla tietysti oma harava-antenni. (ei kuvaa antennista pimeyden vuoksi) Vahvistin löytynee kuvista.
Telkkariin liitetty suoraan VGA-Johdolla resoluutio 1024×768.
Kone pystyy nauhoittaa ja katsoa nauhoitusta samaan aikaan, tai nauhoittaa 2x eri kanavia ja katsoa(ehkä)
Kortteja saa kaupasta n. 40-50eurolla(LifeView FlyDVB-T). HUOM: Kortti on tosi epäherkkä, jos joutuu tekee antennijohdoille pitkiä vetoja, antennivahvistin on ehdottomasti laitettava ANTENNIN JUUREEN, muuten korttiin ei tule lainkaan signaalia tai on heikko, kun taas normaali digiboksi näyttäis täyttä signaalia.
Tämä kyseinen kortti toimii myös Windows VISTA 64Bit versiolla ja on media centerin kanssa yhteensopiva.

Vanha kone:
Yhä toiminnassa mutta pois päältä,
Kaapeliverkosta pystyi nauhoittaa yhtä ohjelmaa kerralla, kaukosäätimiä 2 erillaista, pystyi käyttää niitä samaan aikaan,
ir-blast lähettää ir-koodia digiboksille, kanavatietoja jne
mahdollisuus Composite video-out / vga liitännöille.
Ohjelmisto: Freevo http://freevo.sf.net
KUVA VANHASTA SYSTEEMISTÄ:
tv1.jpg