LG FLATRON L22ETG-WF Repair / Mod to LED back-light
Doing this post as English to other ppl understand as well.
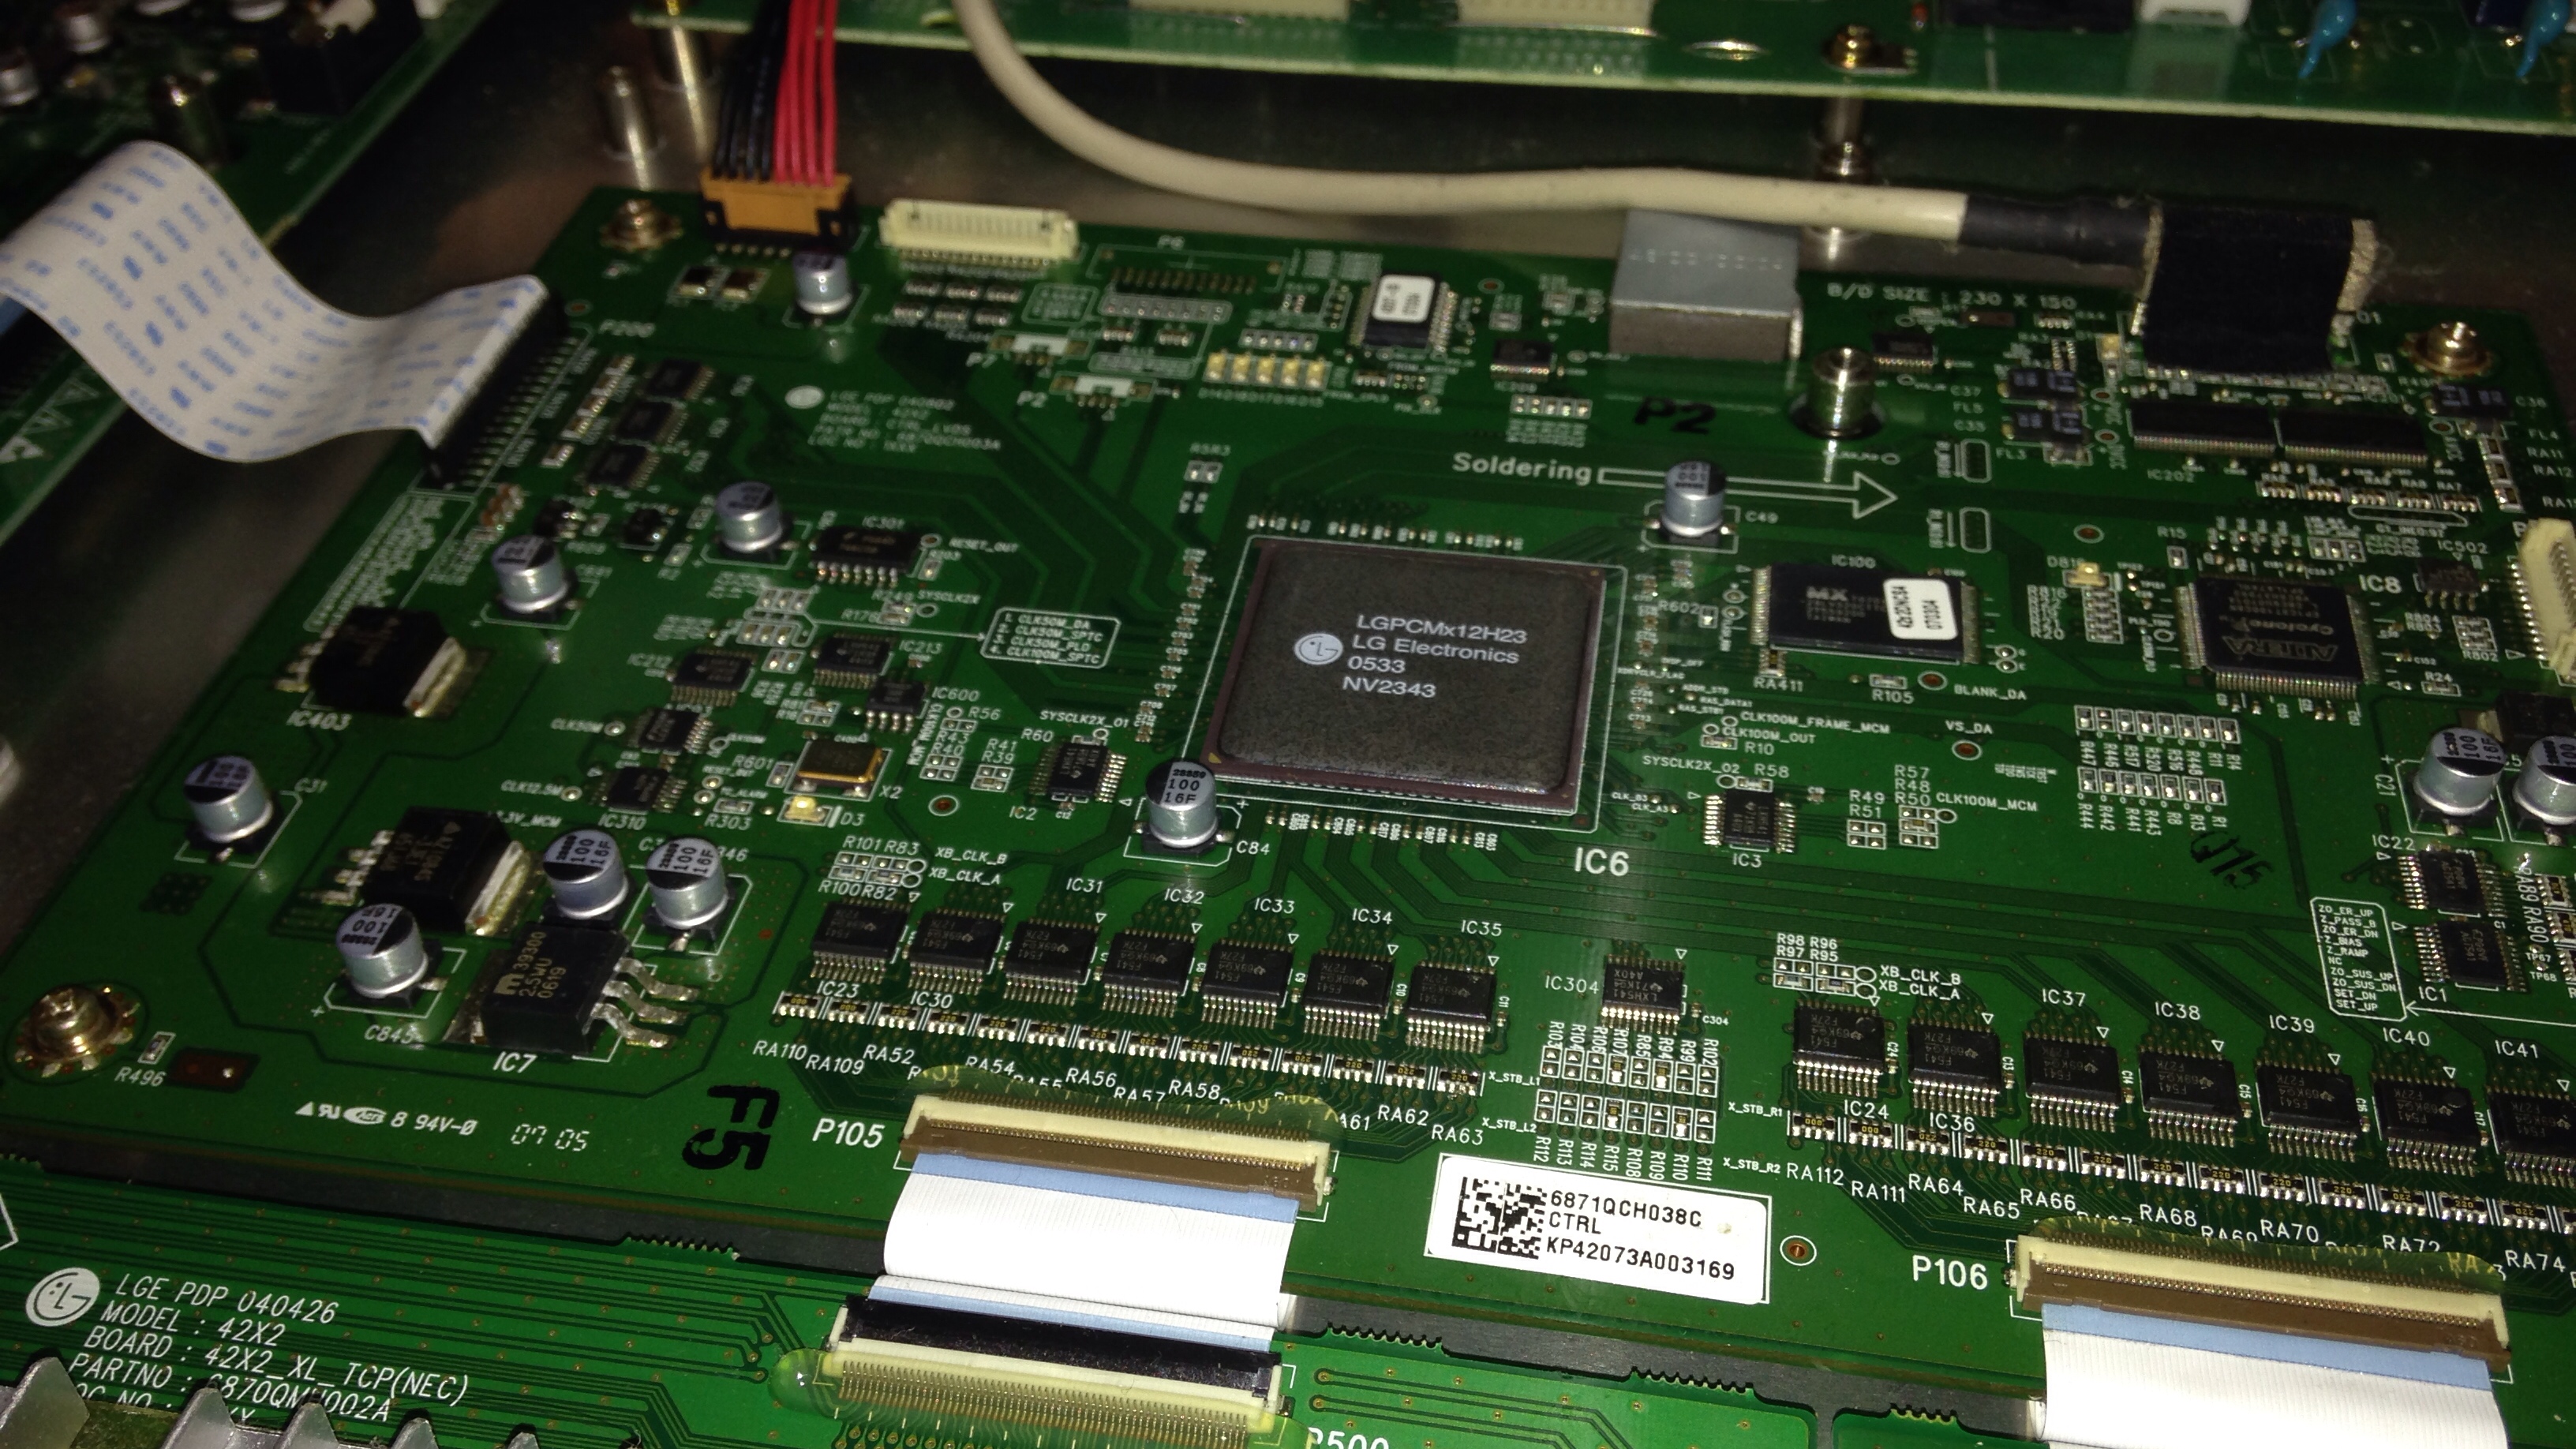
POWER SUPPLY:
Okey i have this LG lcd screen what i repaired, there is switching power supply the caps, there was 5 of them what needed to change, there is plenty of instructions how-to change on this unit the parts, so im not going to write about that part. the power supply part num is: PLLM-M602A (15/5 volts) the 604 i think is 12volt version.
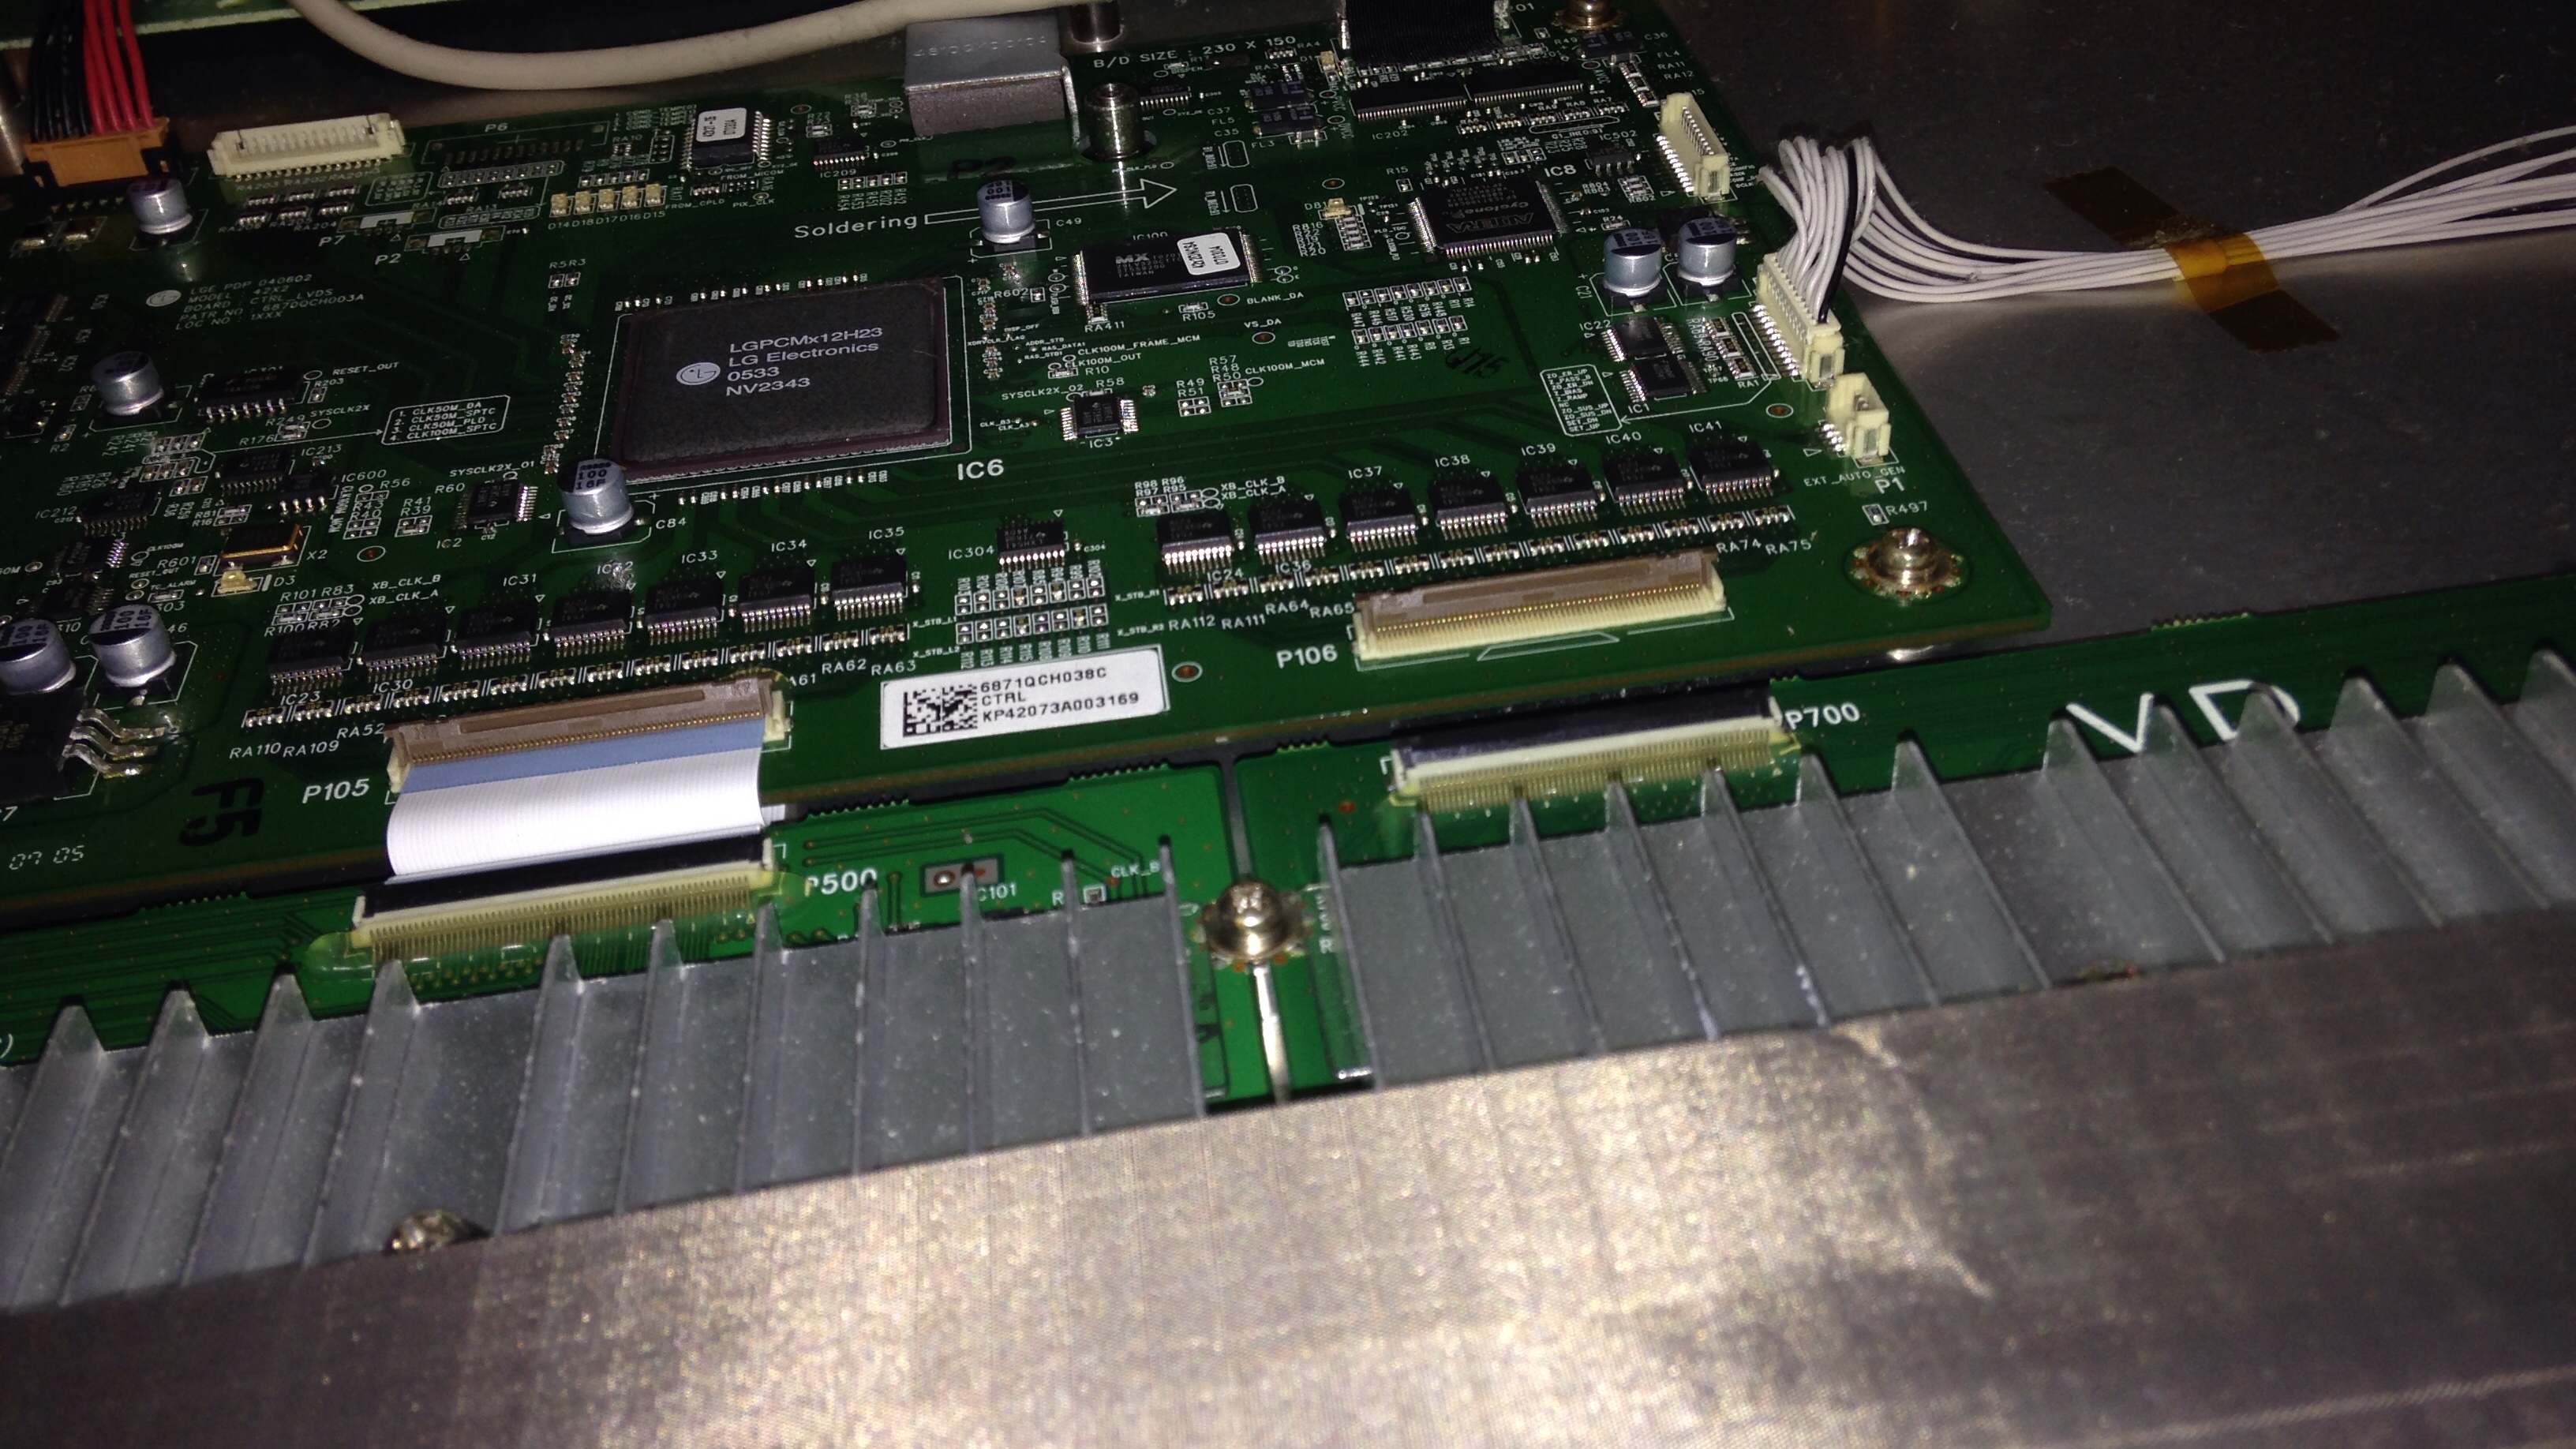
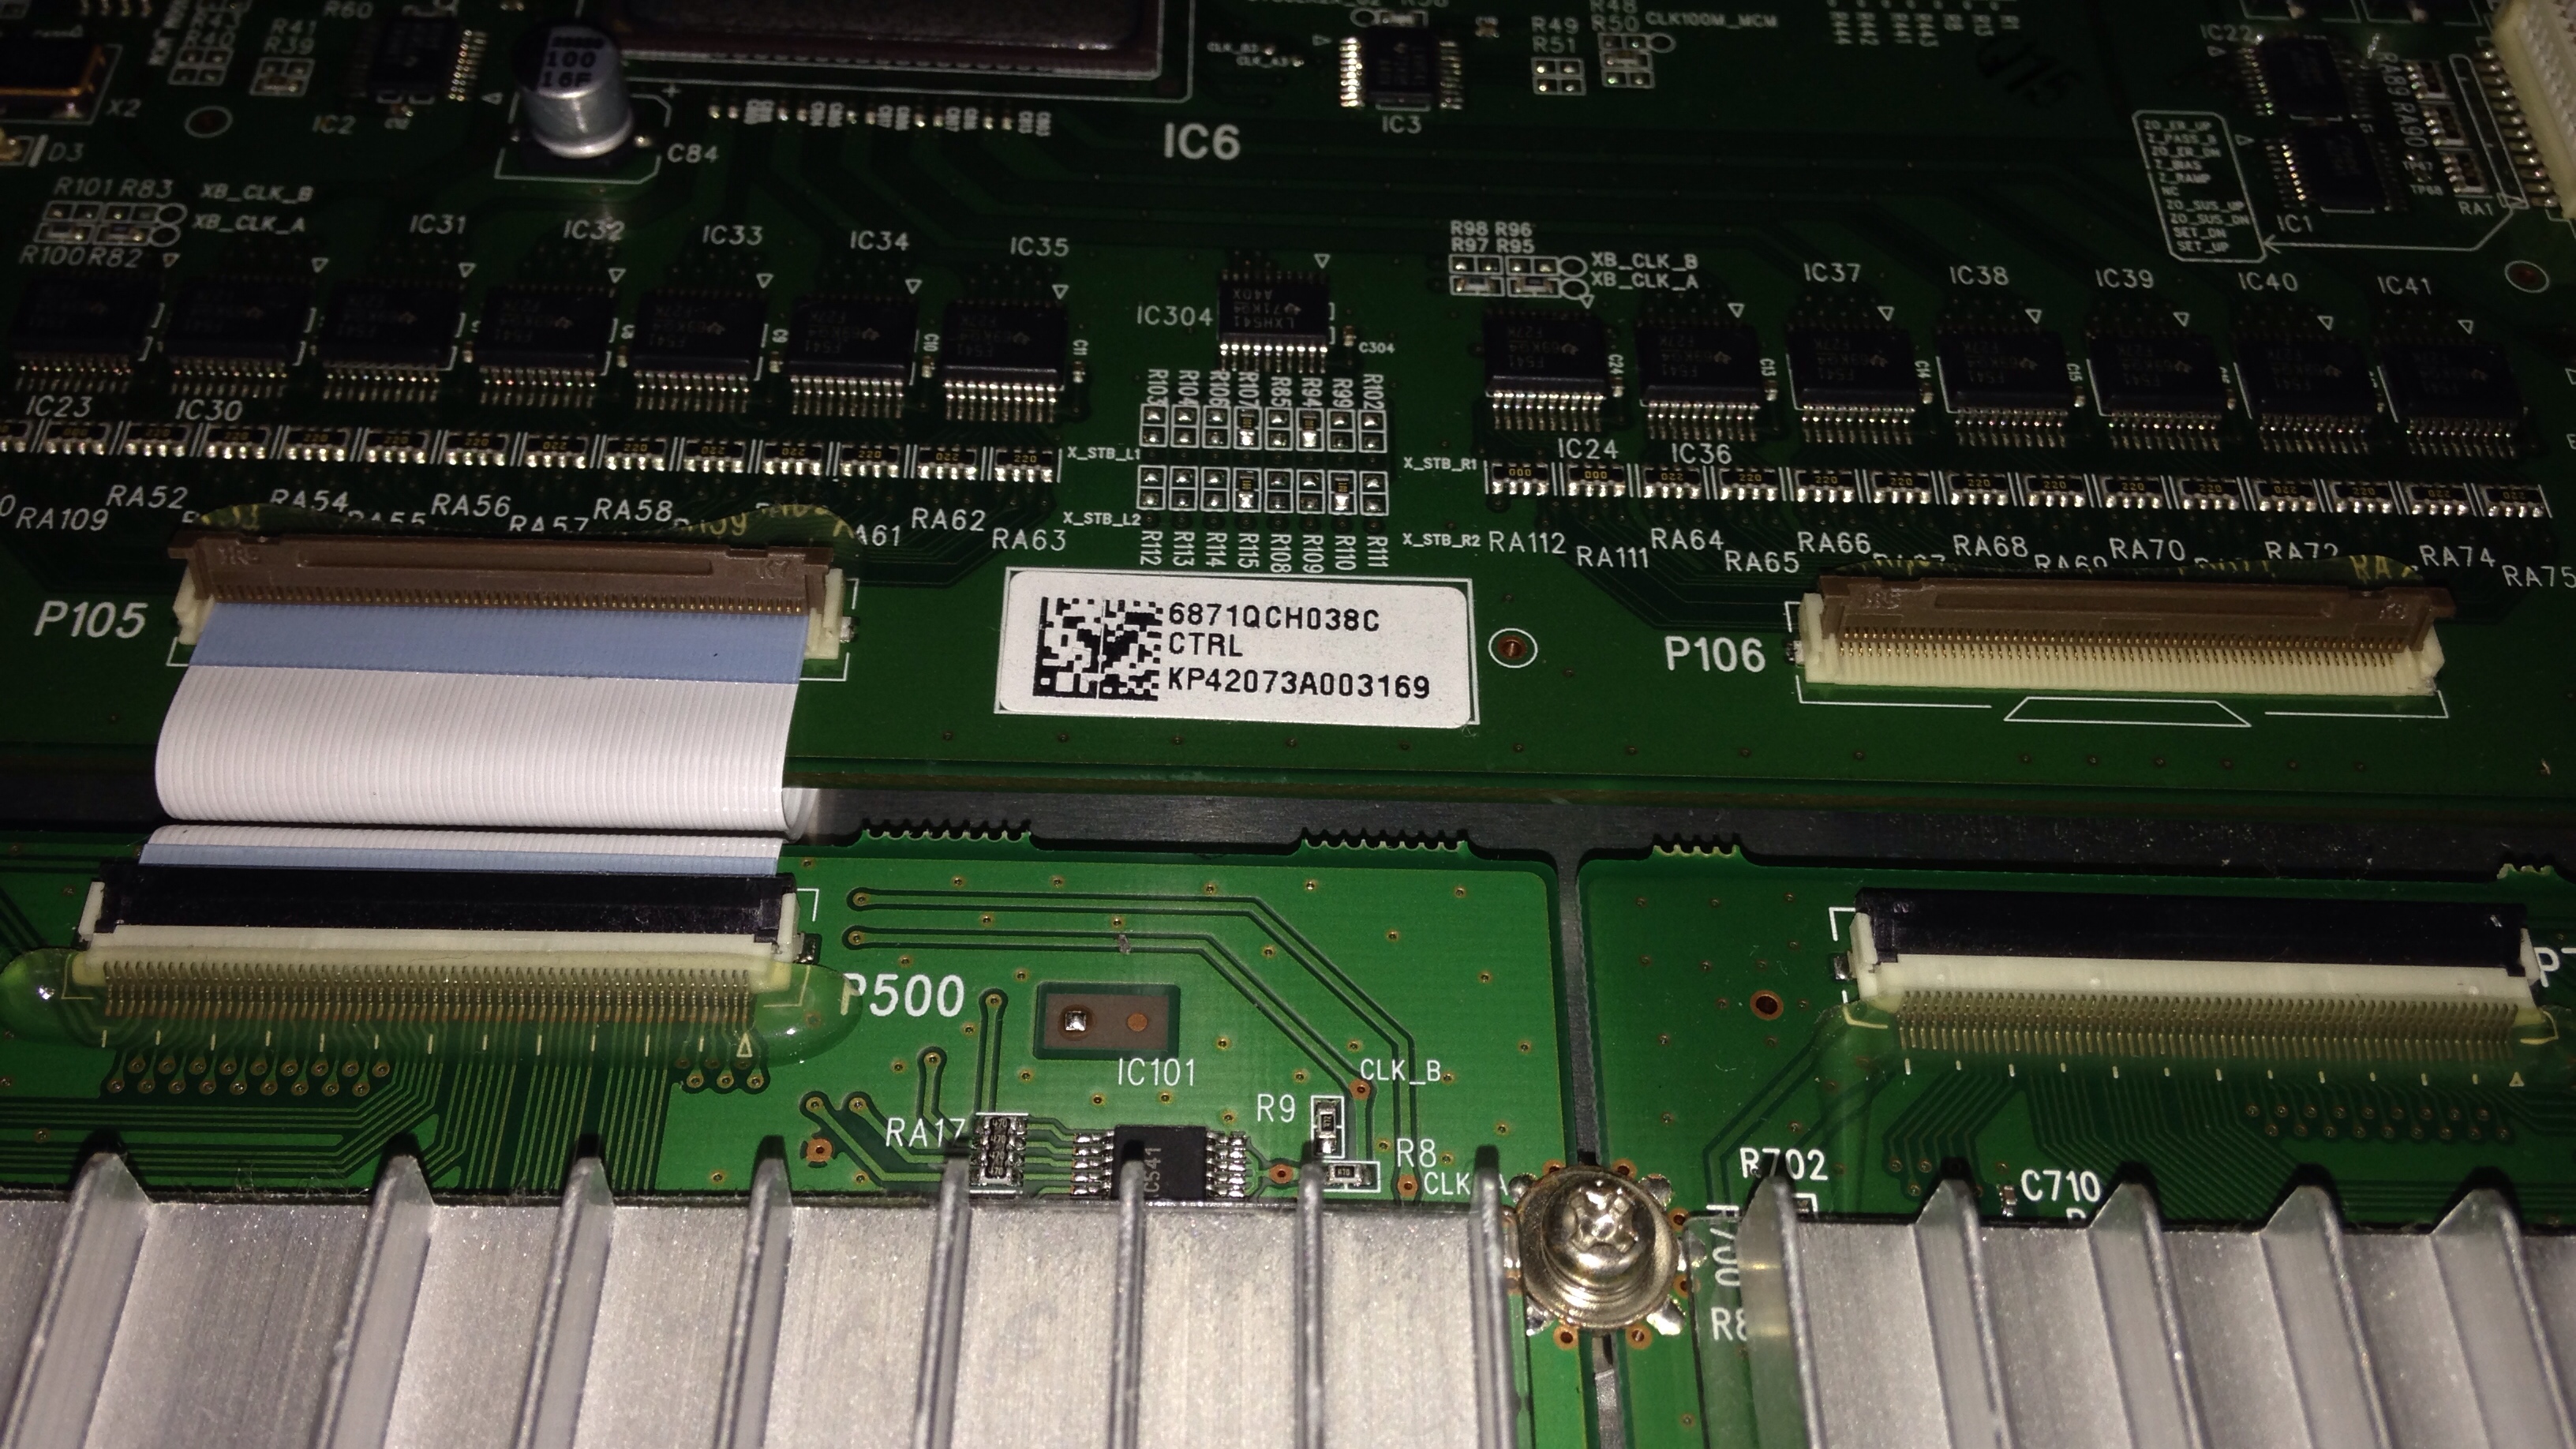
 after changing caps i got power to VGA control board.
POWER SUPPLY PROBLEM STILL EXISTS:
After changing caps i put everything up and just connected to pc to test it out and noticed there is no back-light, so i started to search that problem.
After looking abit i found a burned N-Switch there, part no: P2103NVG (found this info on russian forum by google). Well i started to thing where the hell i gonna get this part.. this problem is found on inverter side what powers up CFFL back-light lamps, so everything else was working fine. Already this monitor started to take more time than usual so i ended up on easier solution, convert the whole thing for use LED as back-light.
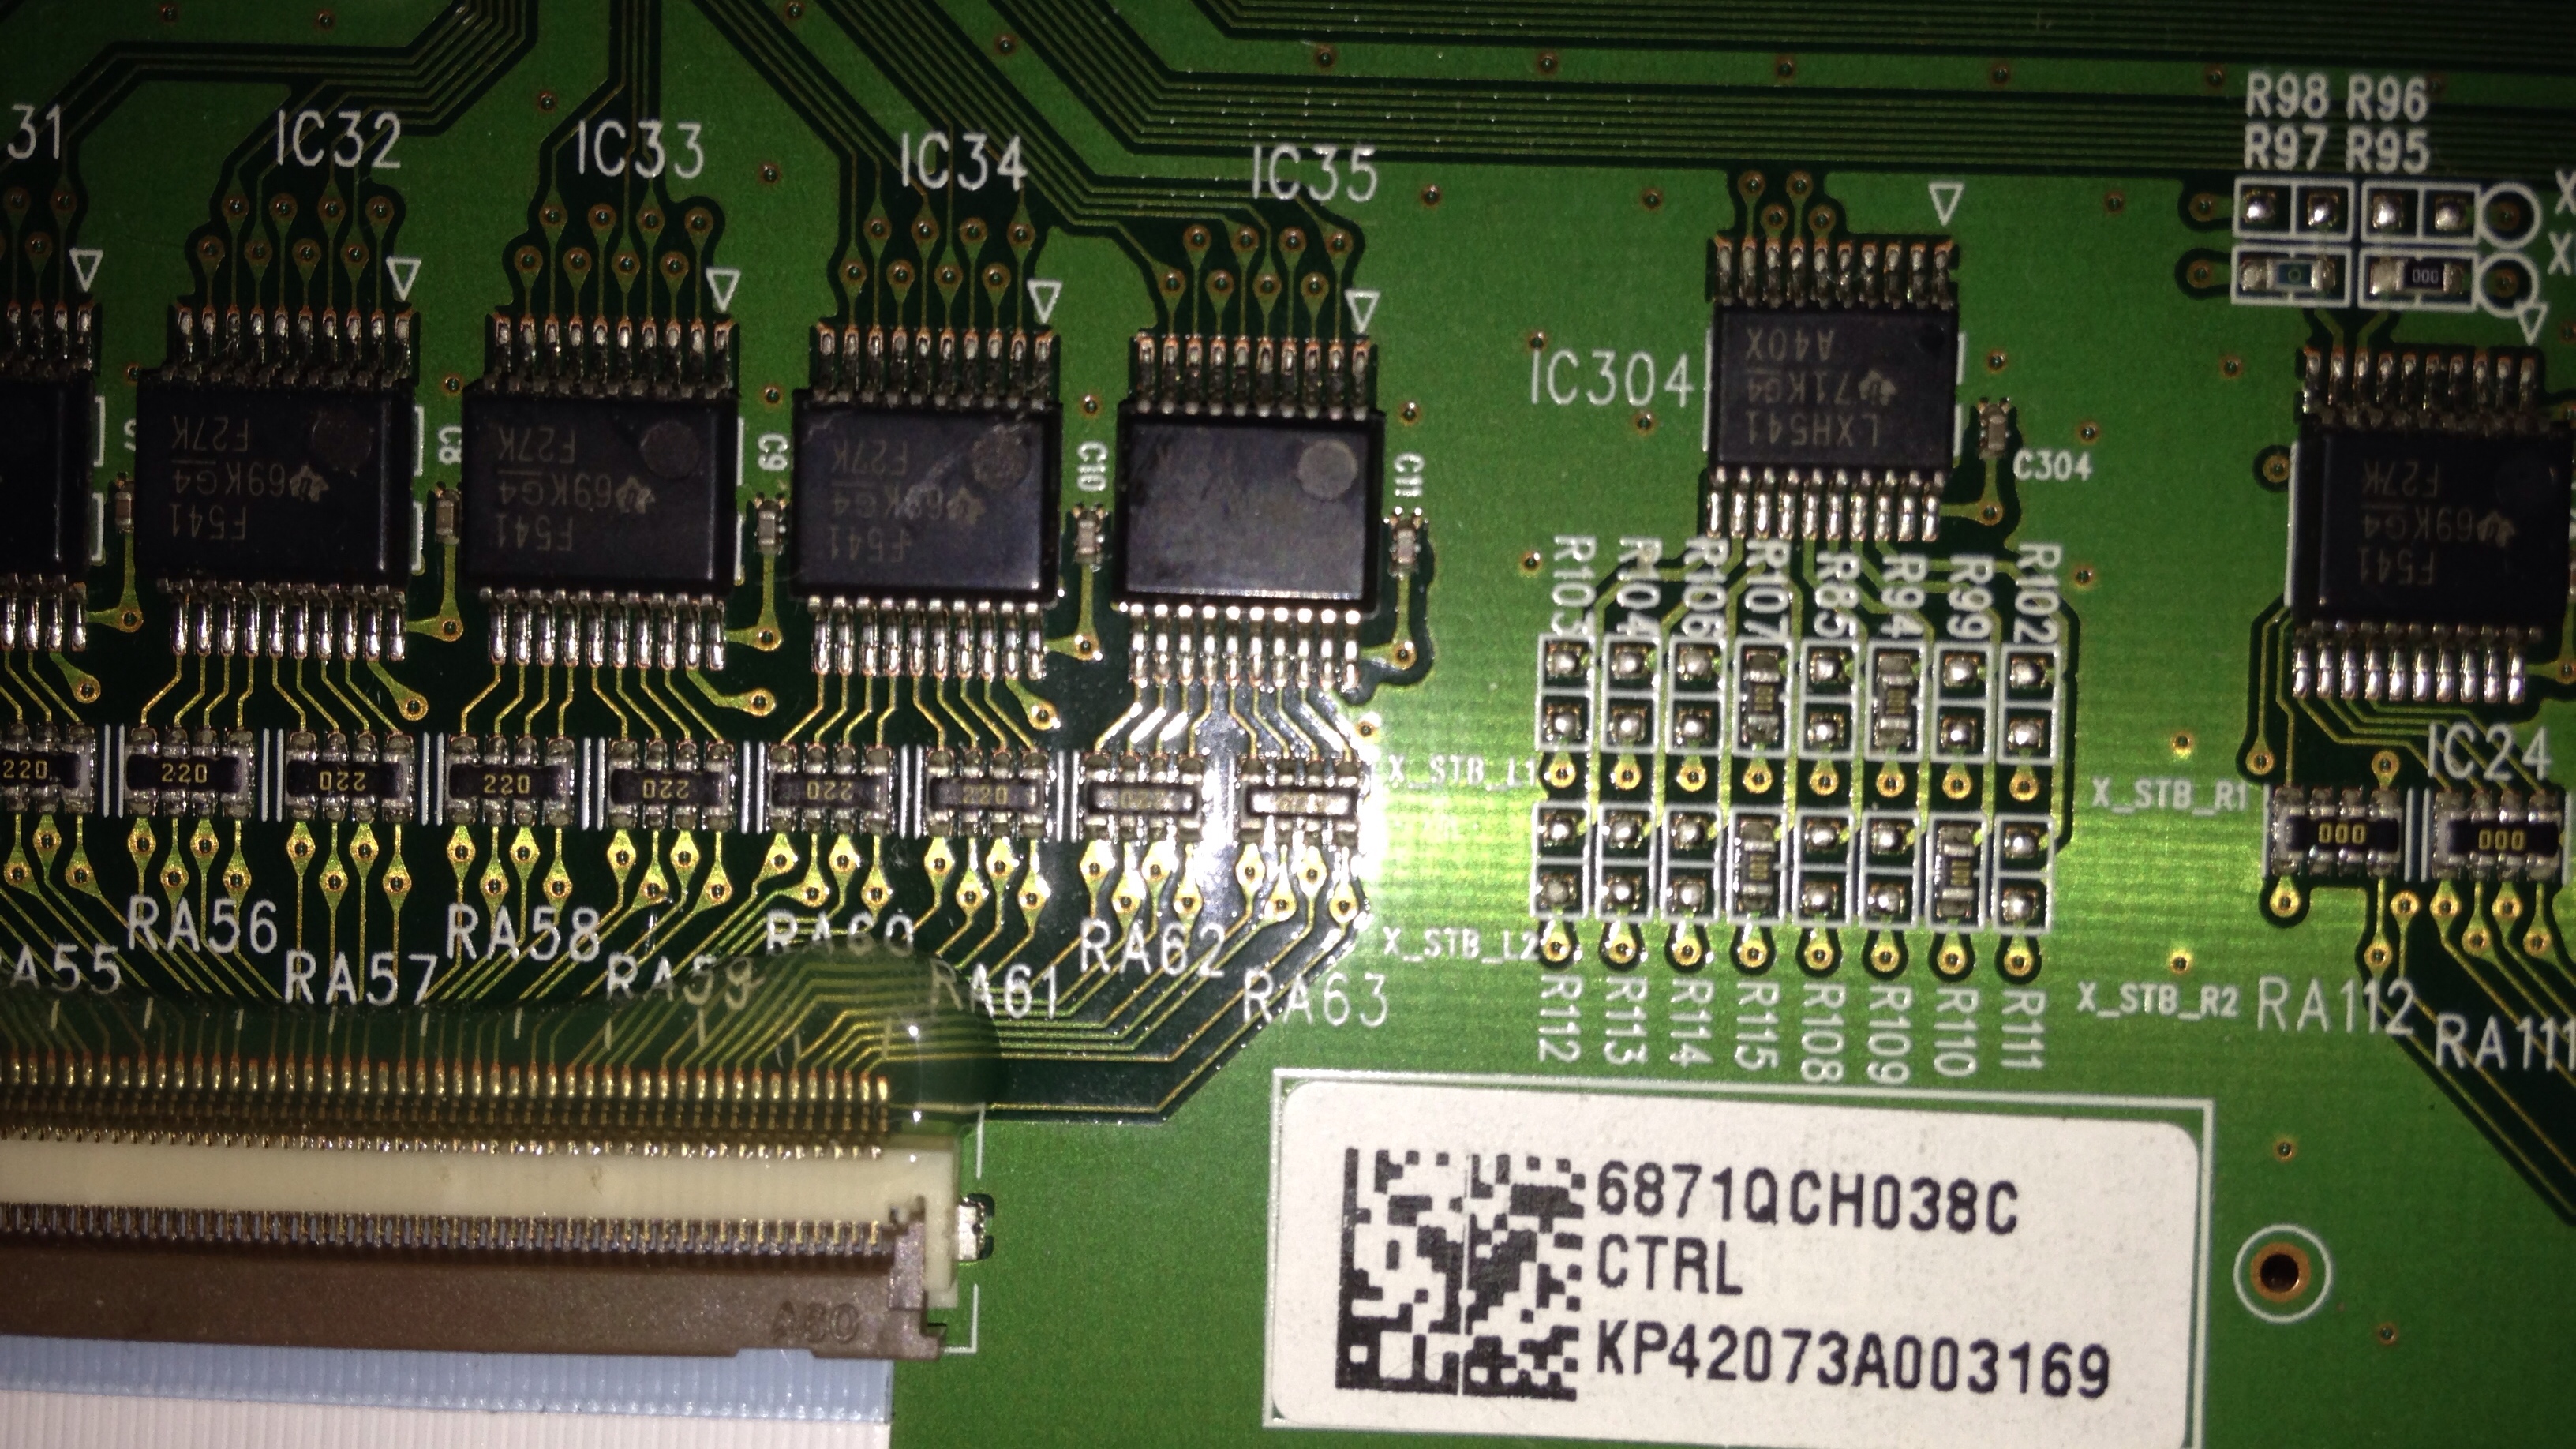
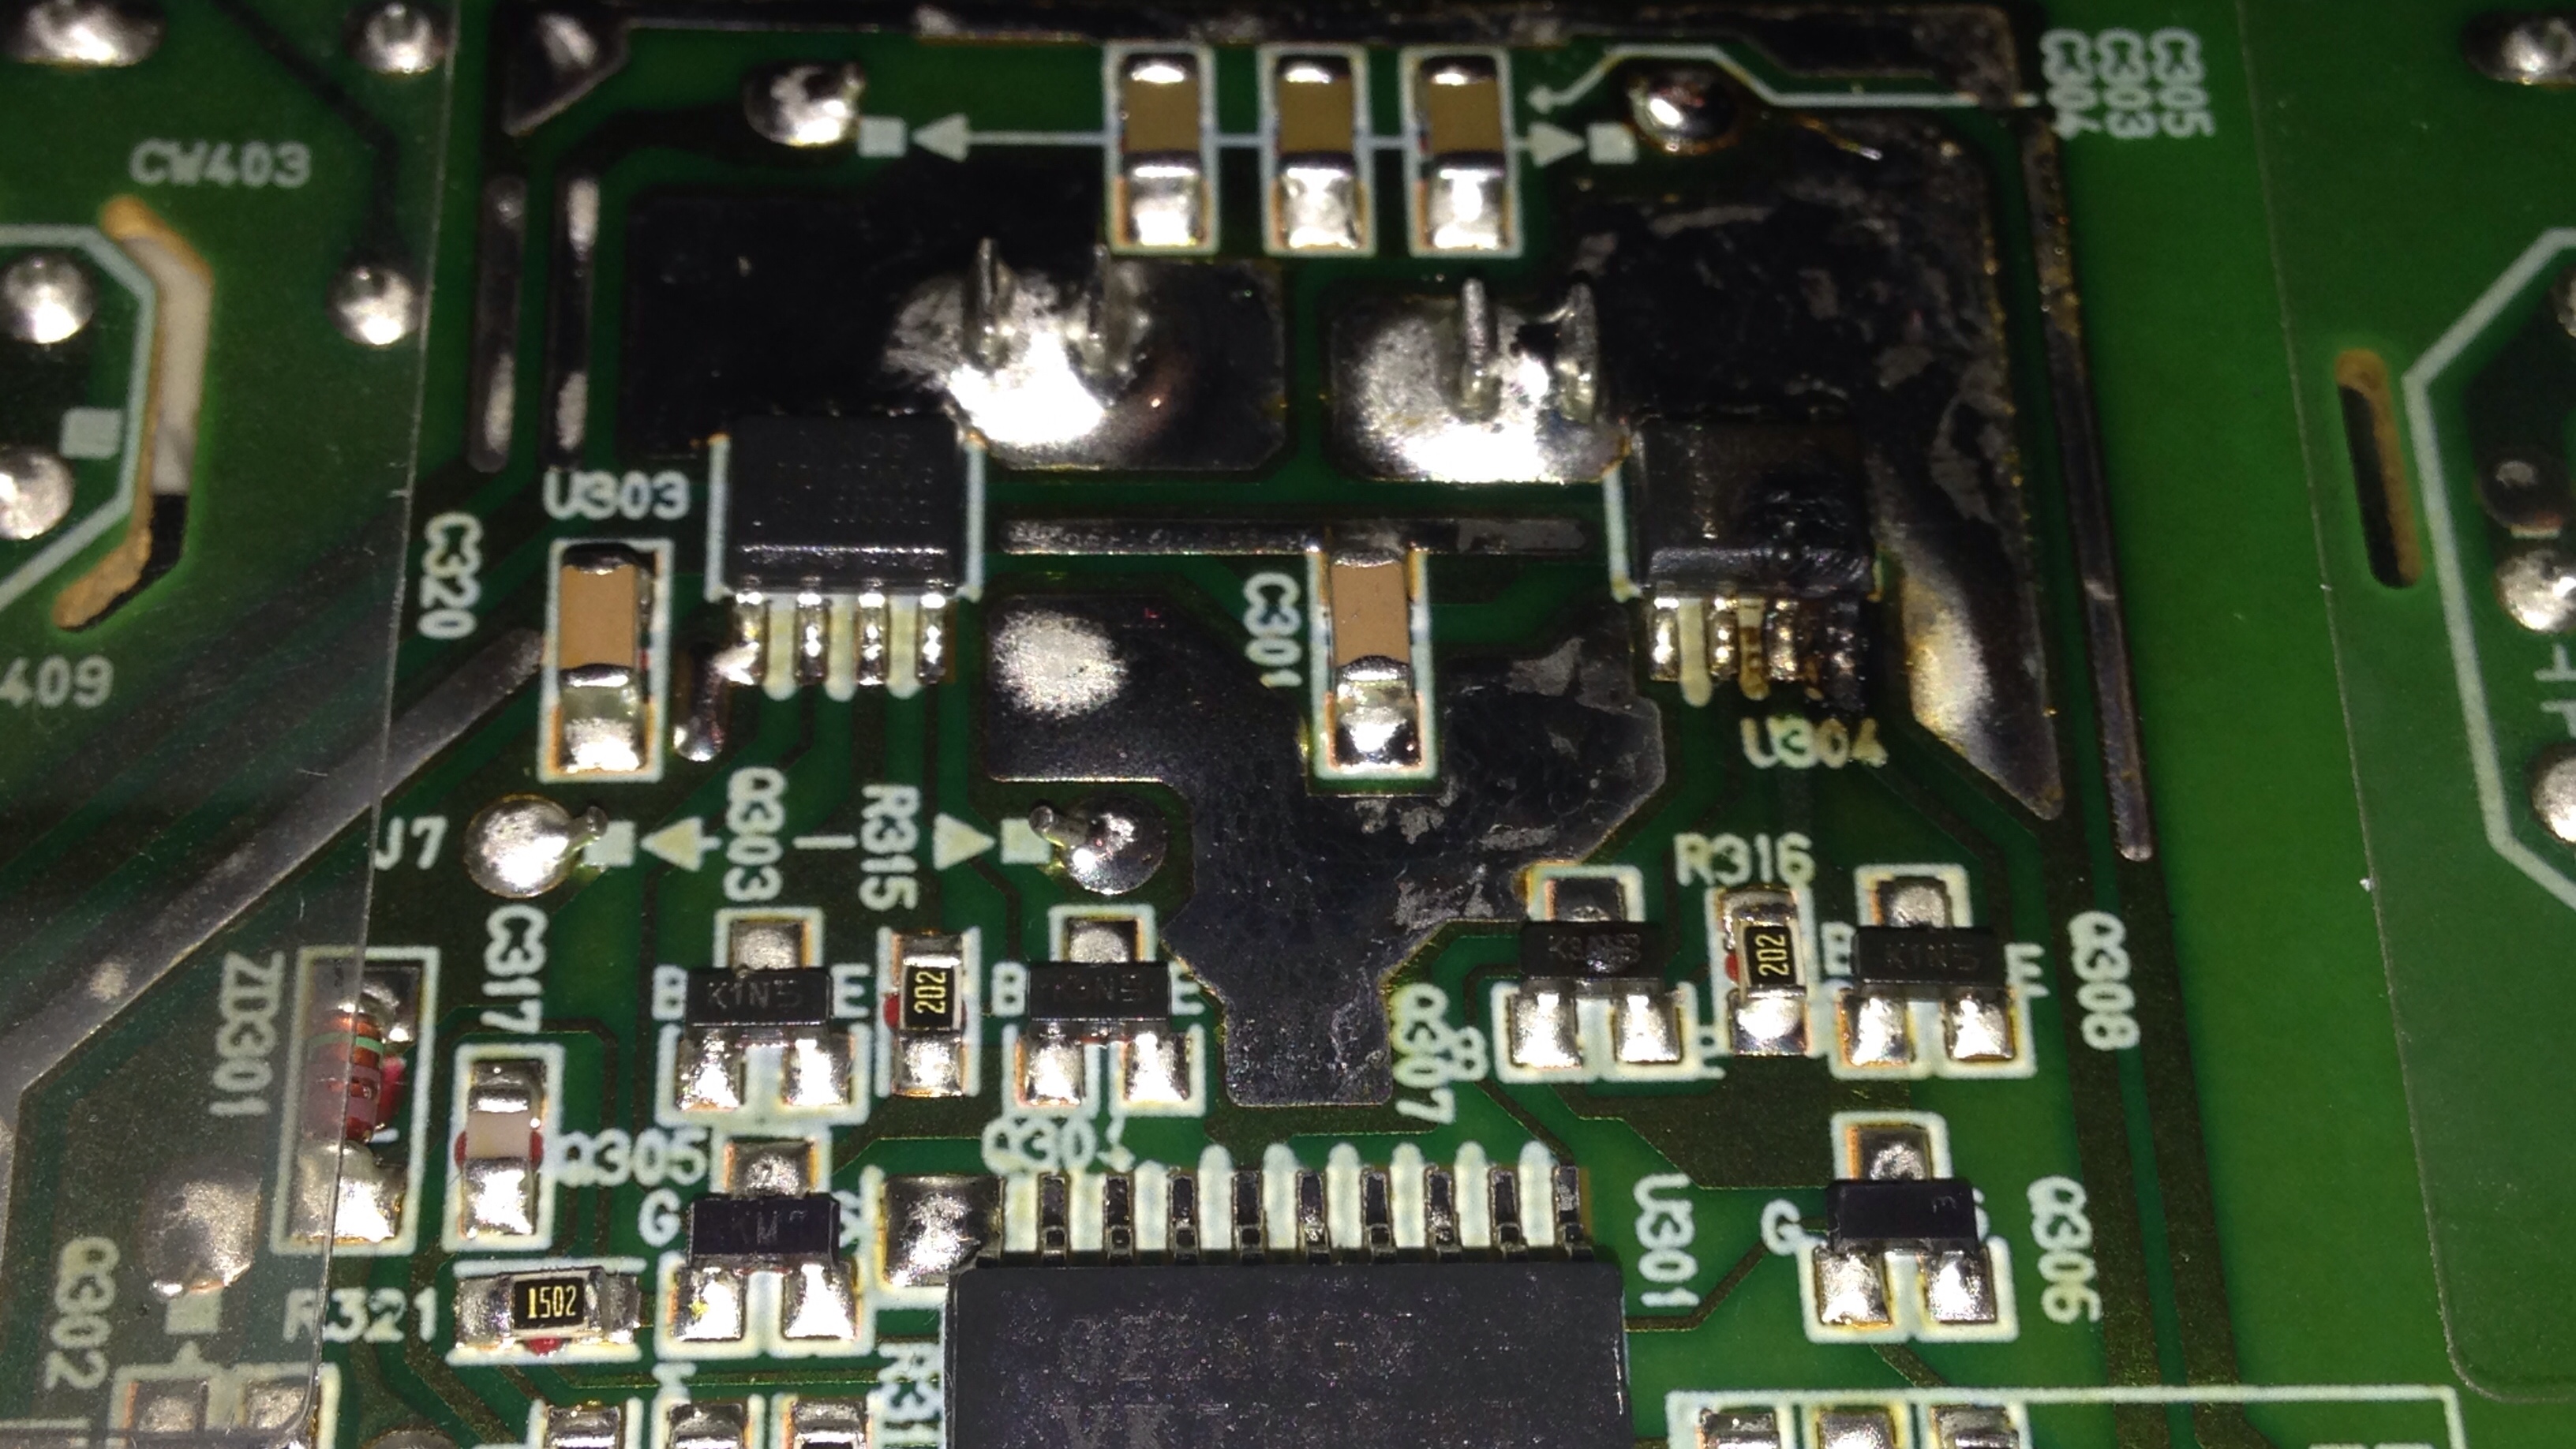 pic of burned fet, i removed it later to not cause anymore problems
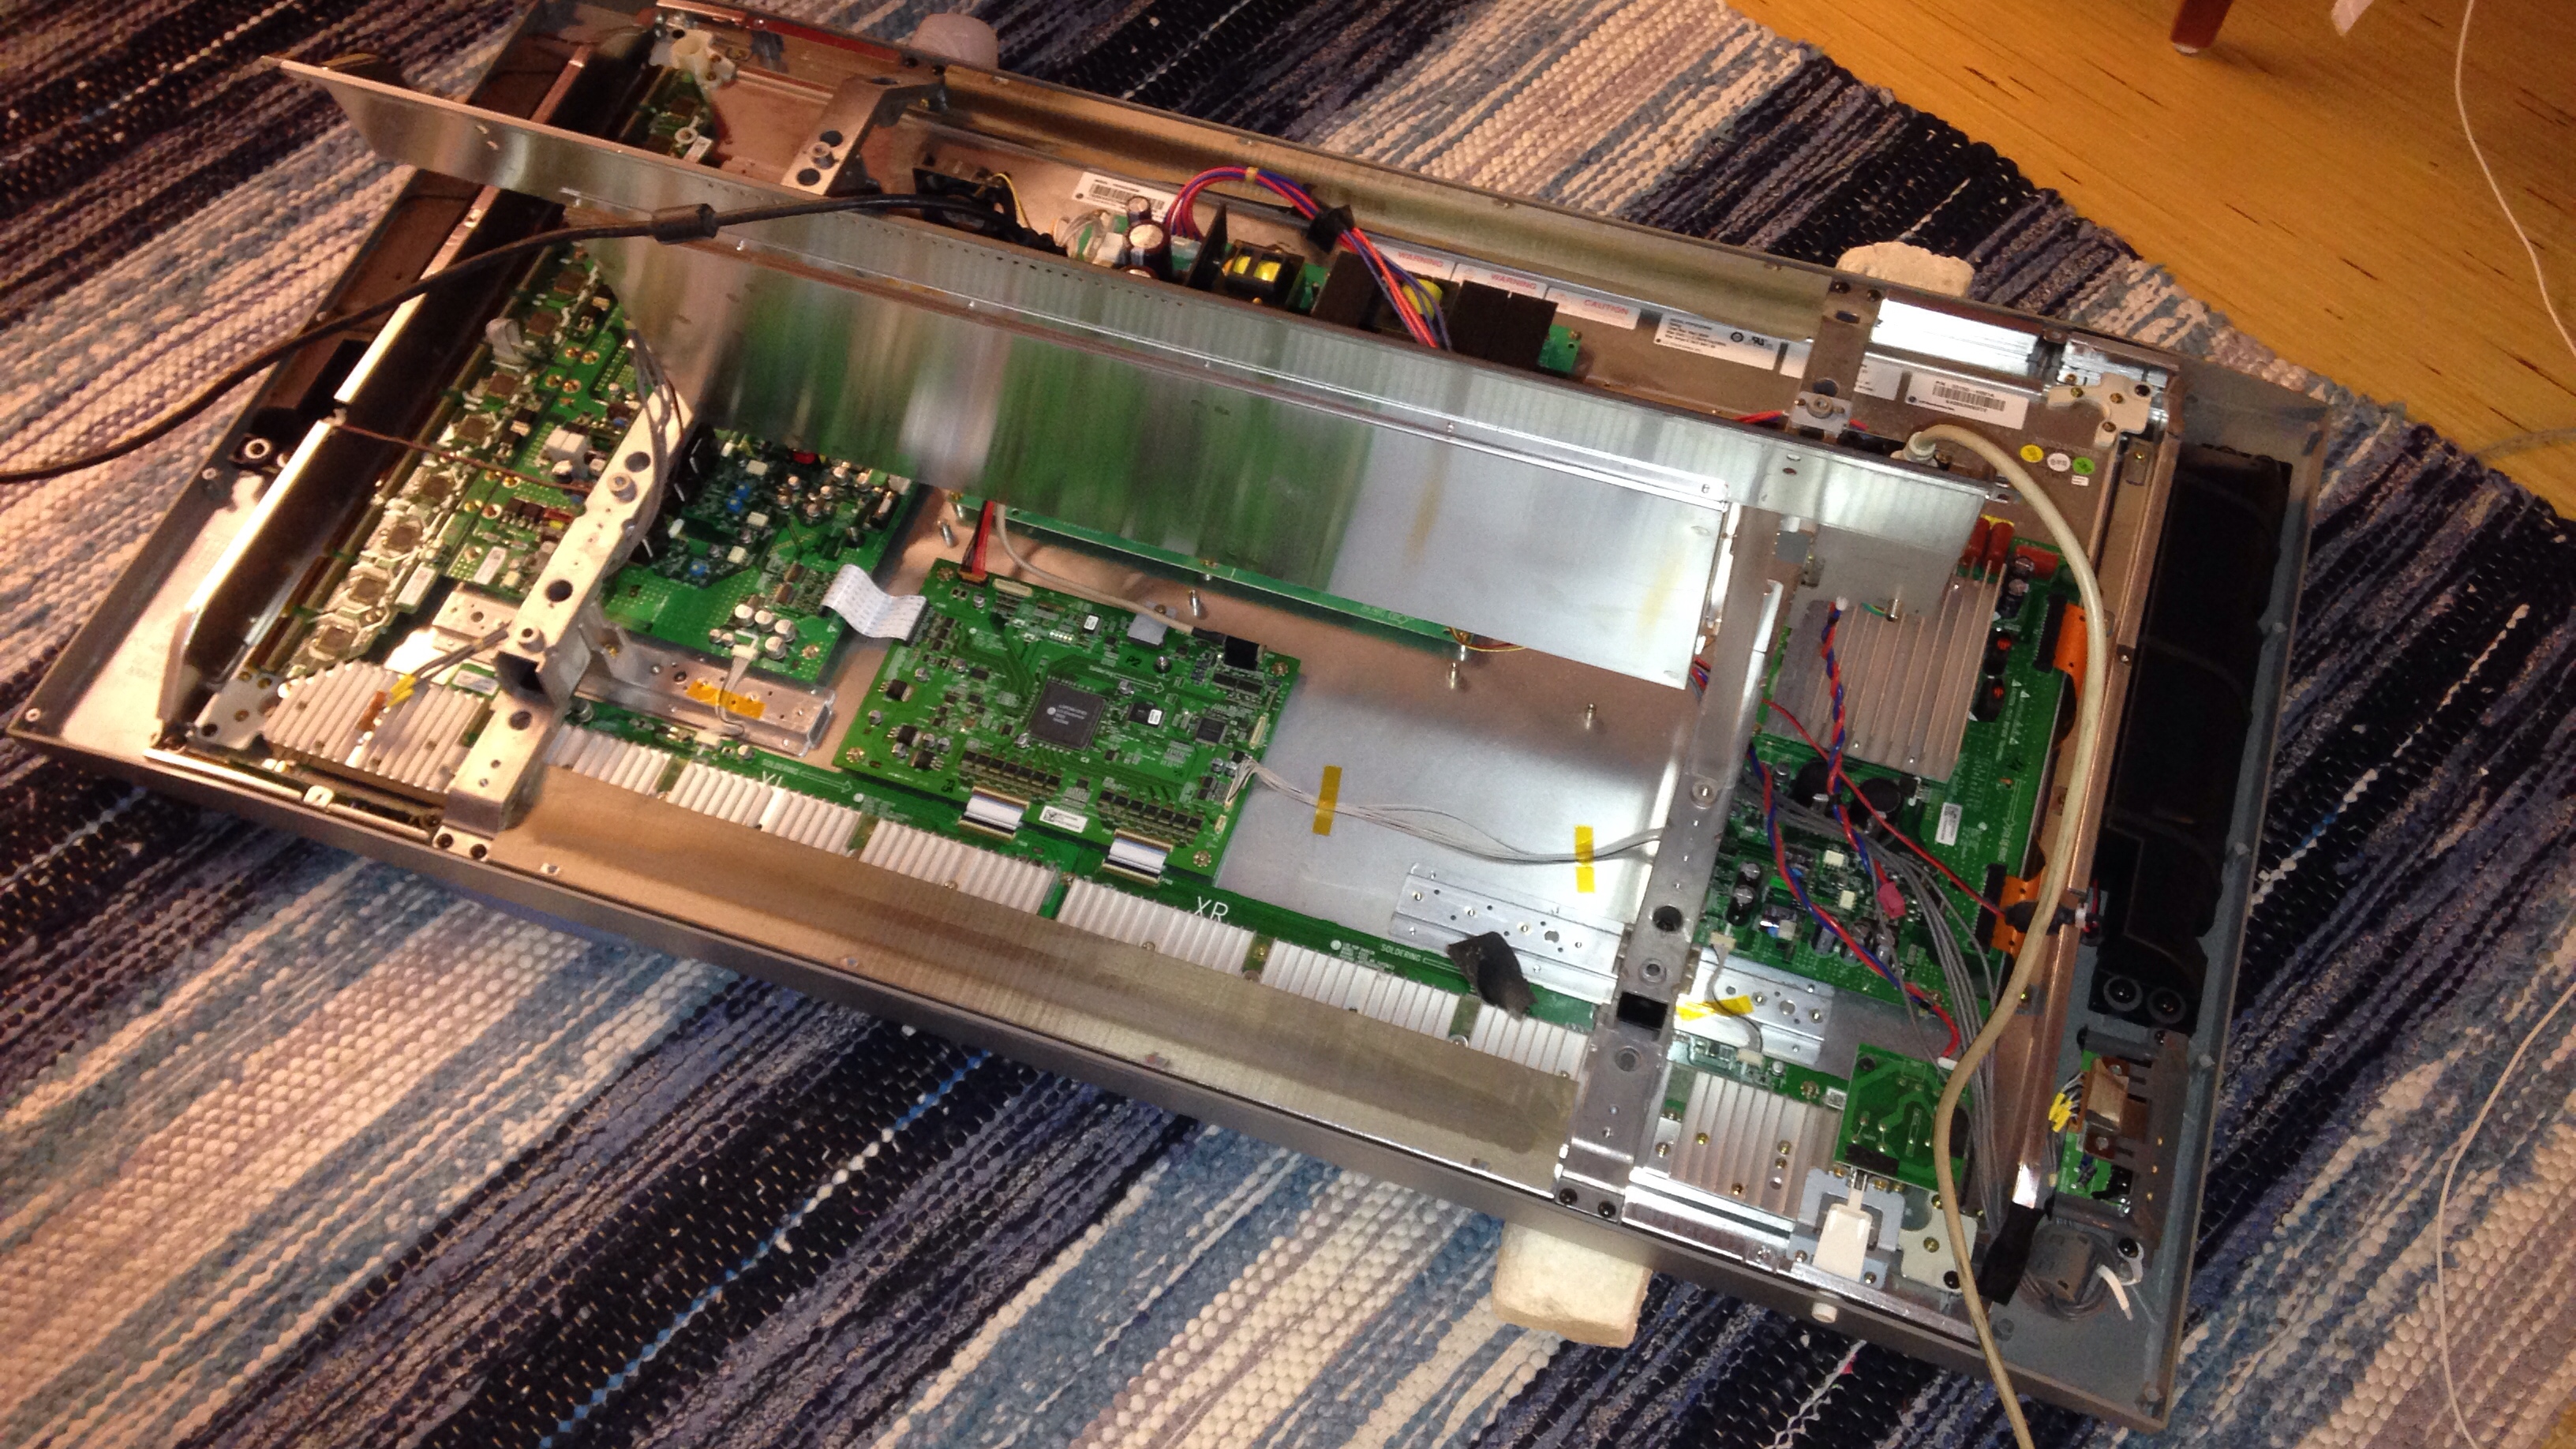
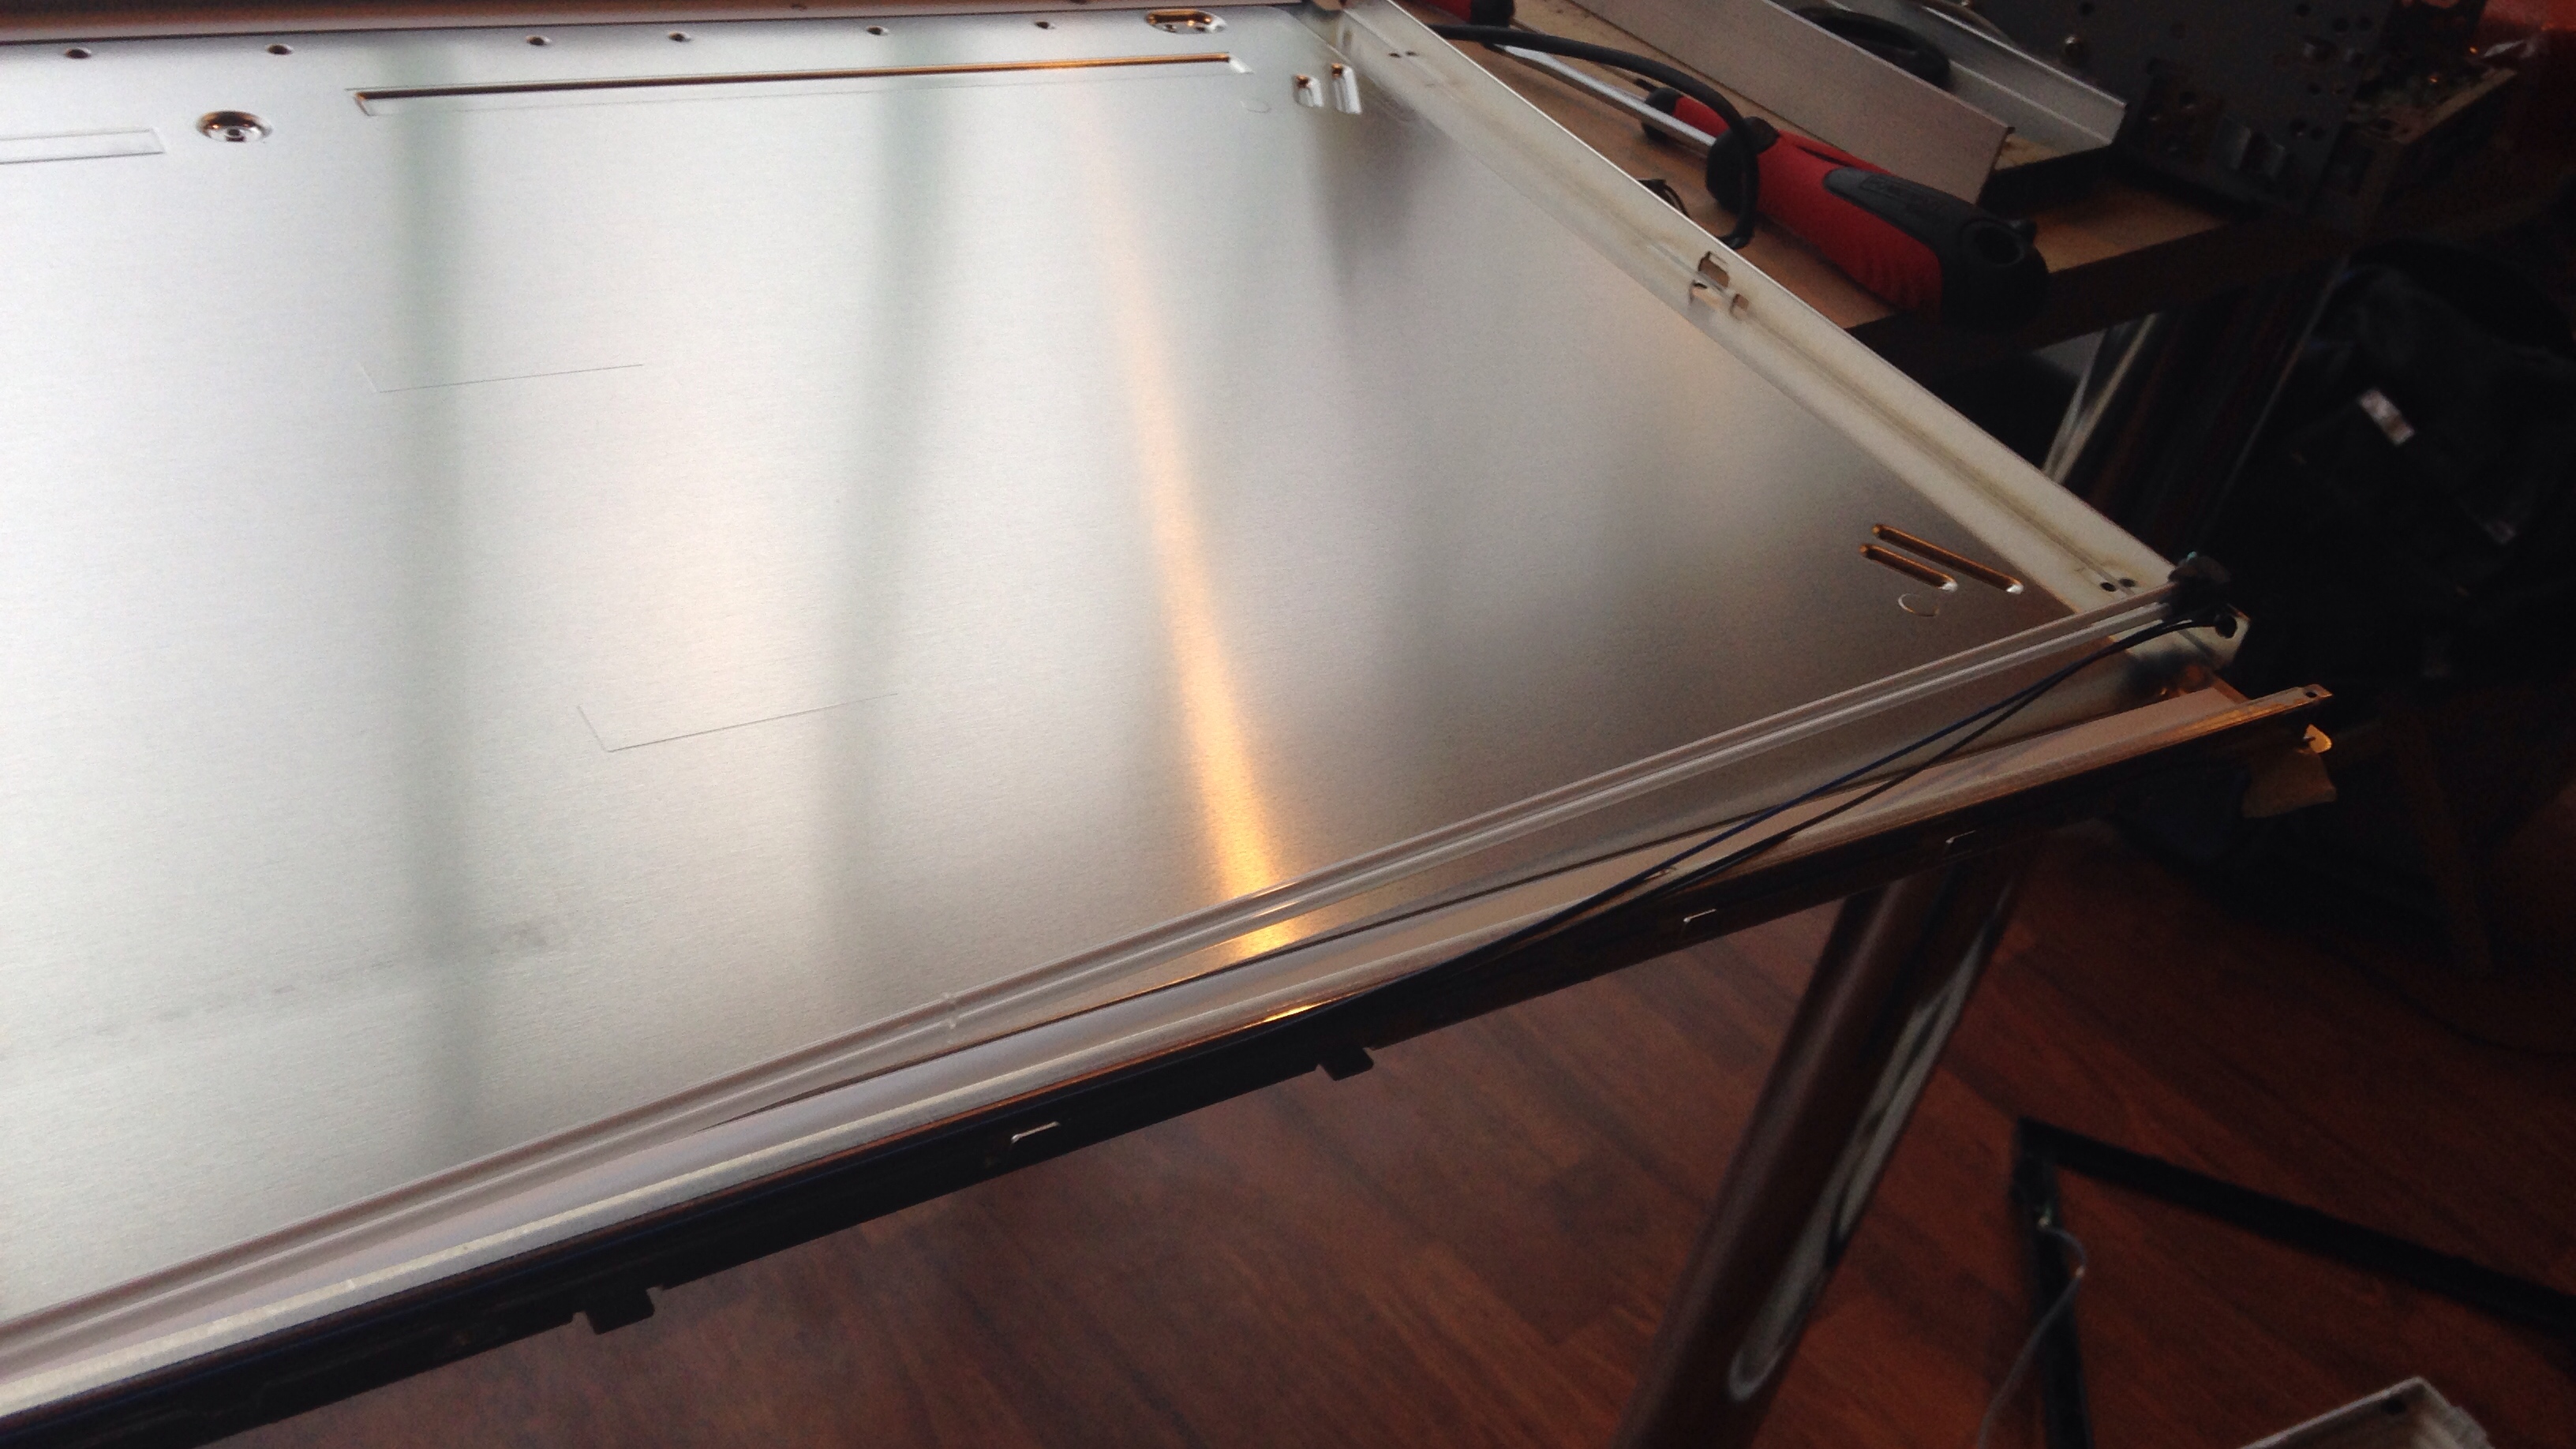
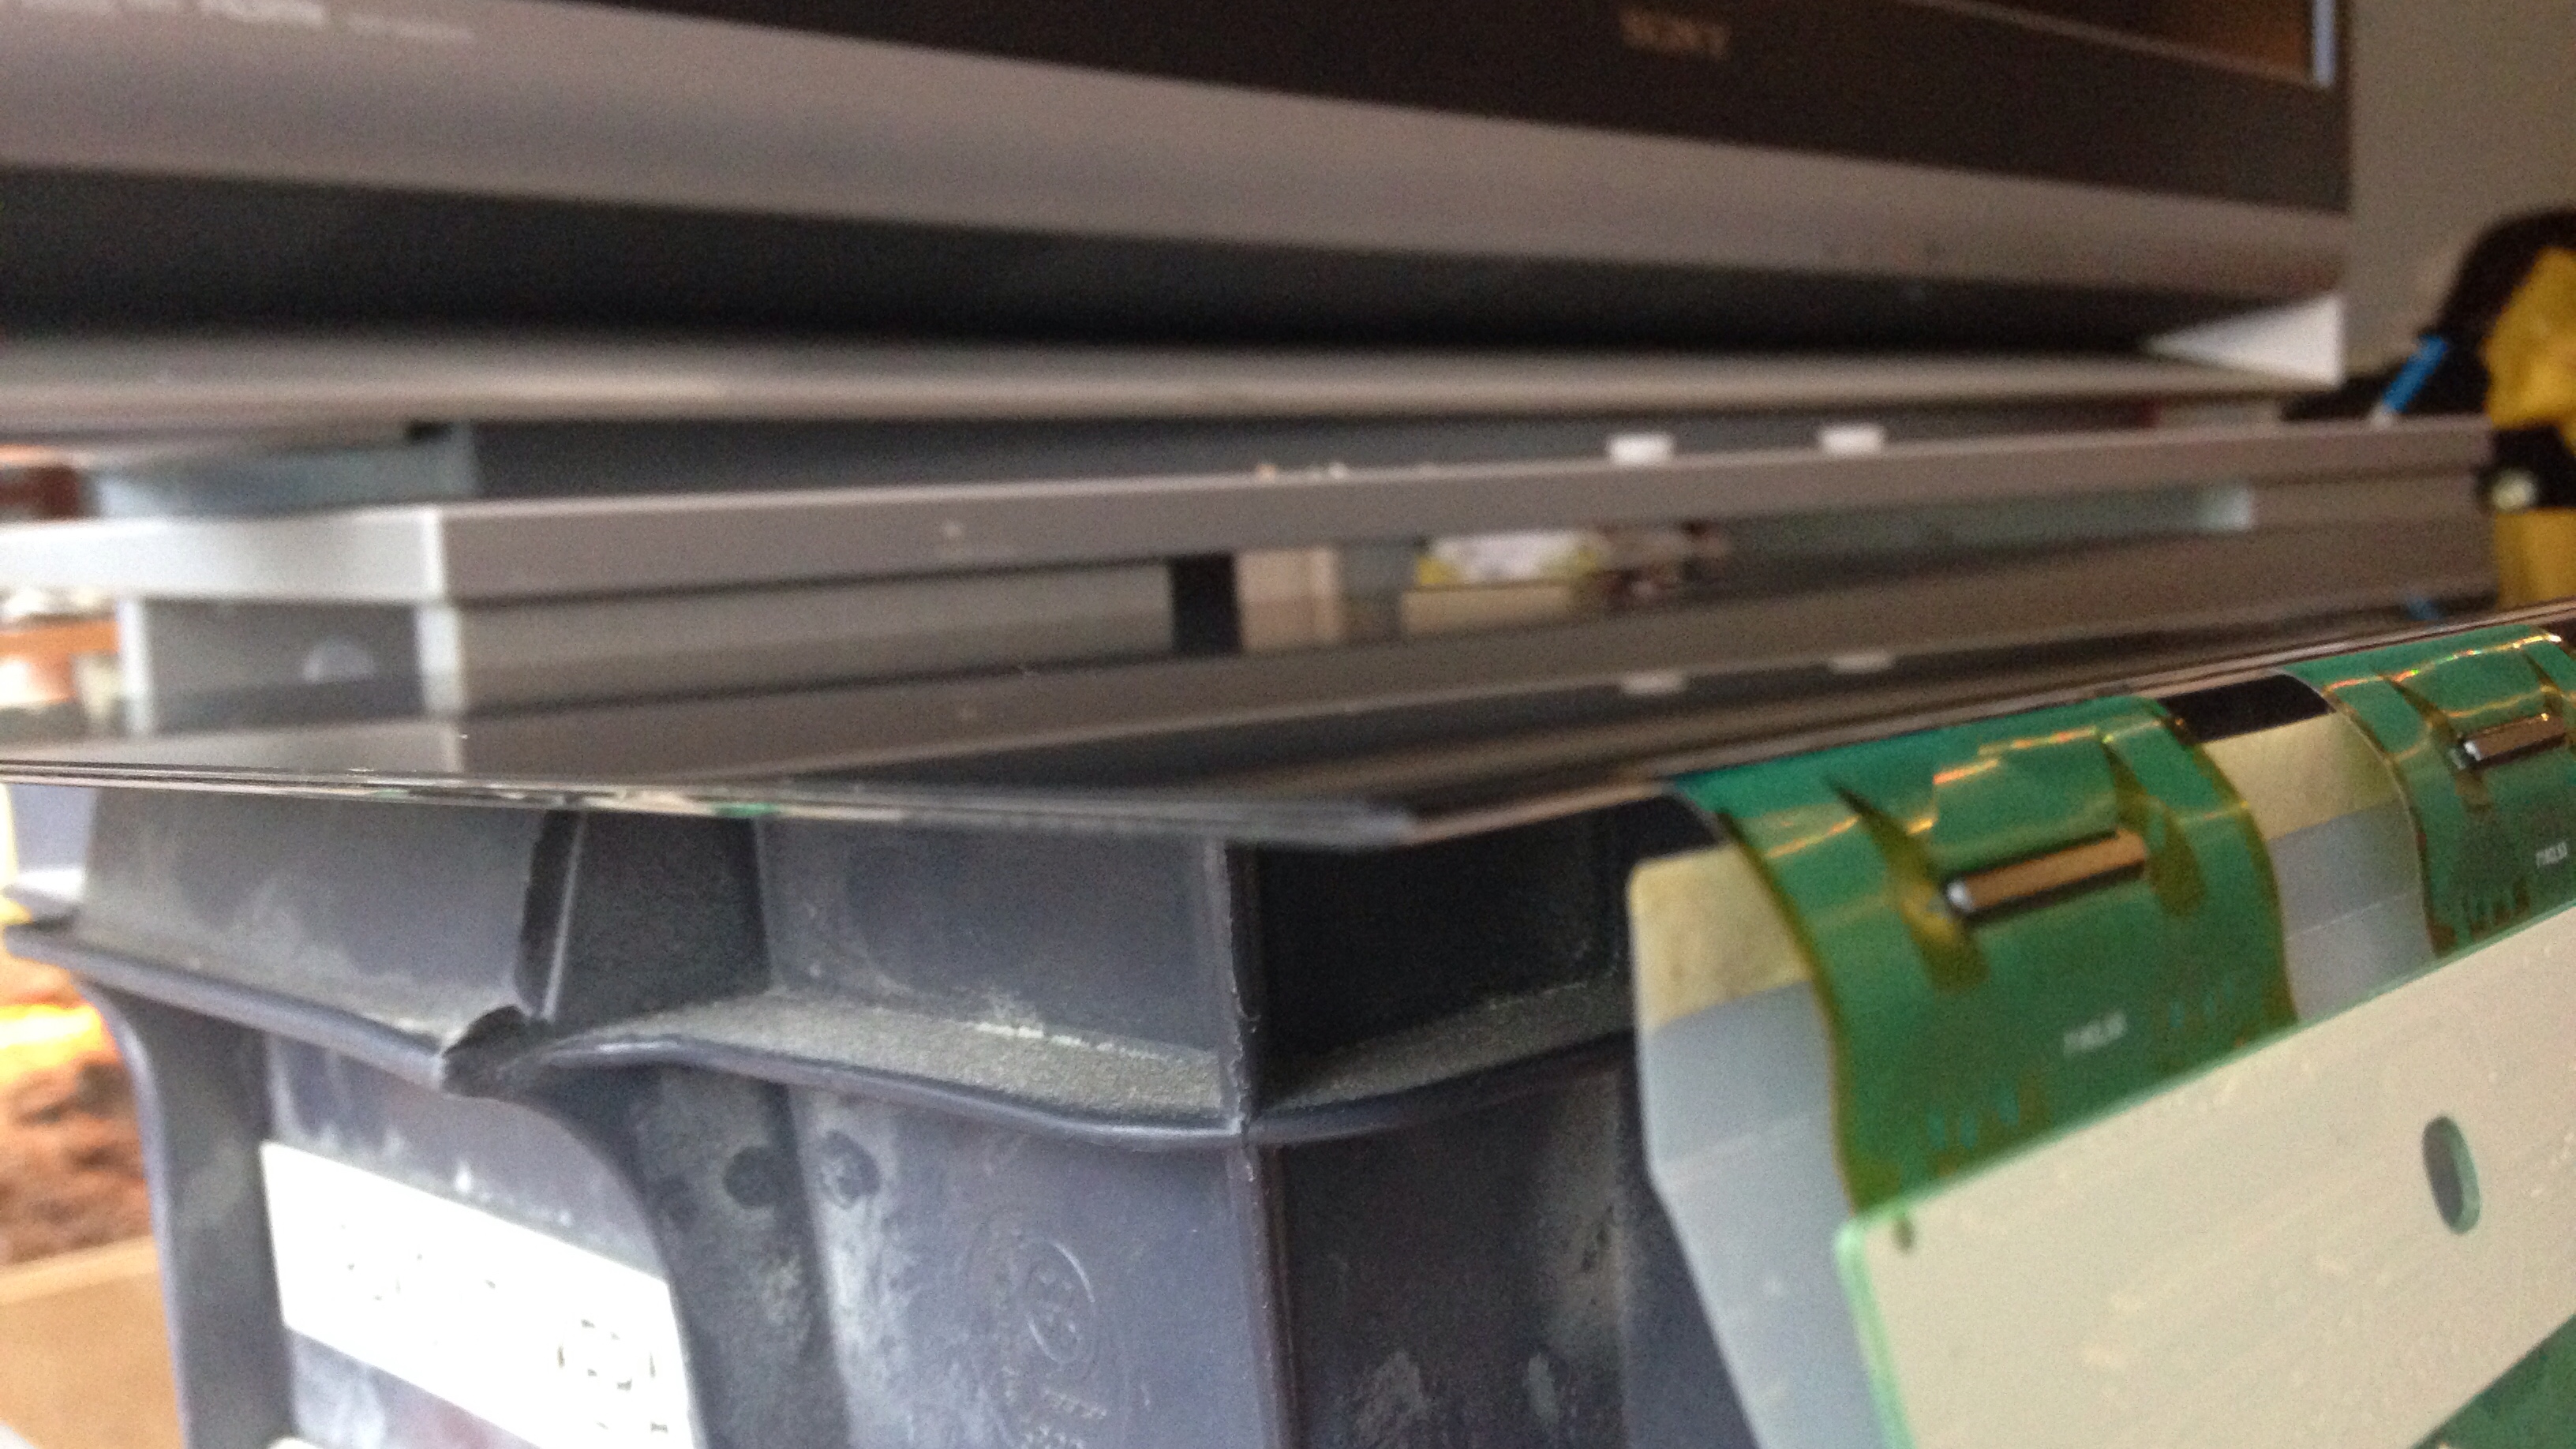
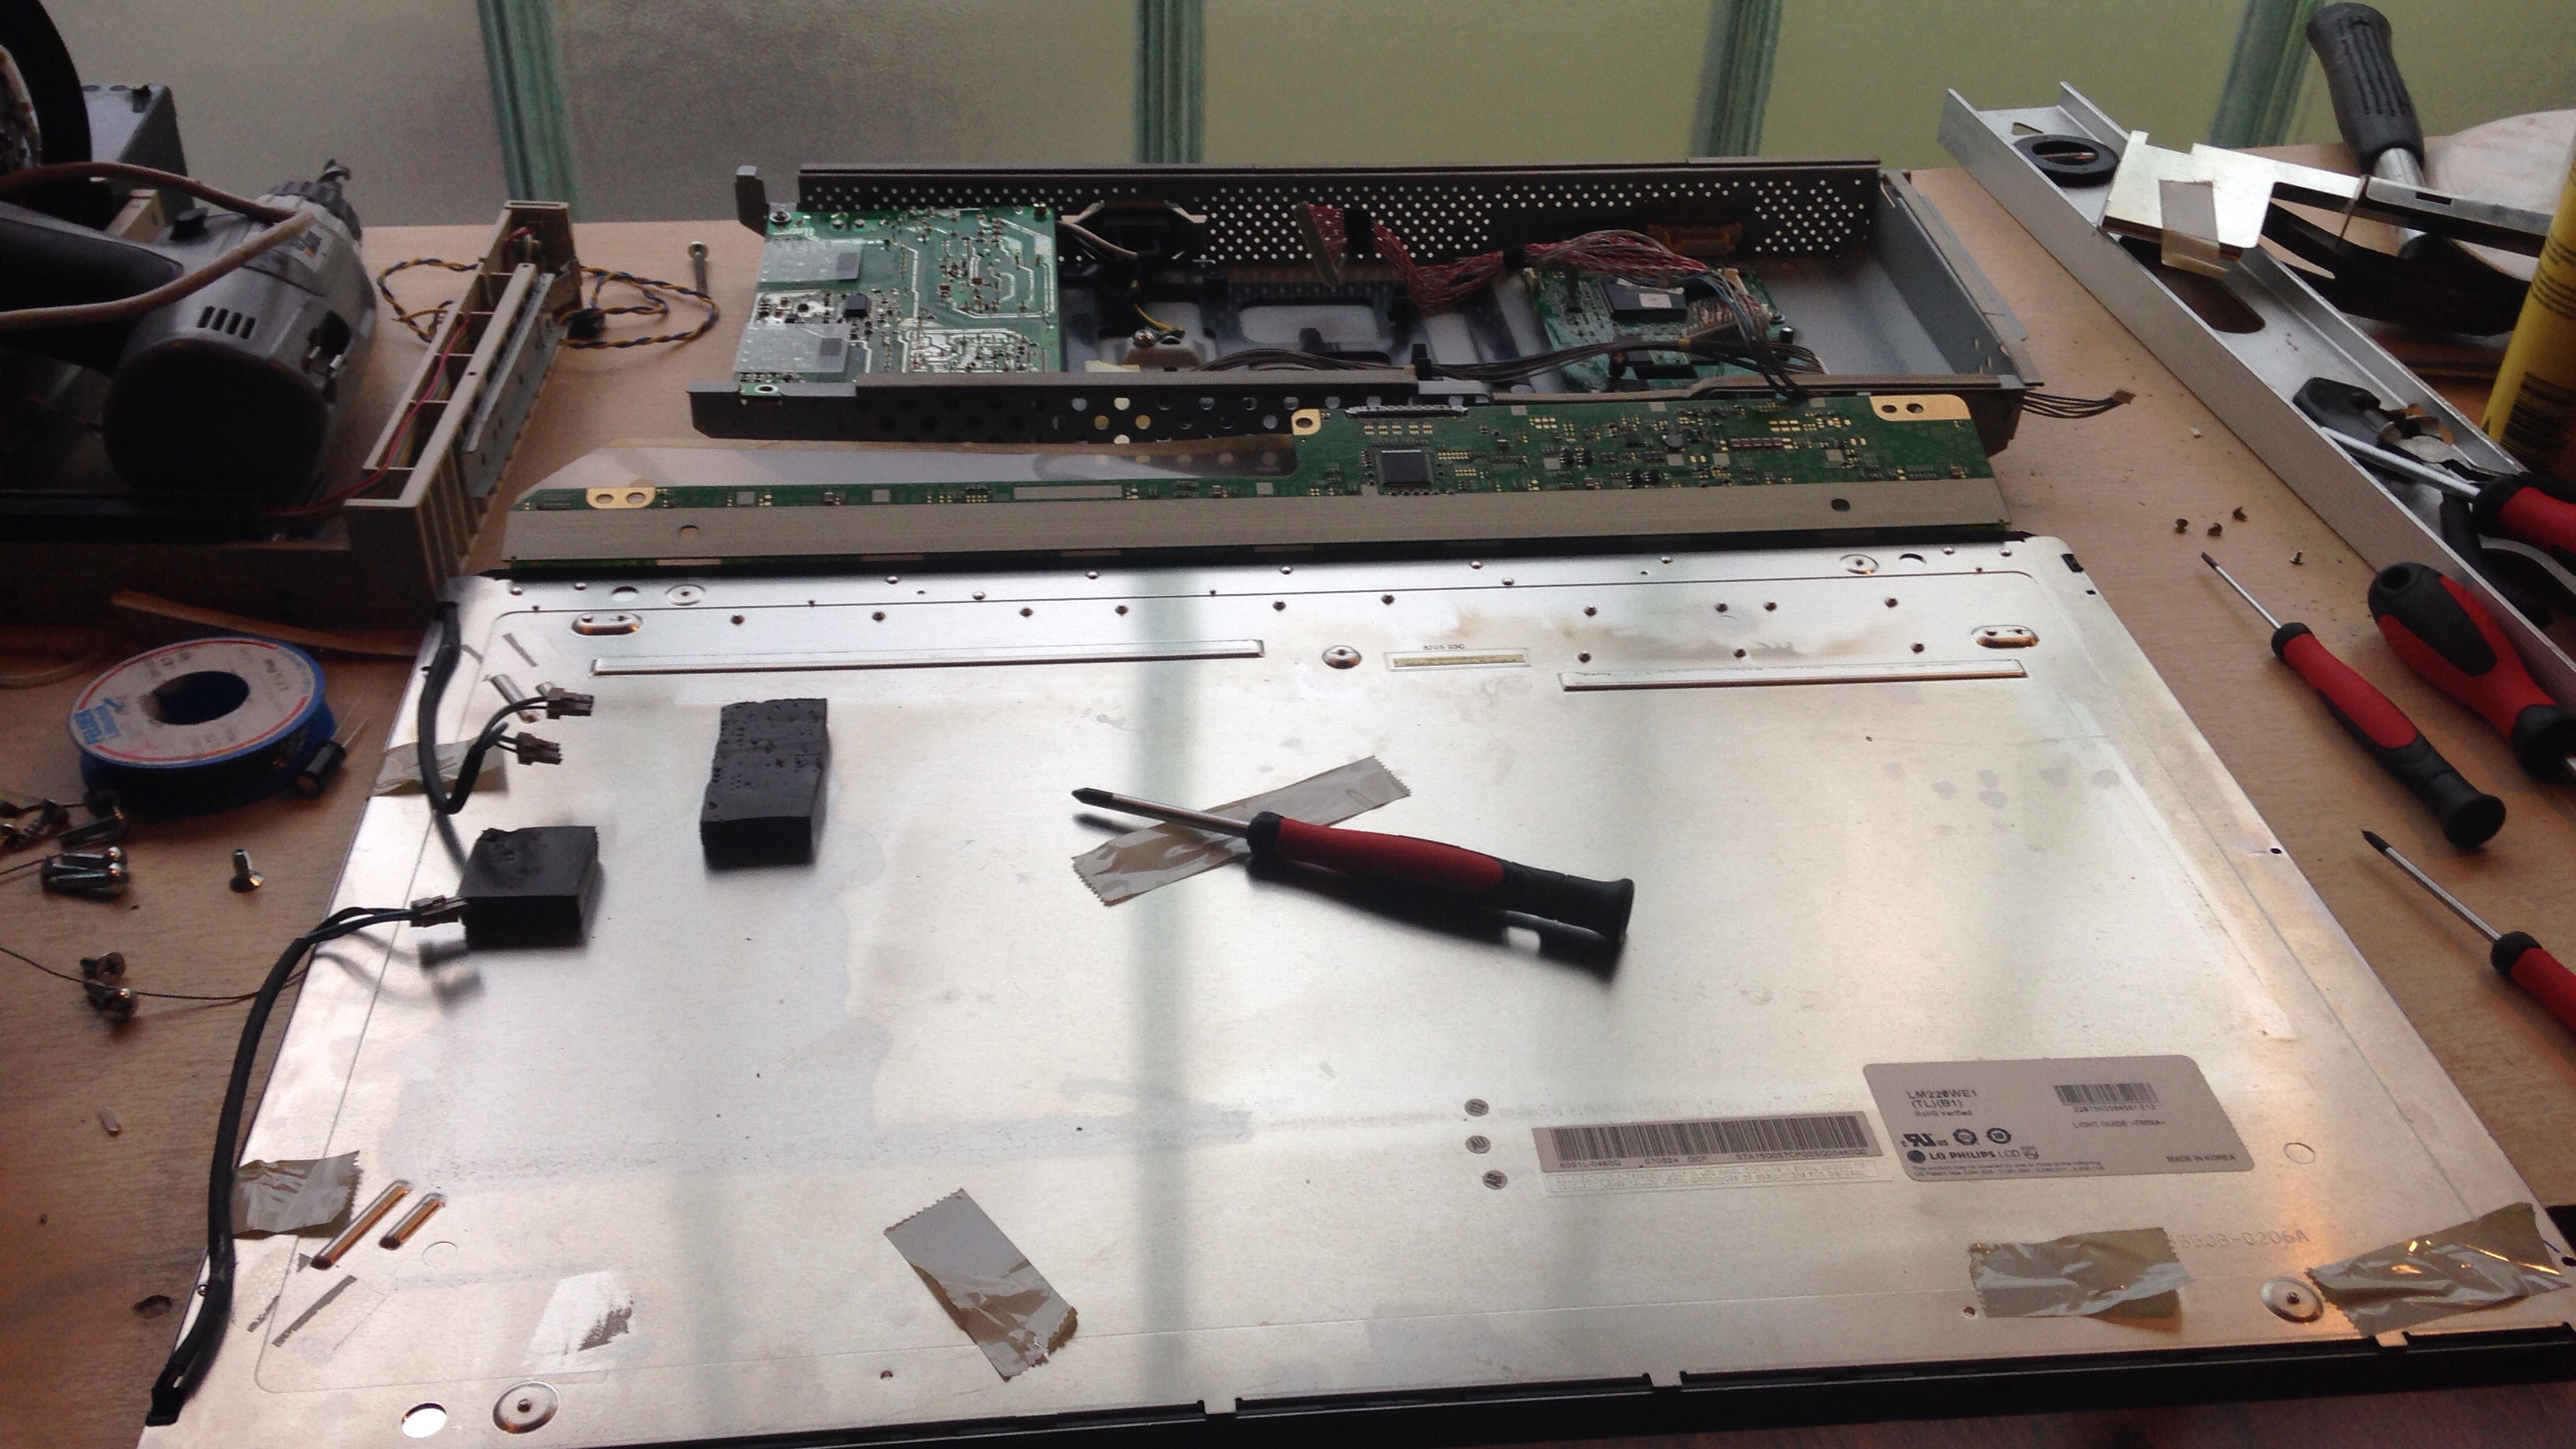
CONVERSION PROCESS PART: dismantling everything
Taking all apart, there is alot videos on youtube about opening a LG LCD monitor. its not rocket science i did not even look the instructions..

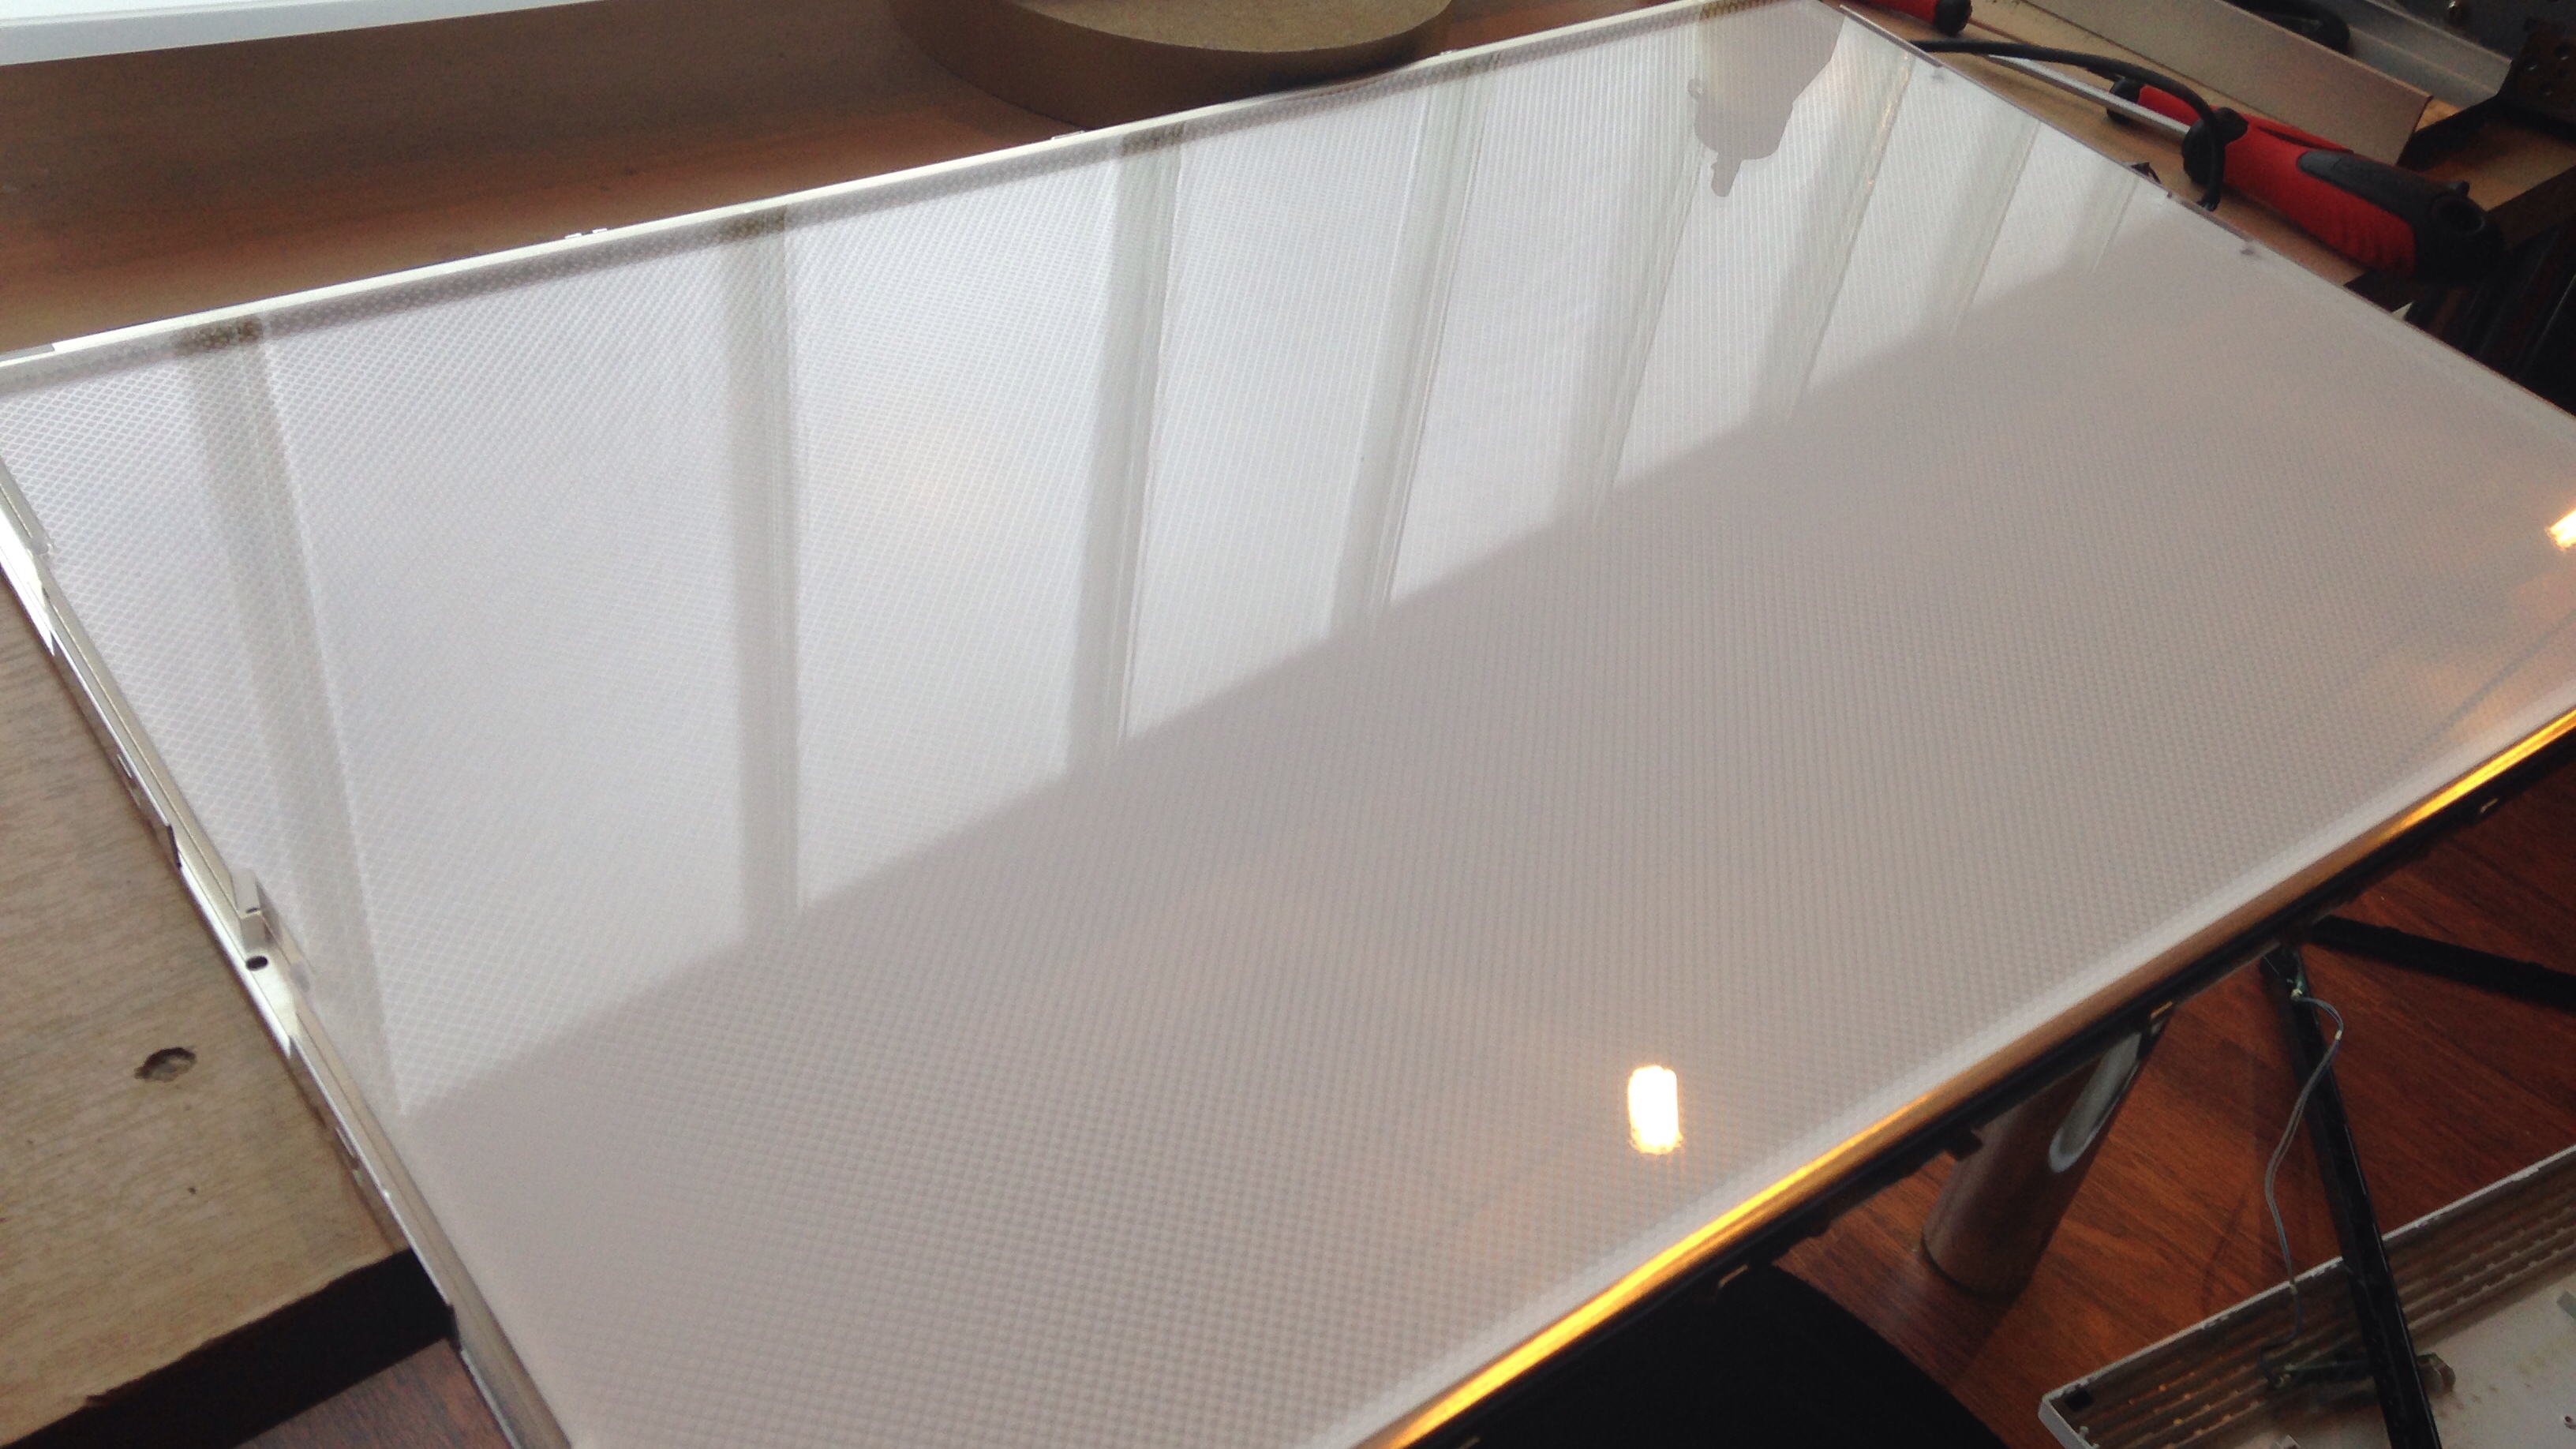


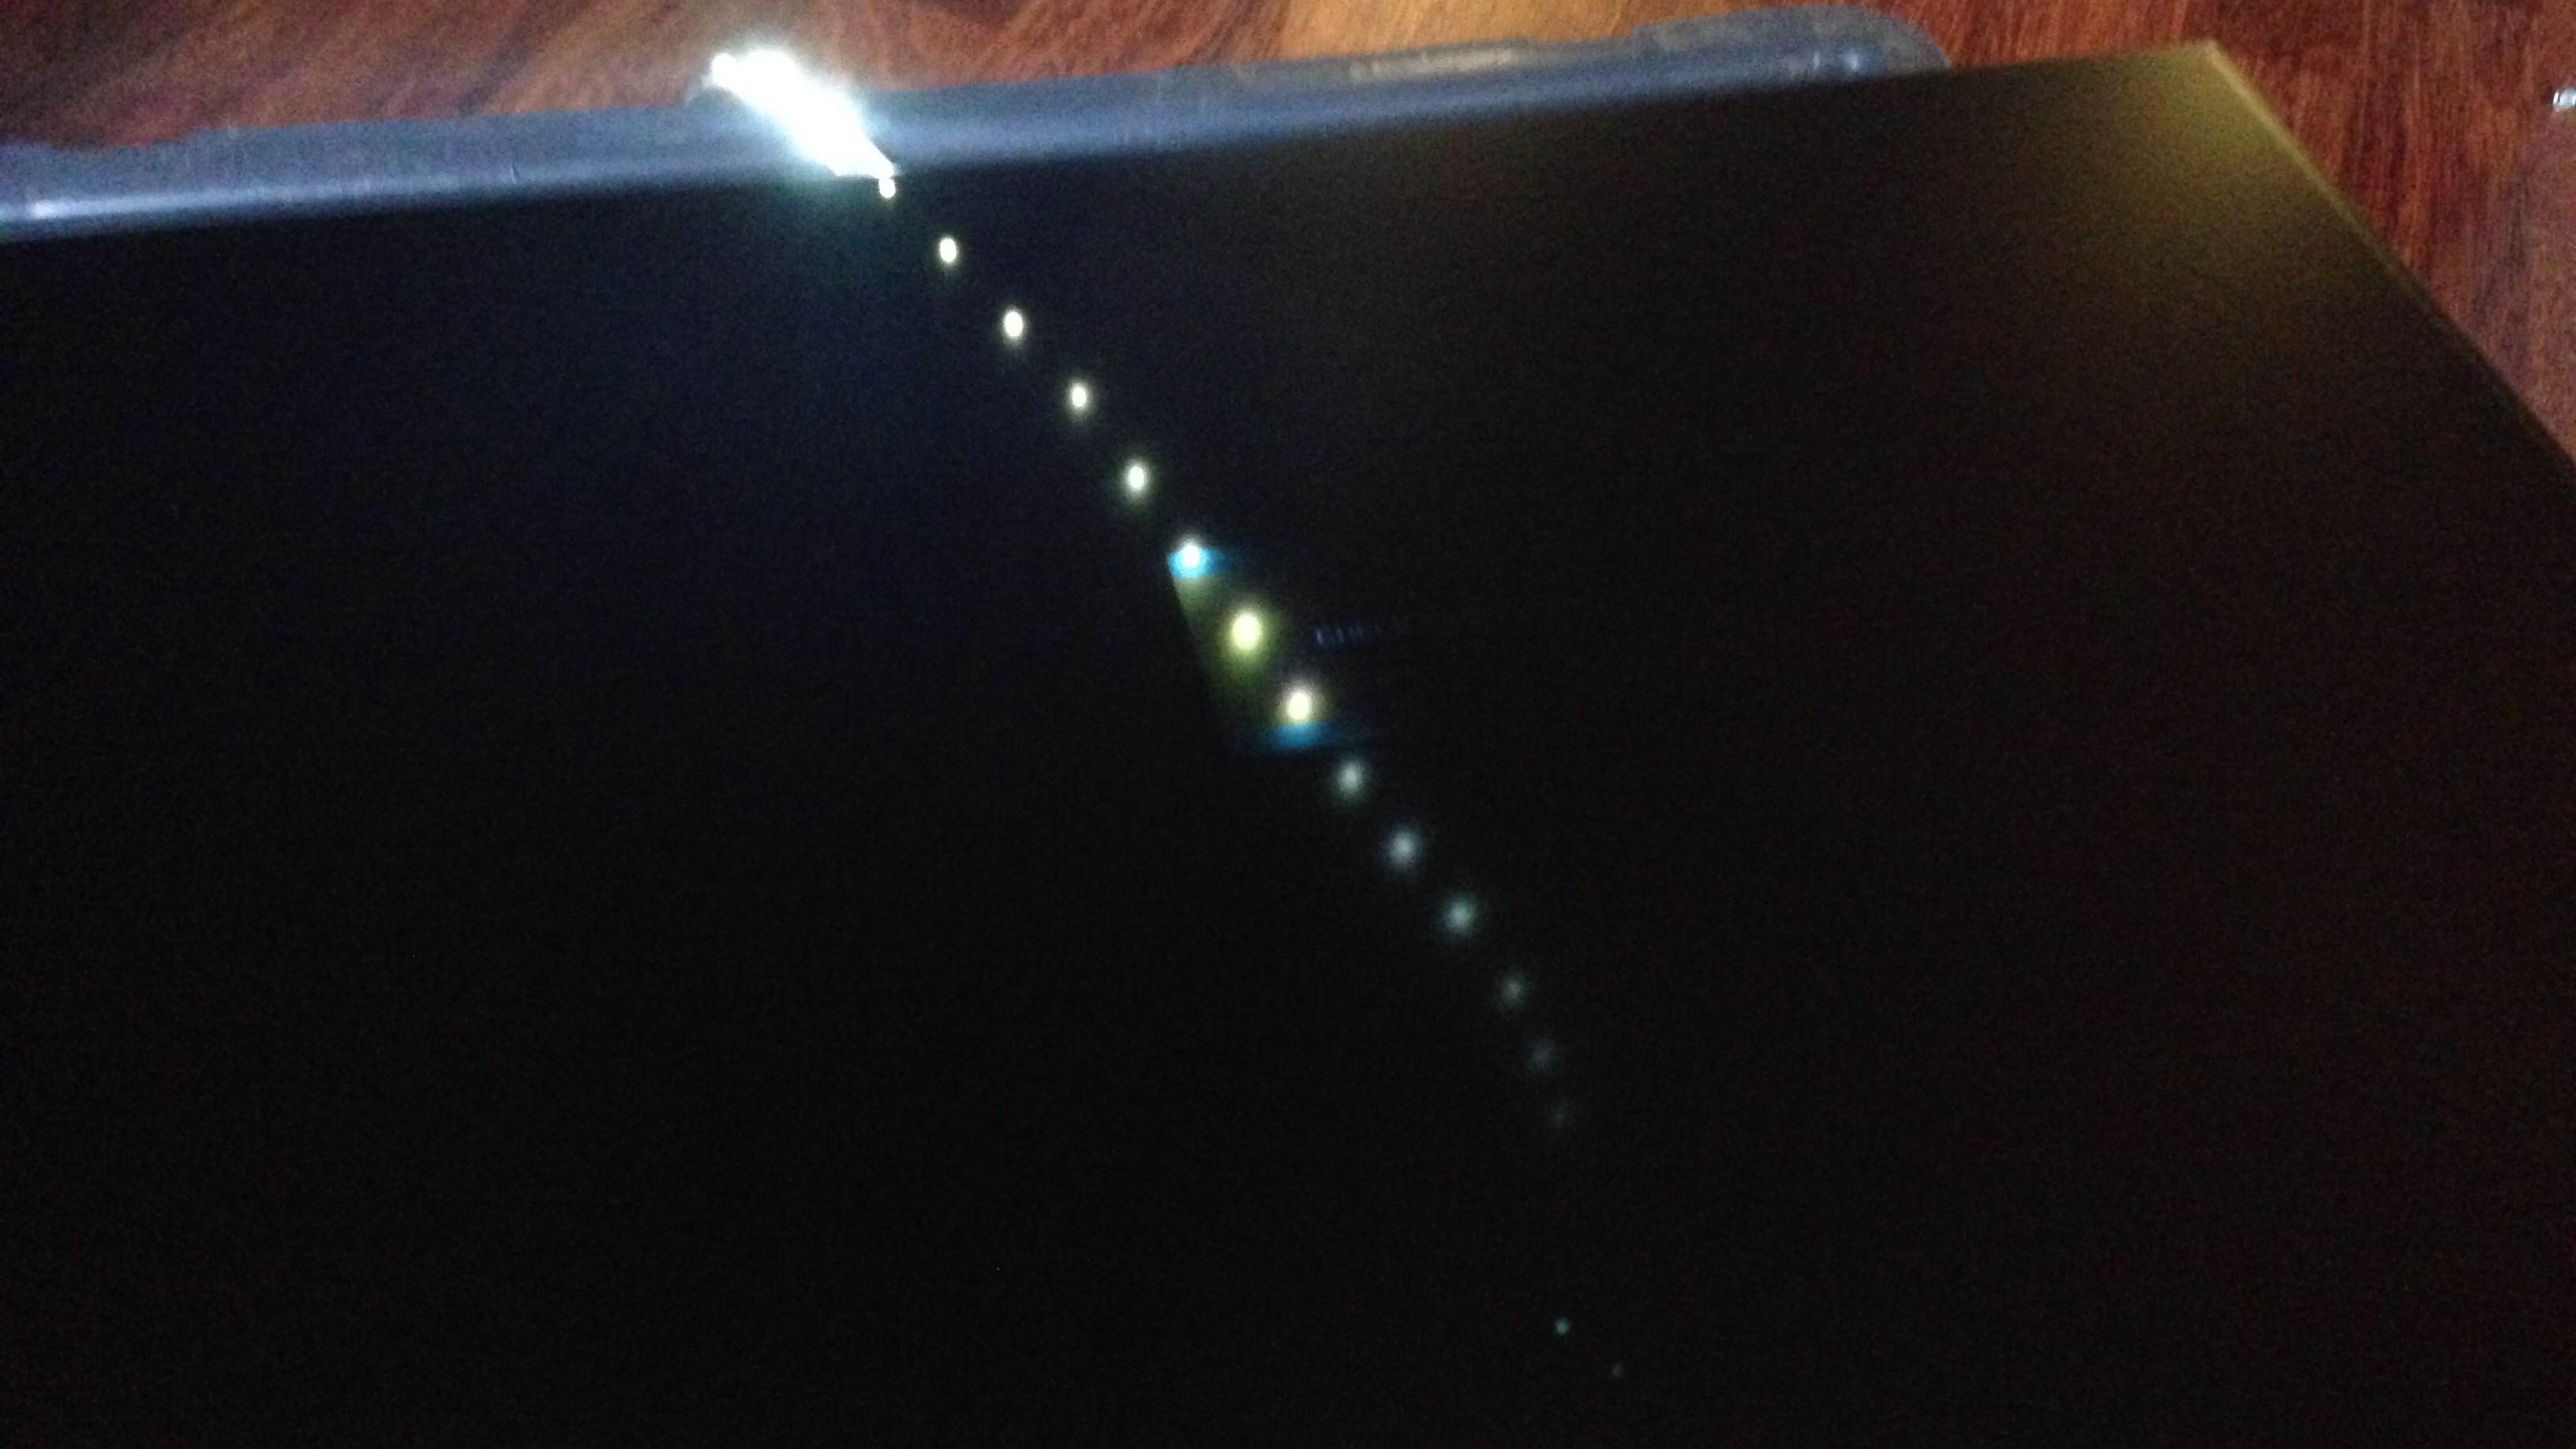
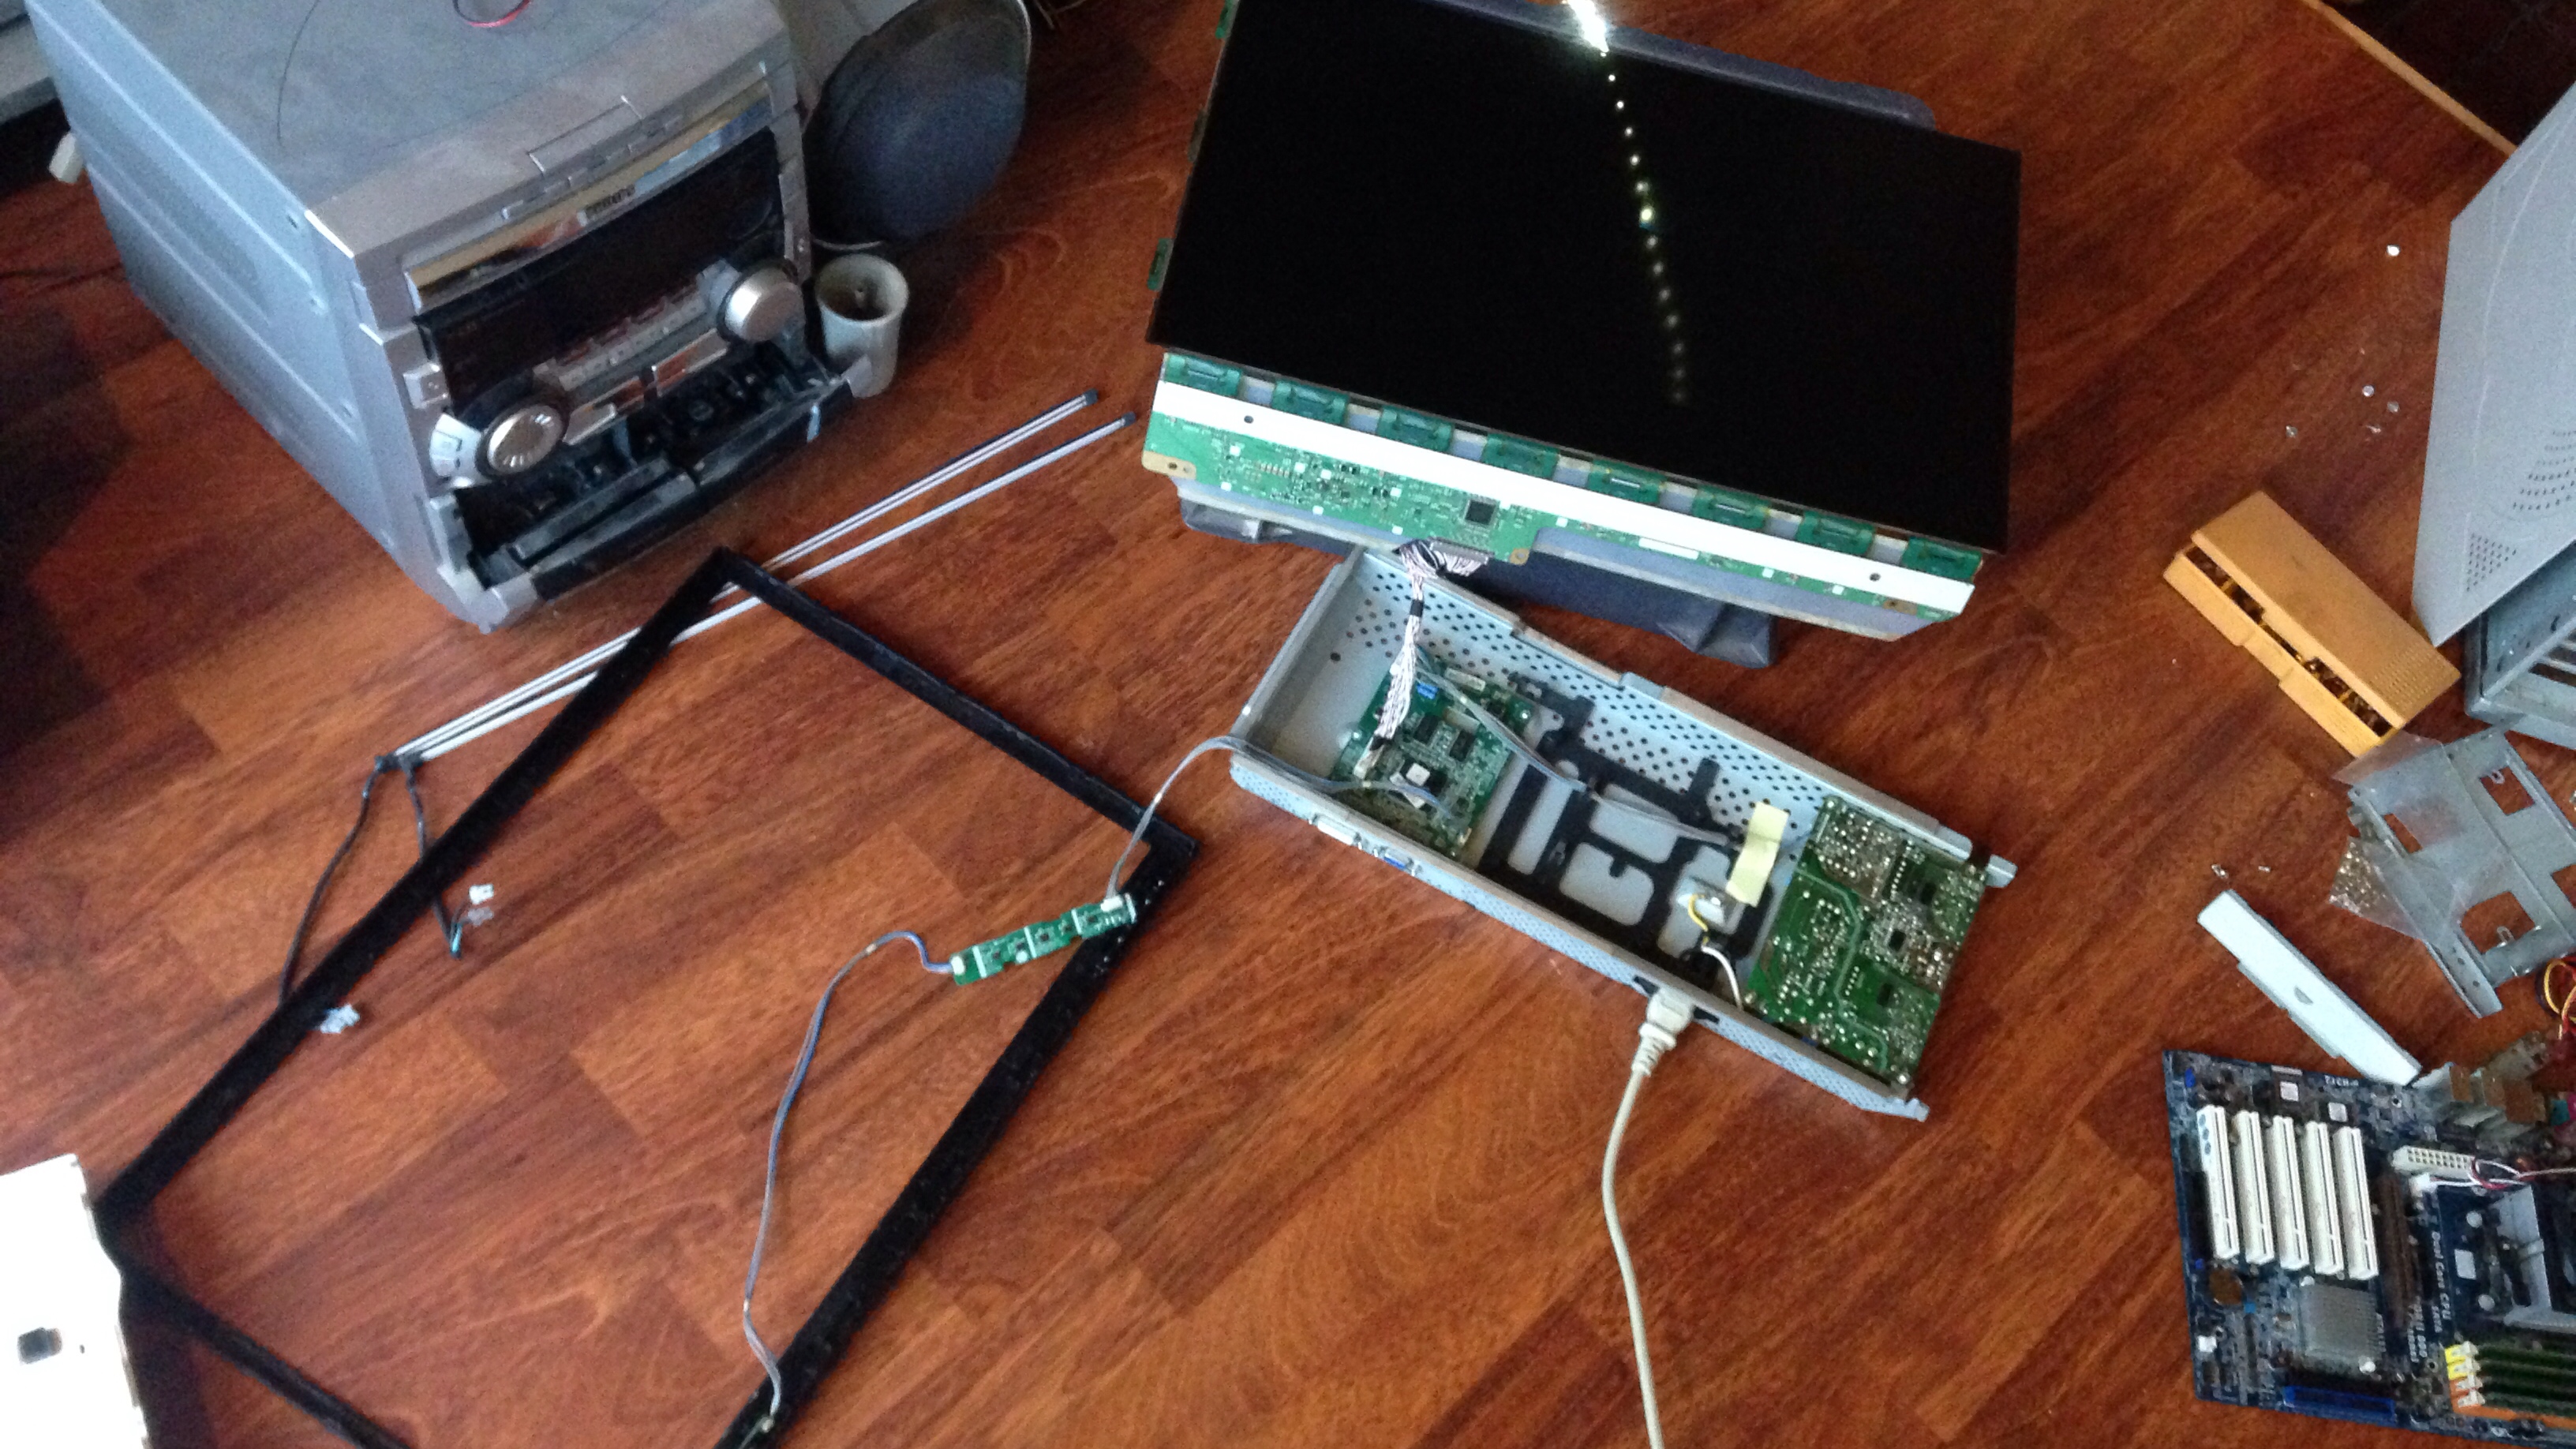
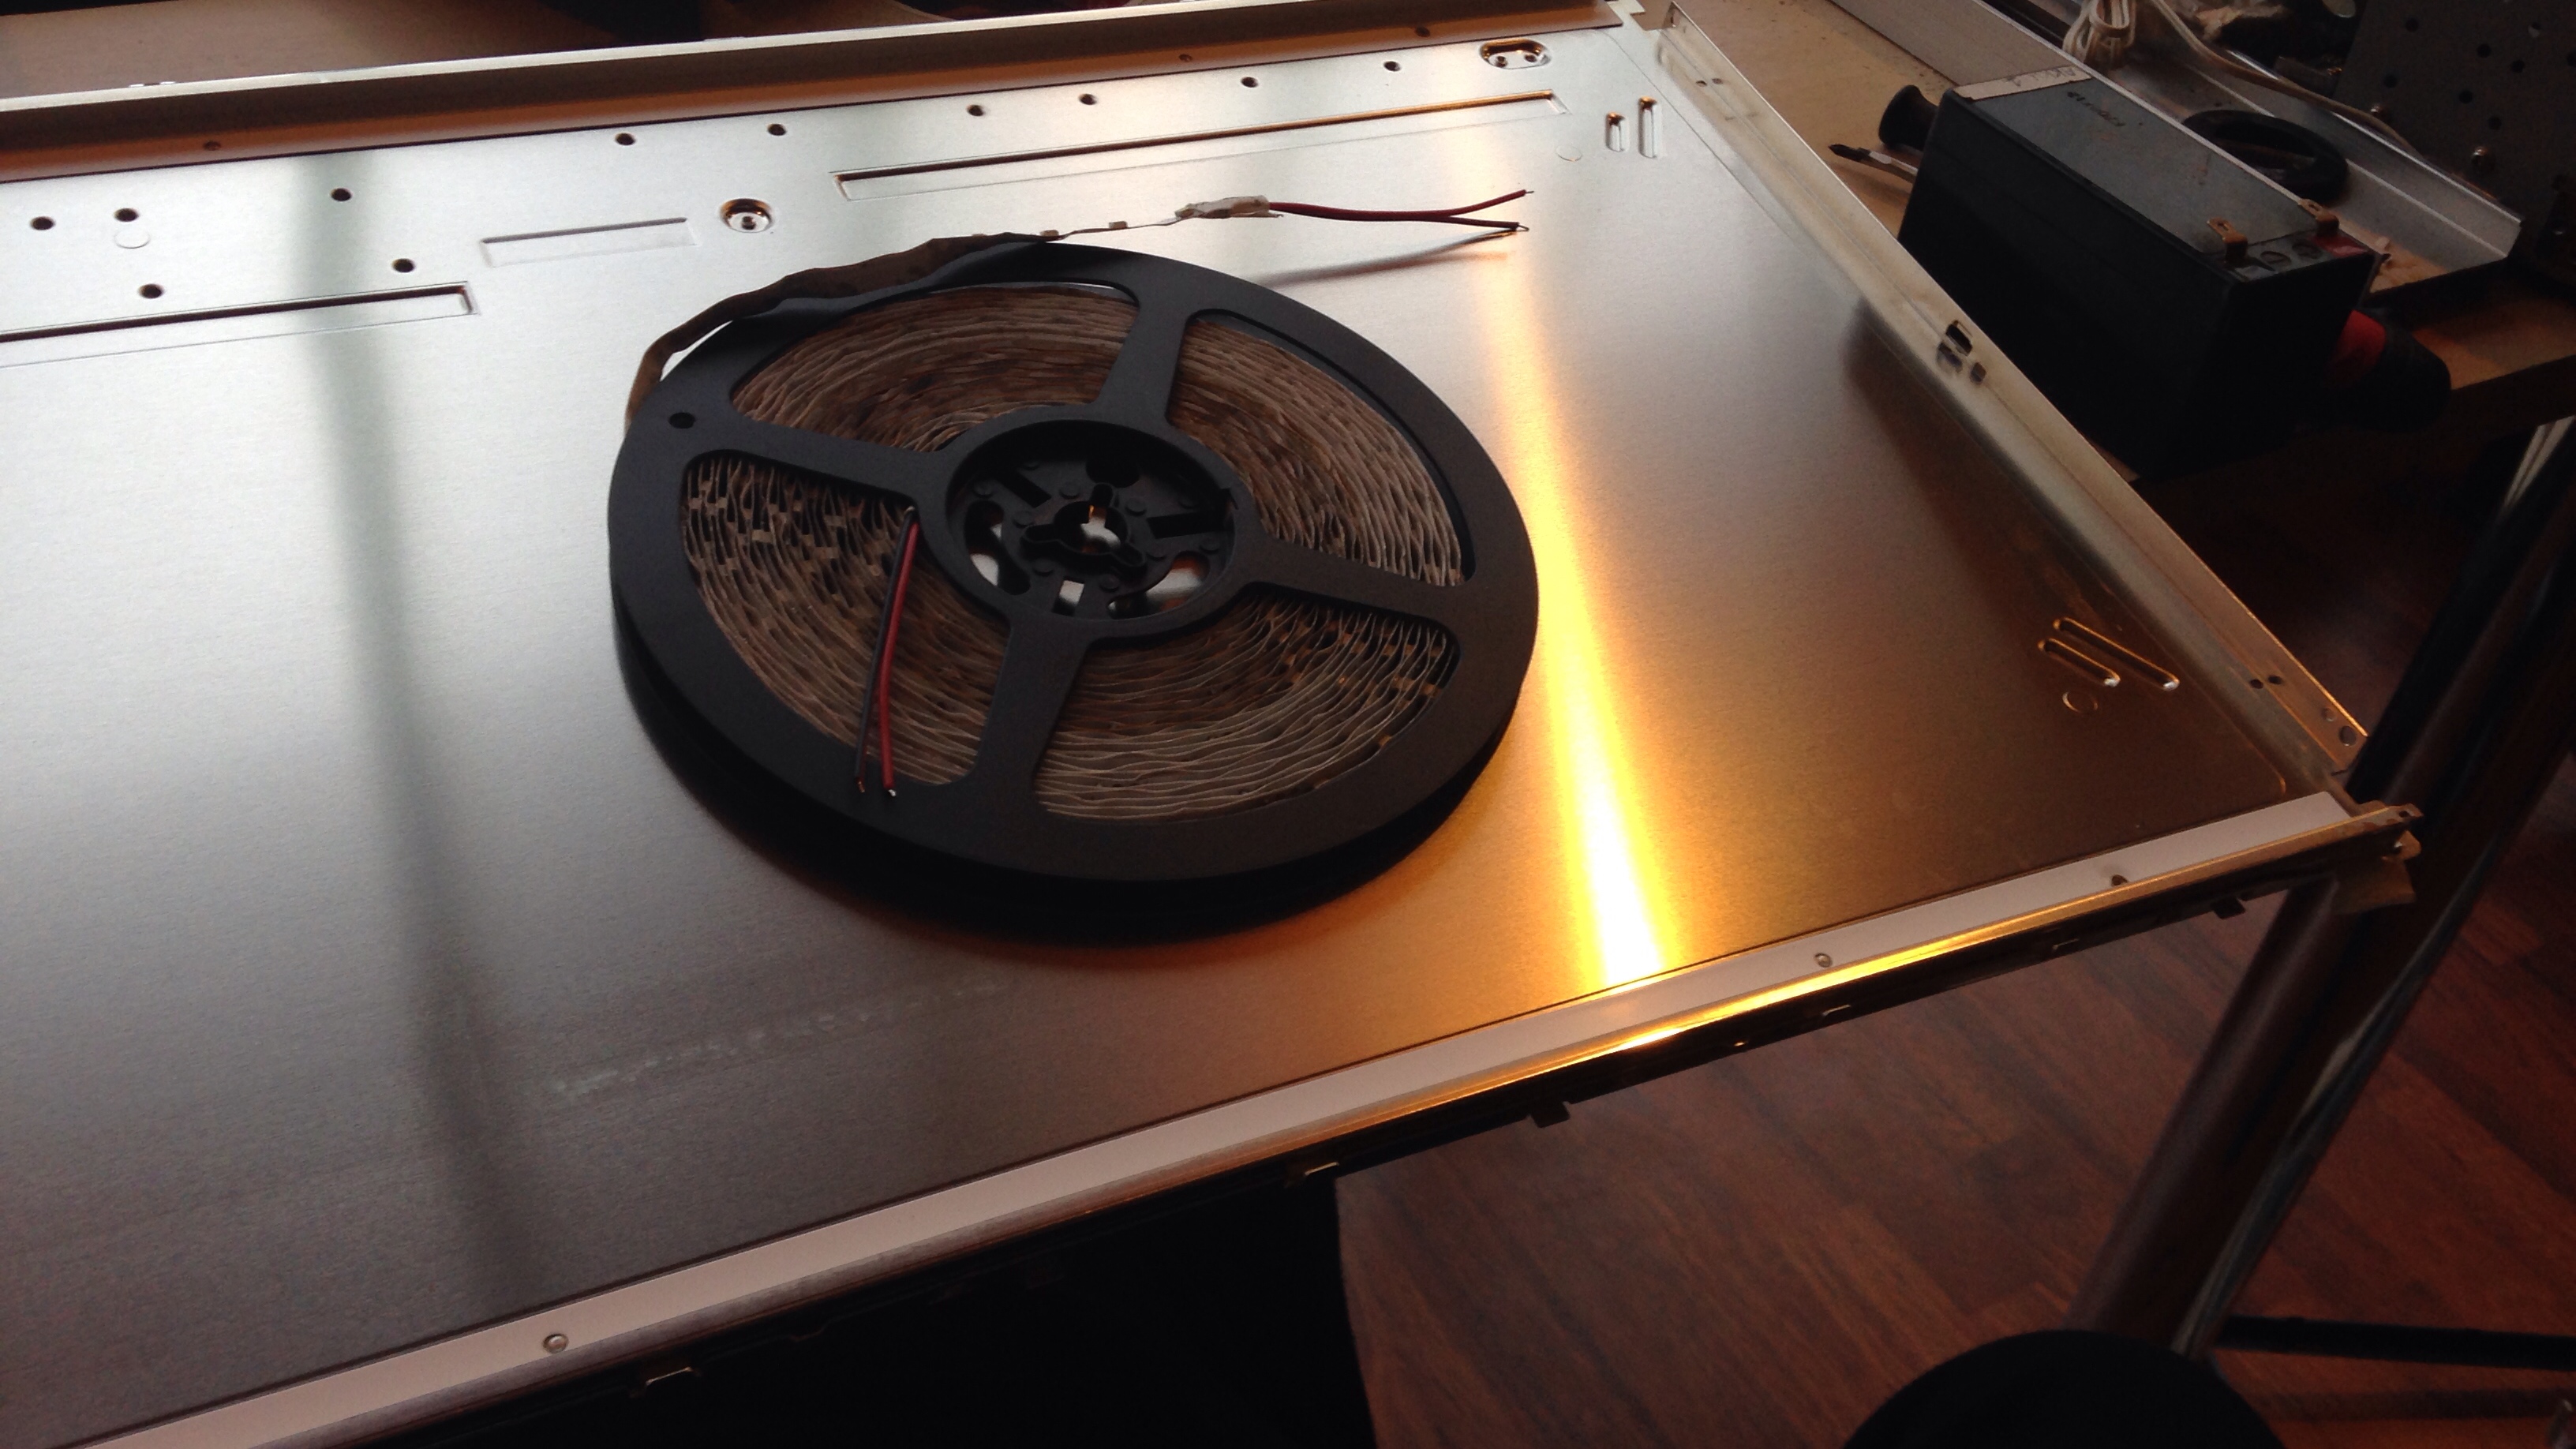
CONVERSION PROCESS PART: Installing LED
testing that lcd is working first then install the leds.
LED are from DX.COM SKU number is 65715 the color is 7000k and wattage is 4,8W/meter


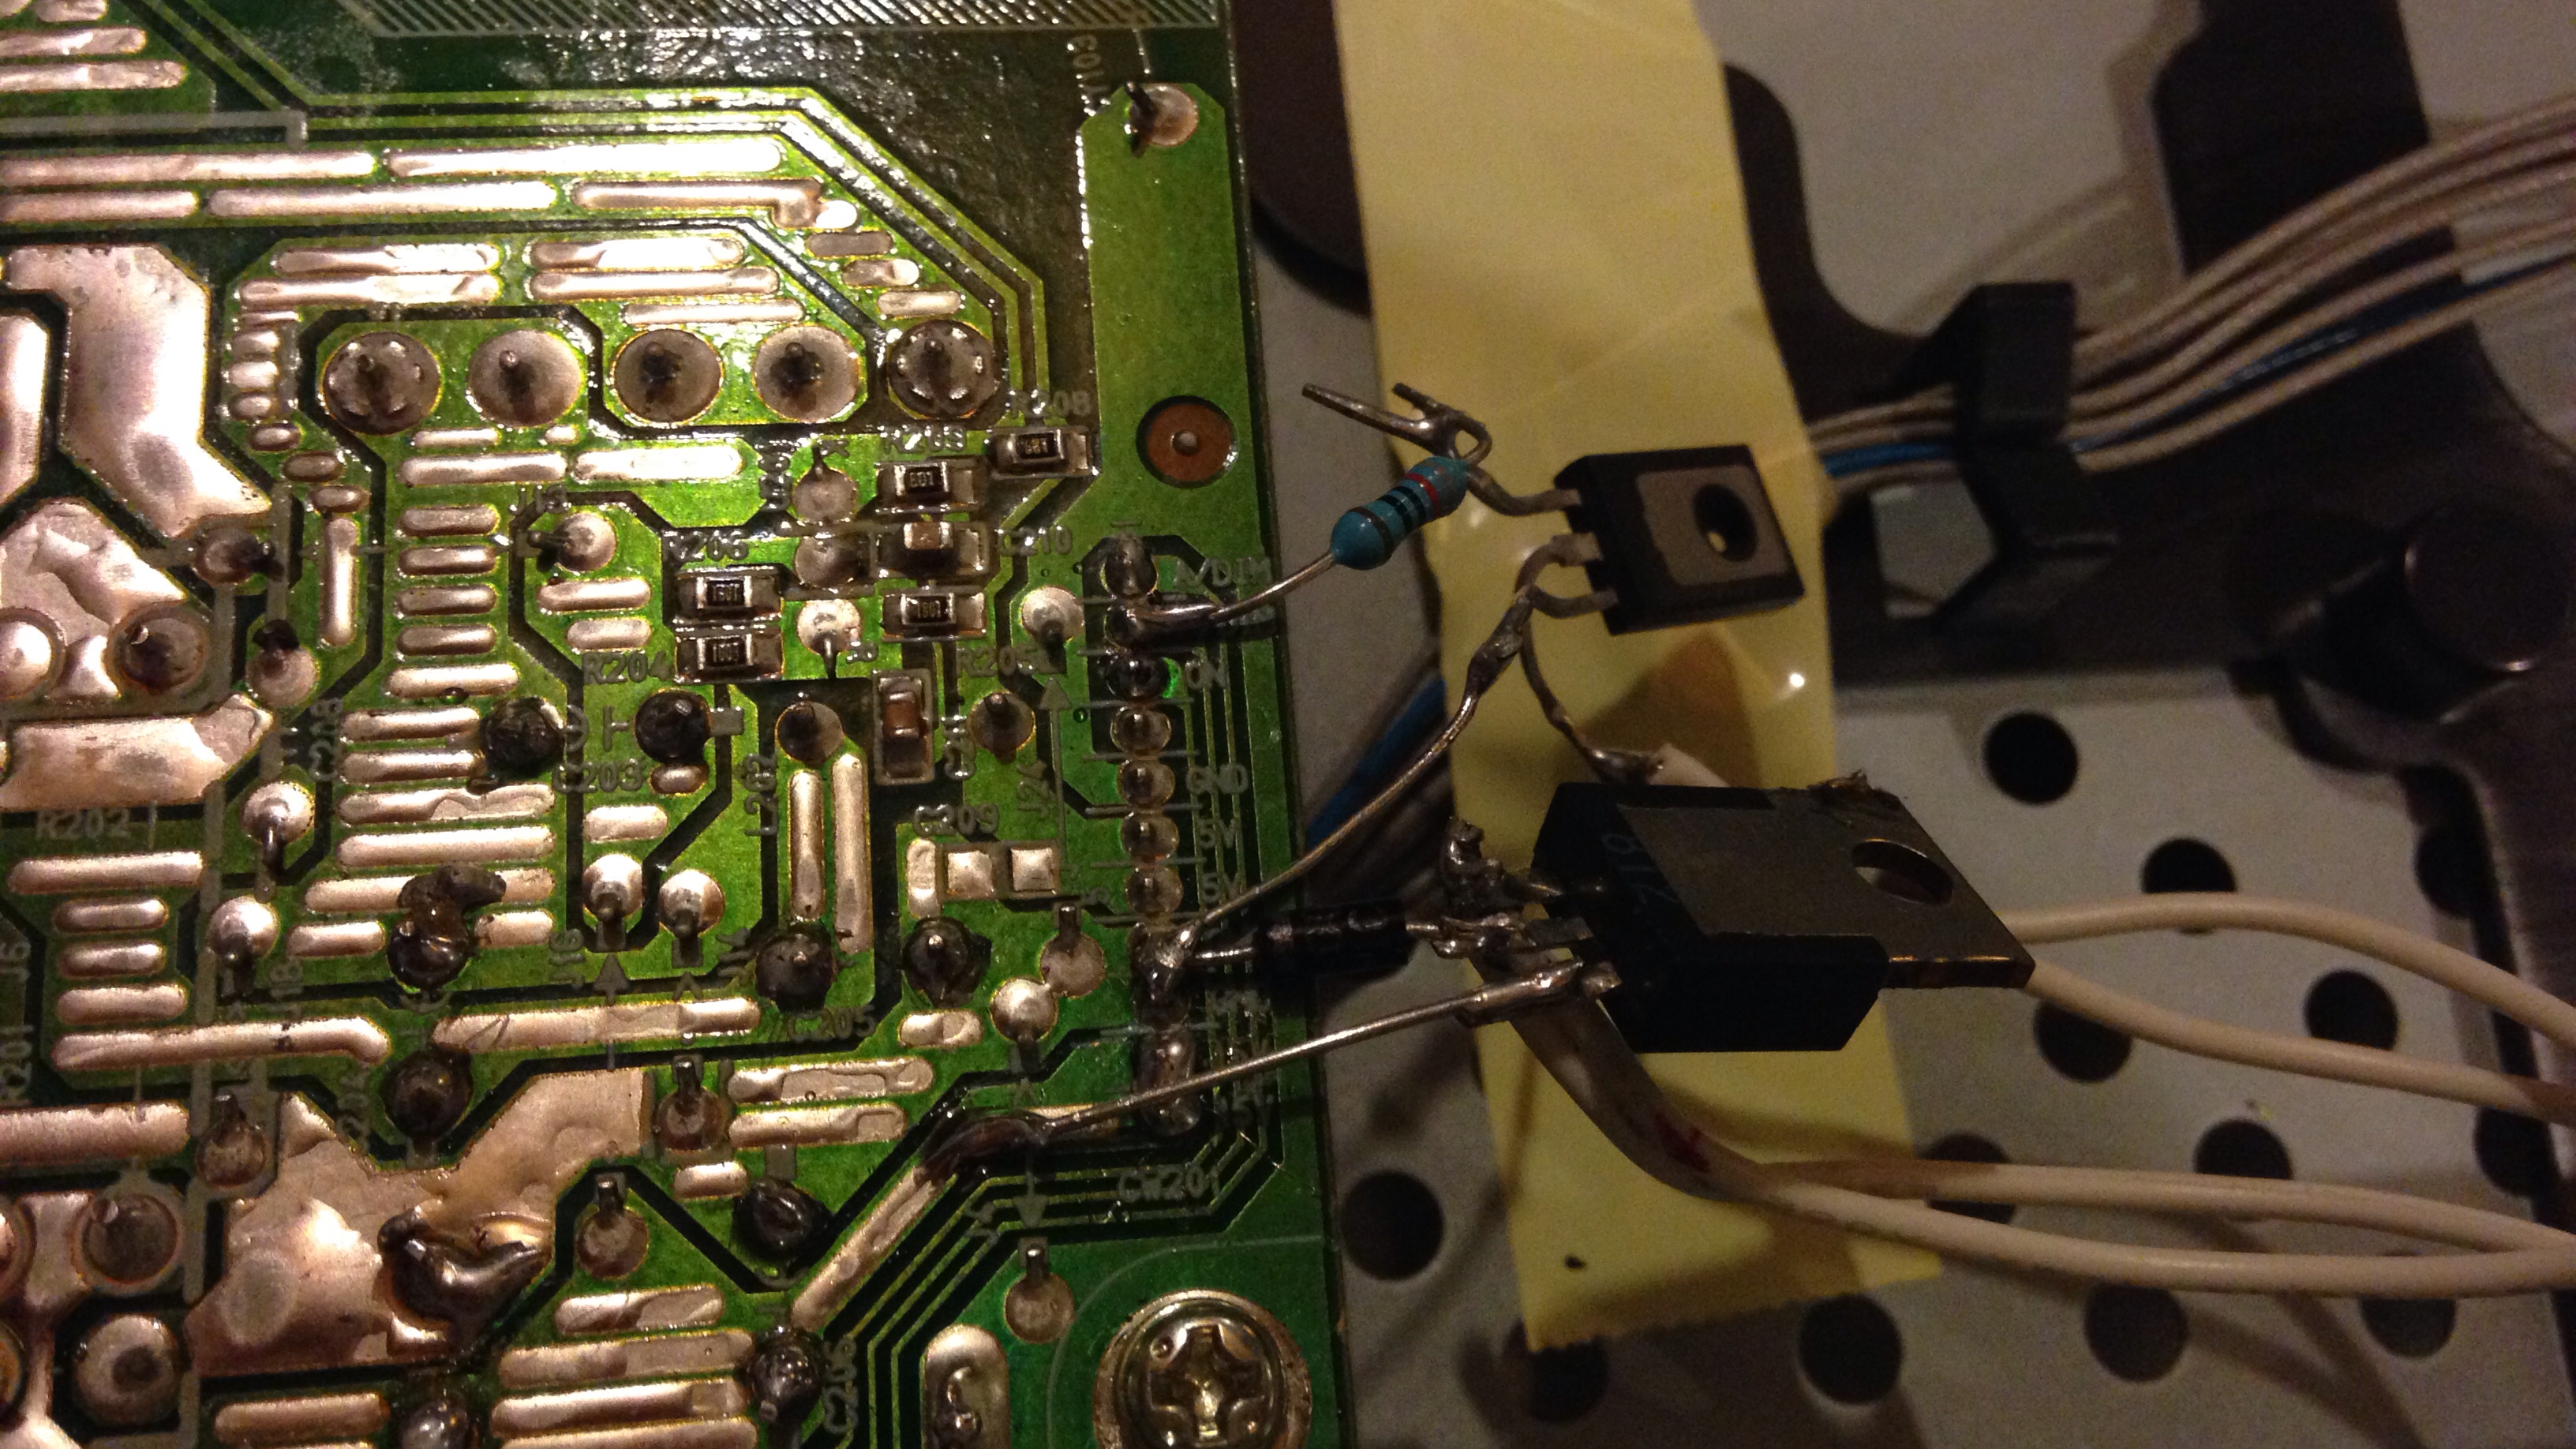
CONVERSION PROCESS PART: Power to LED
This was tricky one, i know already its not perfect.
Connected 7812 regulator with a diode(on gnd) on +15Volt rail to get 12,6volts output for the leds,
using a transistor BD129 to cut power from led when screen is on power safe.
Connected first on “ON” line the transistor signal, but after i changed to rail named DIM so i guess i can dim light from menu of screen, and yes it works. only problem is this transistor base current is alot even a 800 ohm resistor is not enuf, i need later to reconstruct this part.
Other thing lack of current on base there is only 11volt on output this can be fixed in 3 ways: 1. add more diodes to gnd of regulator to raise its voltage. 2. add second transistor to drive the power transistor. 3 change to power fet. Best method is get voltage up to 13volts to get best light.
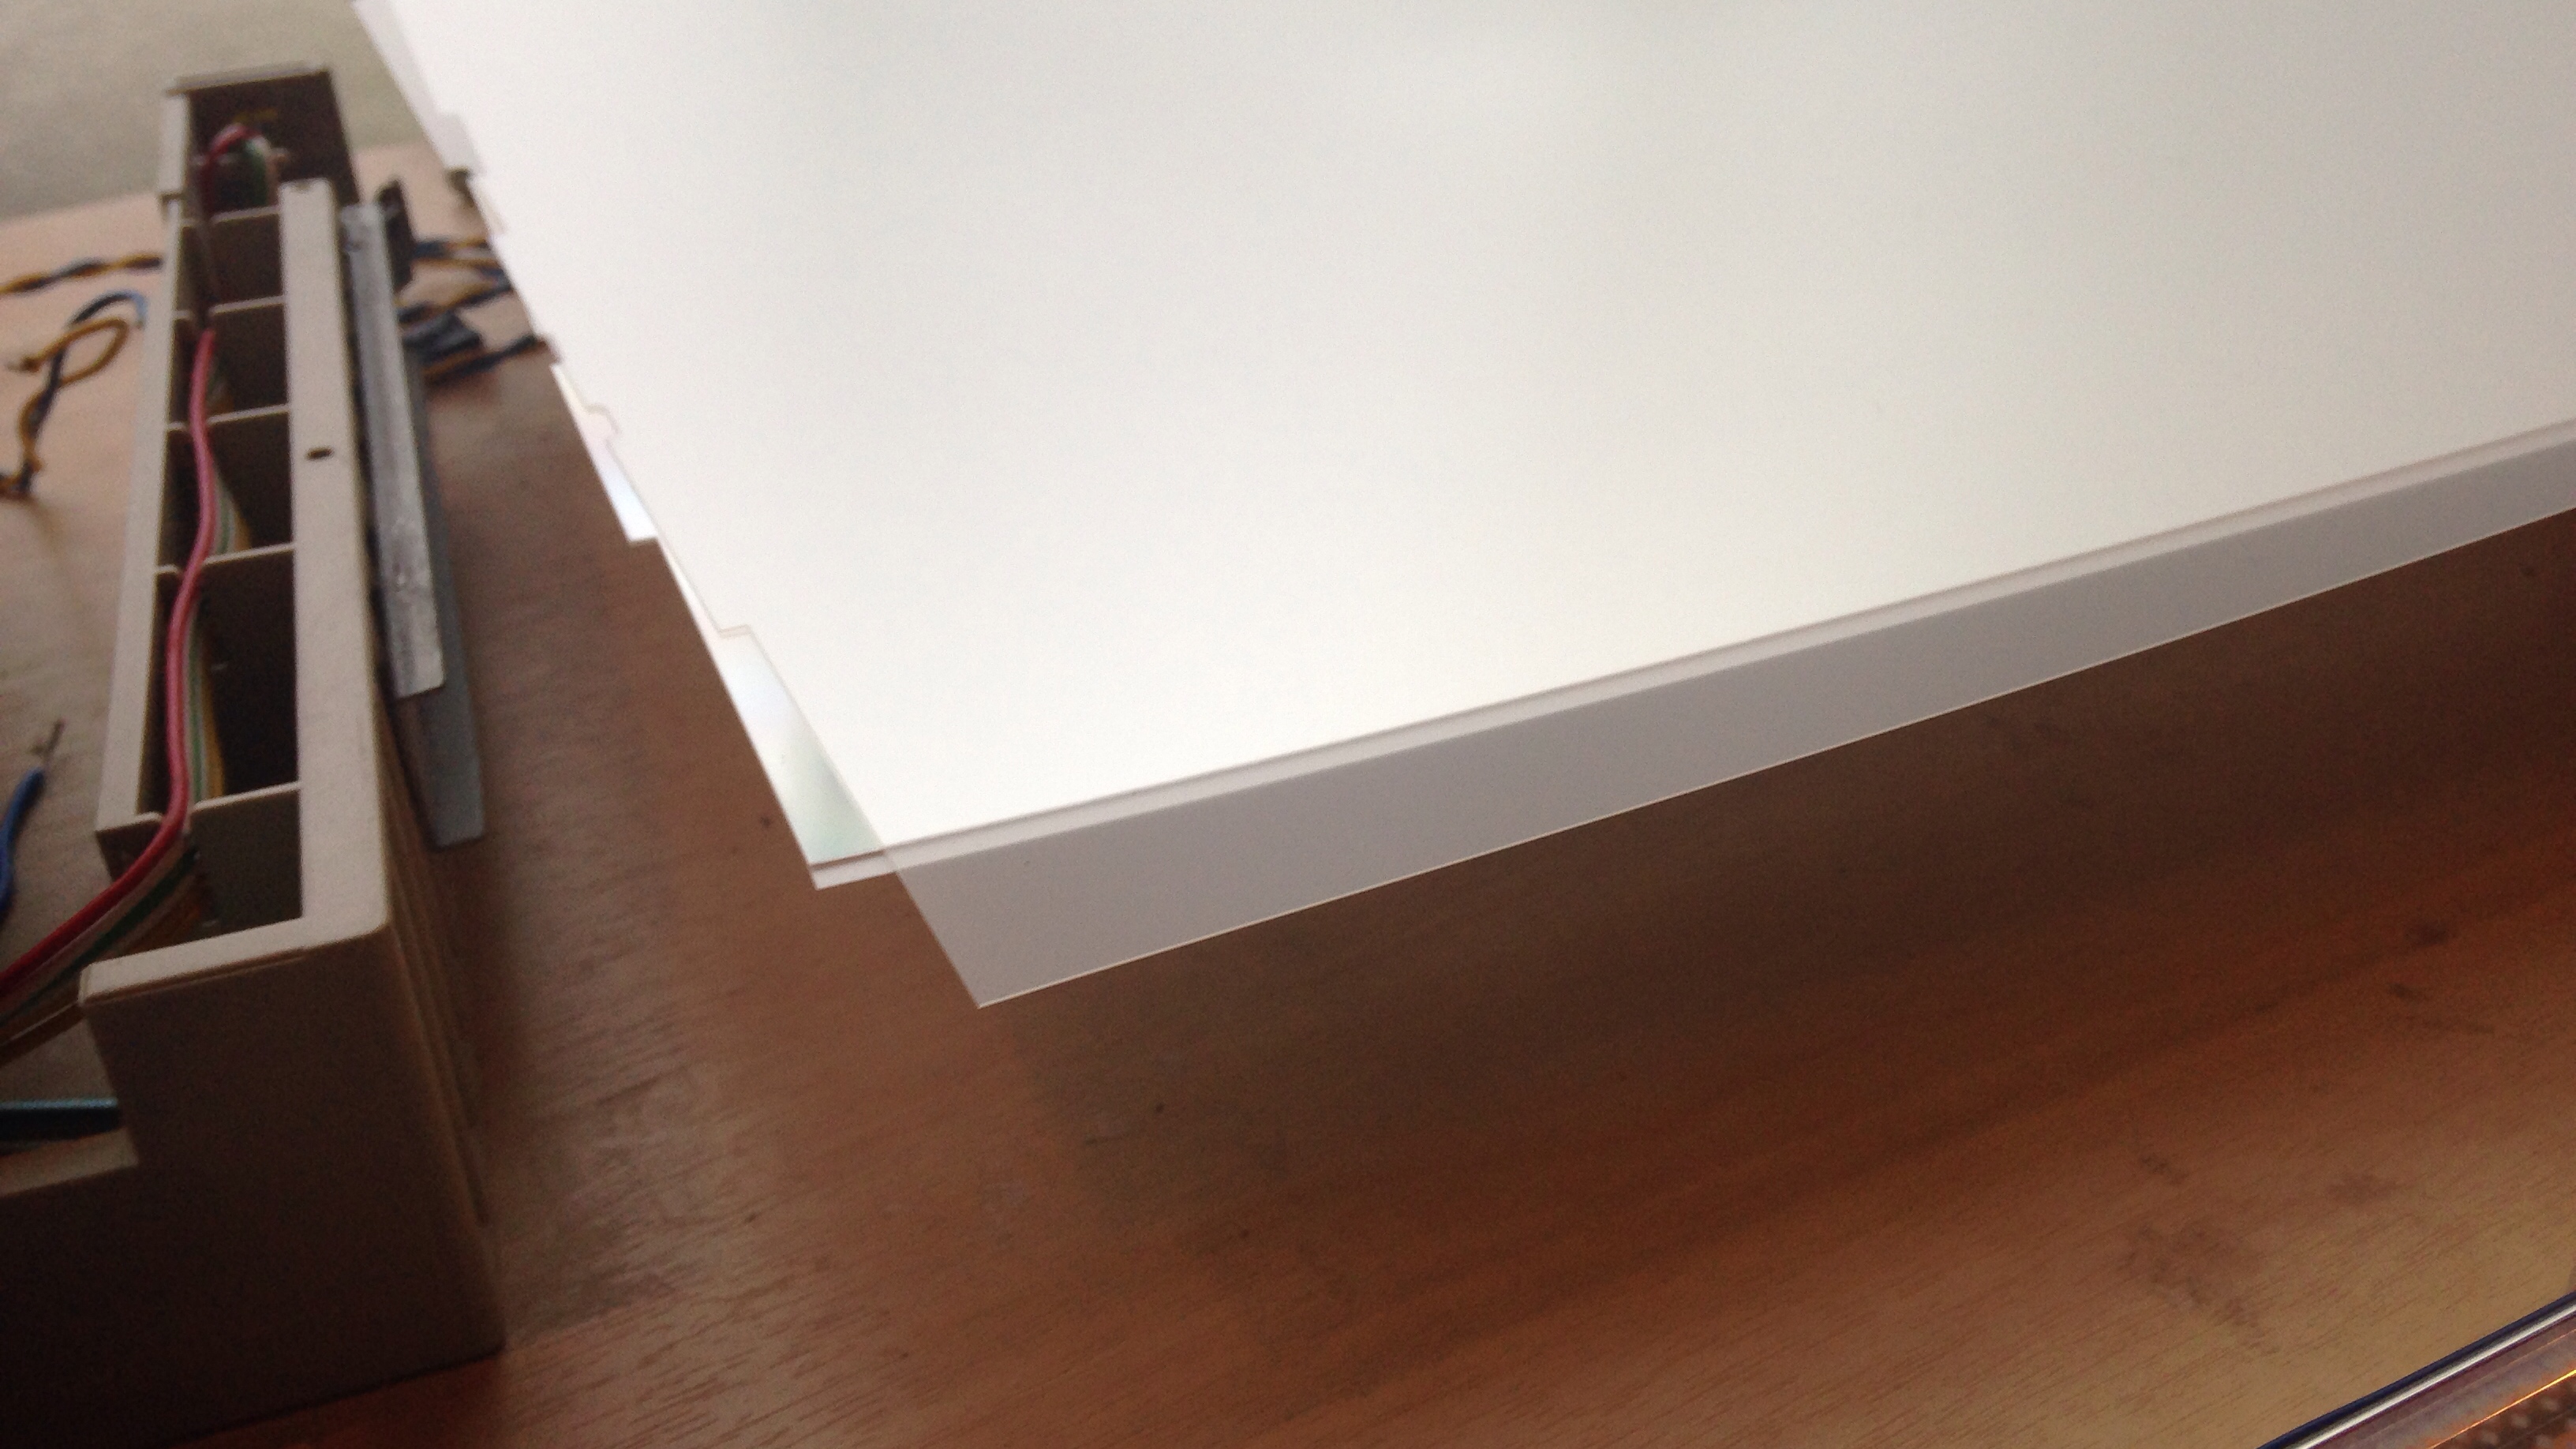
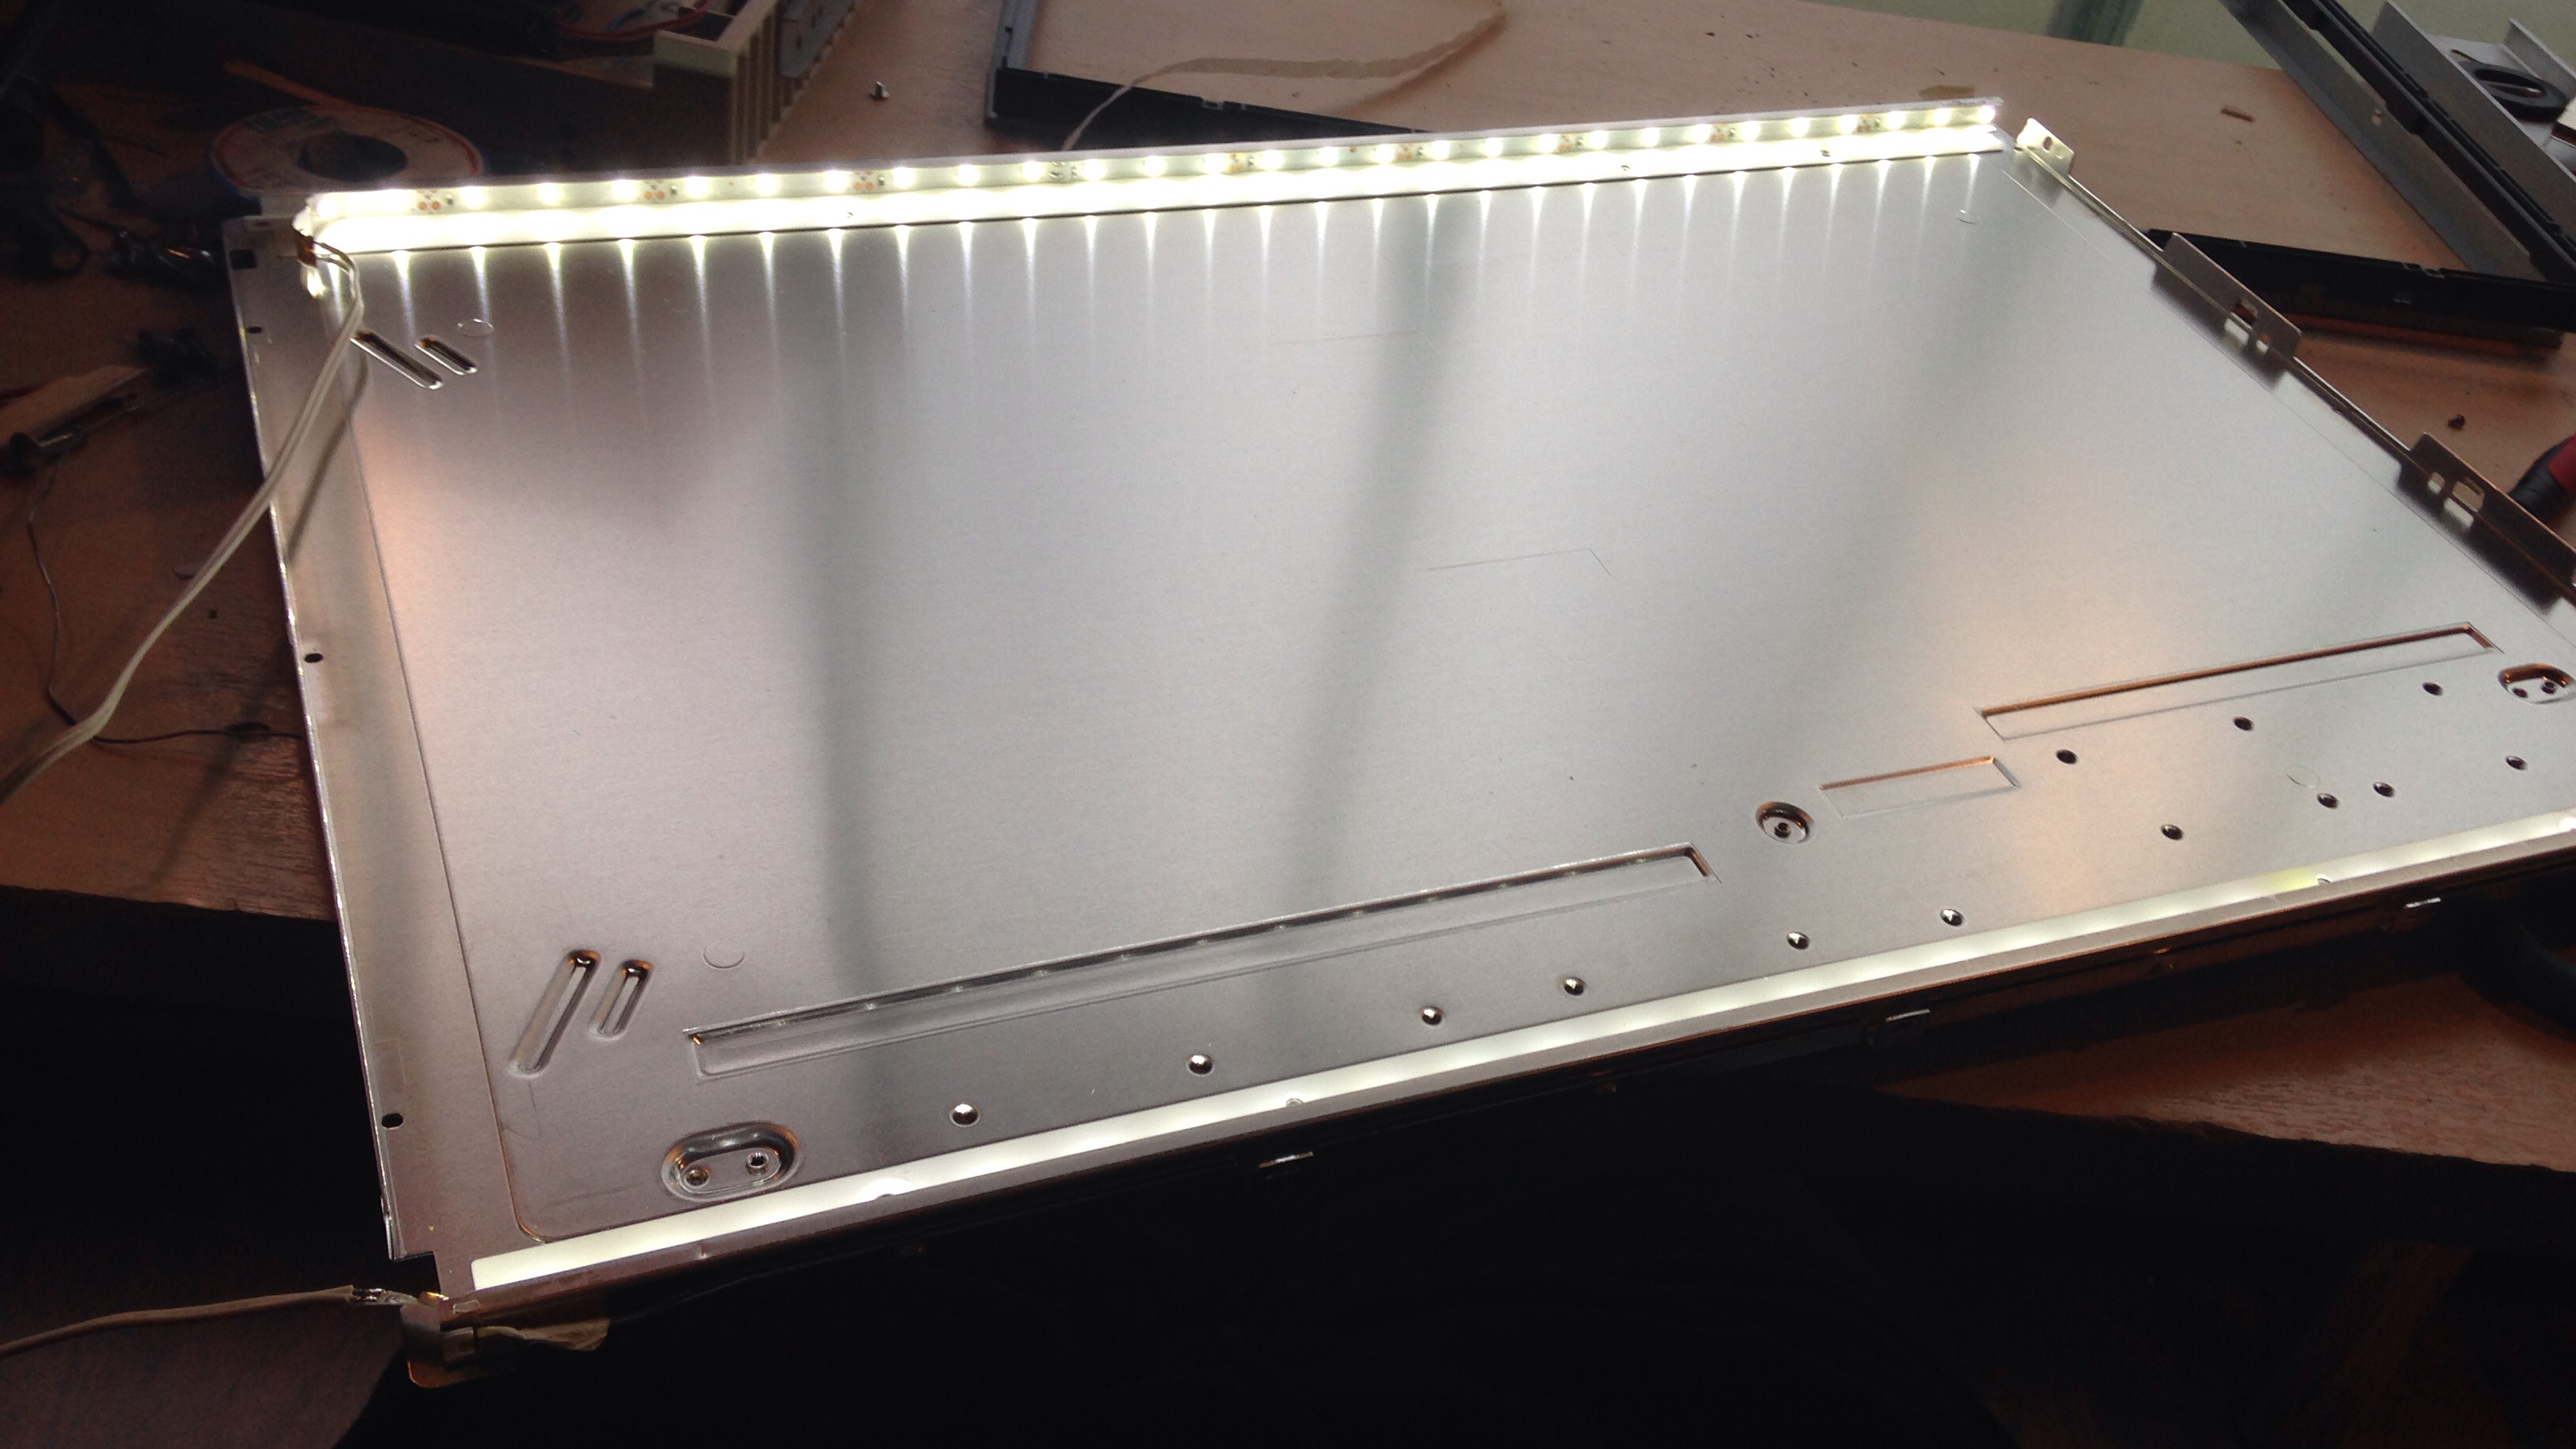
CONVERSION PROCESS PART: final product
on images you will notice the led-strip there, its not smooth on bottom and top of monitor, this can be fixed by adding other type of strip or adding something to get light better. For me is ok.


FINAL WORDS
was it fun?
YES 🙂
was it worth?
Took lot time, but only parts there what really cost money was caps all other parts was already existing.
This was good learning project. i hope this info will help someone else.