Category: English

China post bring Mail!

Got this from china postage today:

img_6191.jpg 
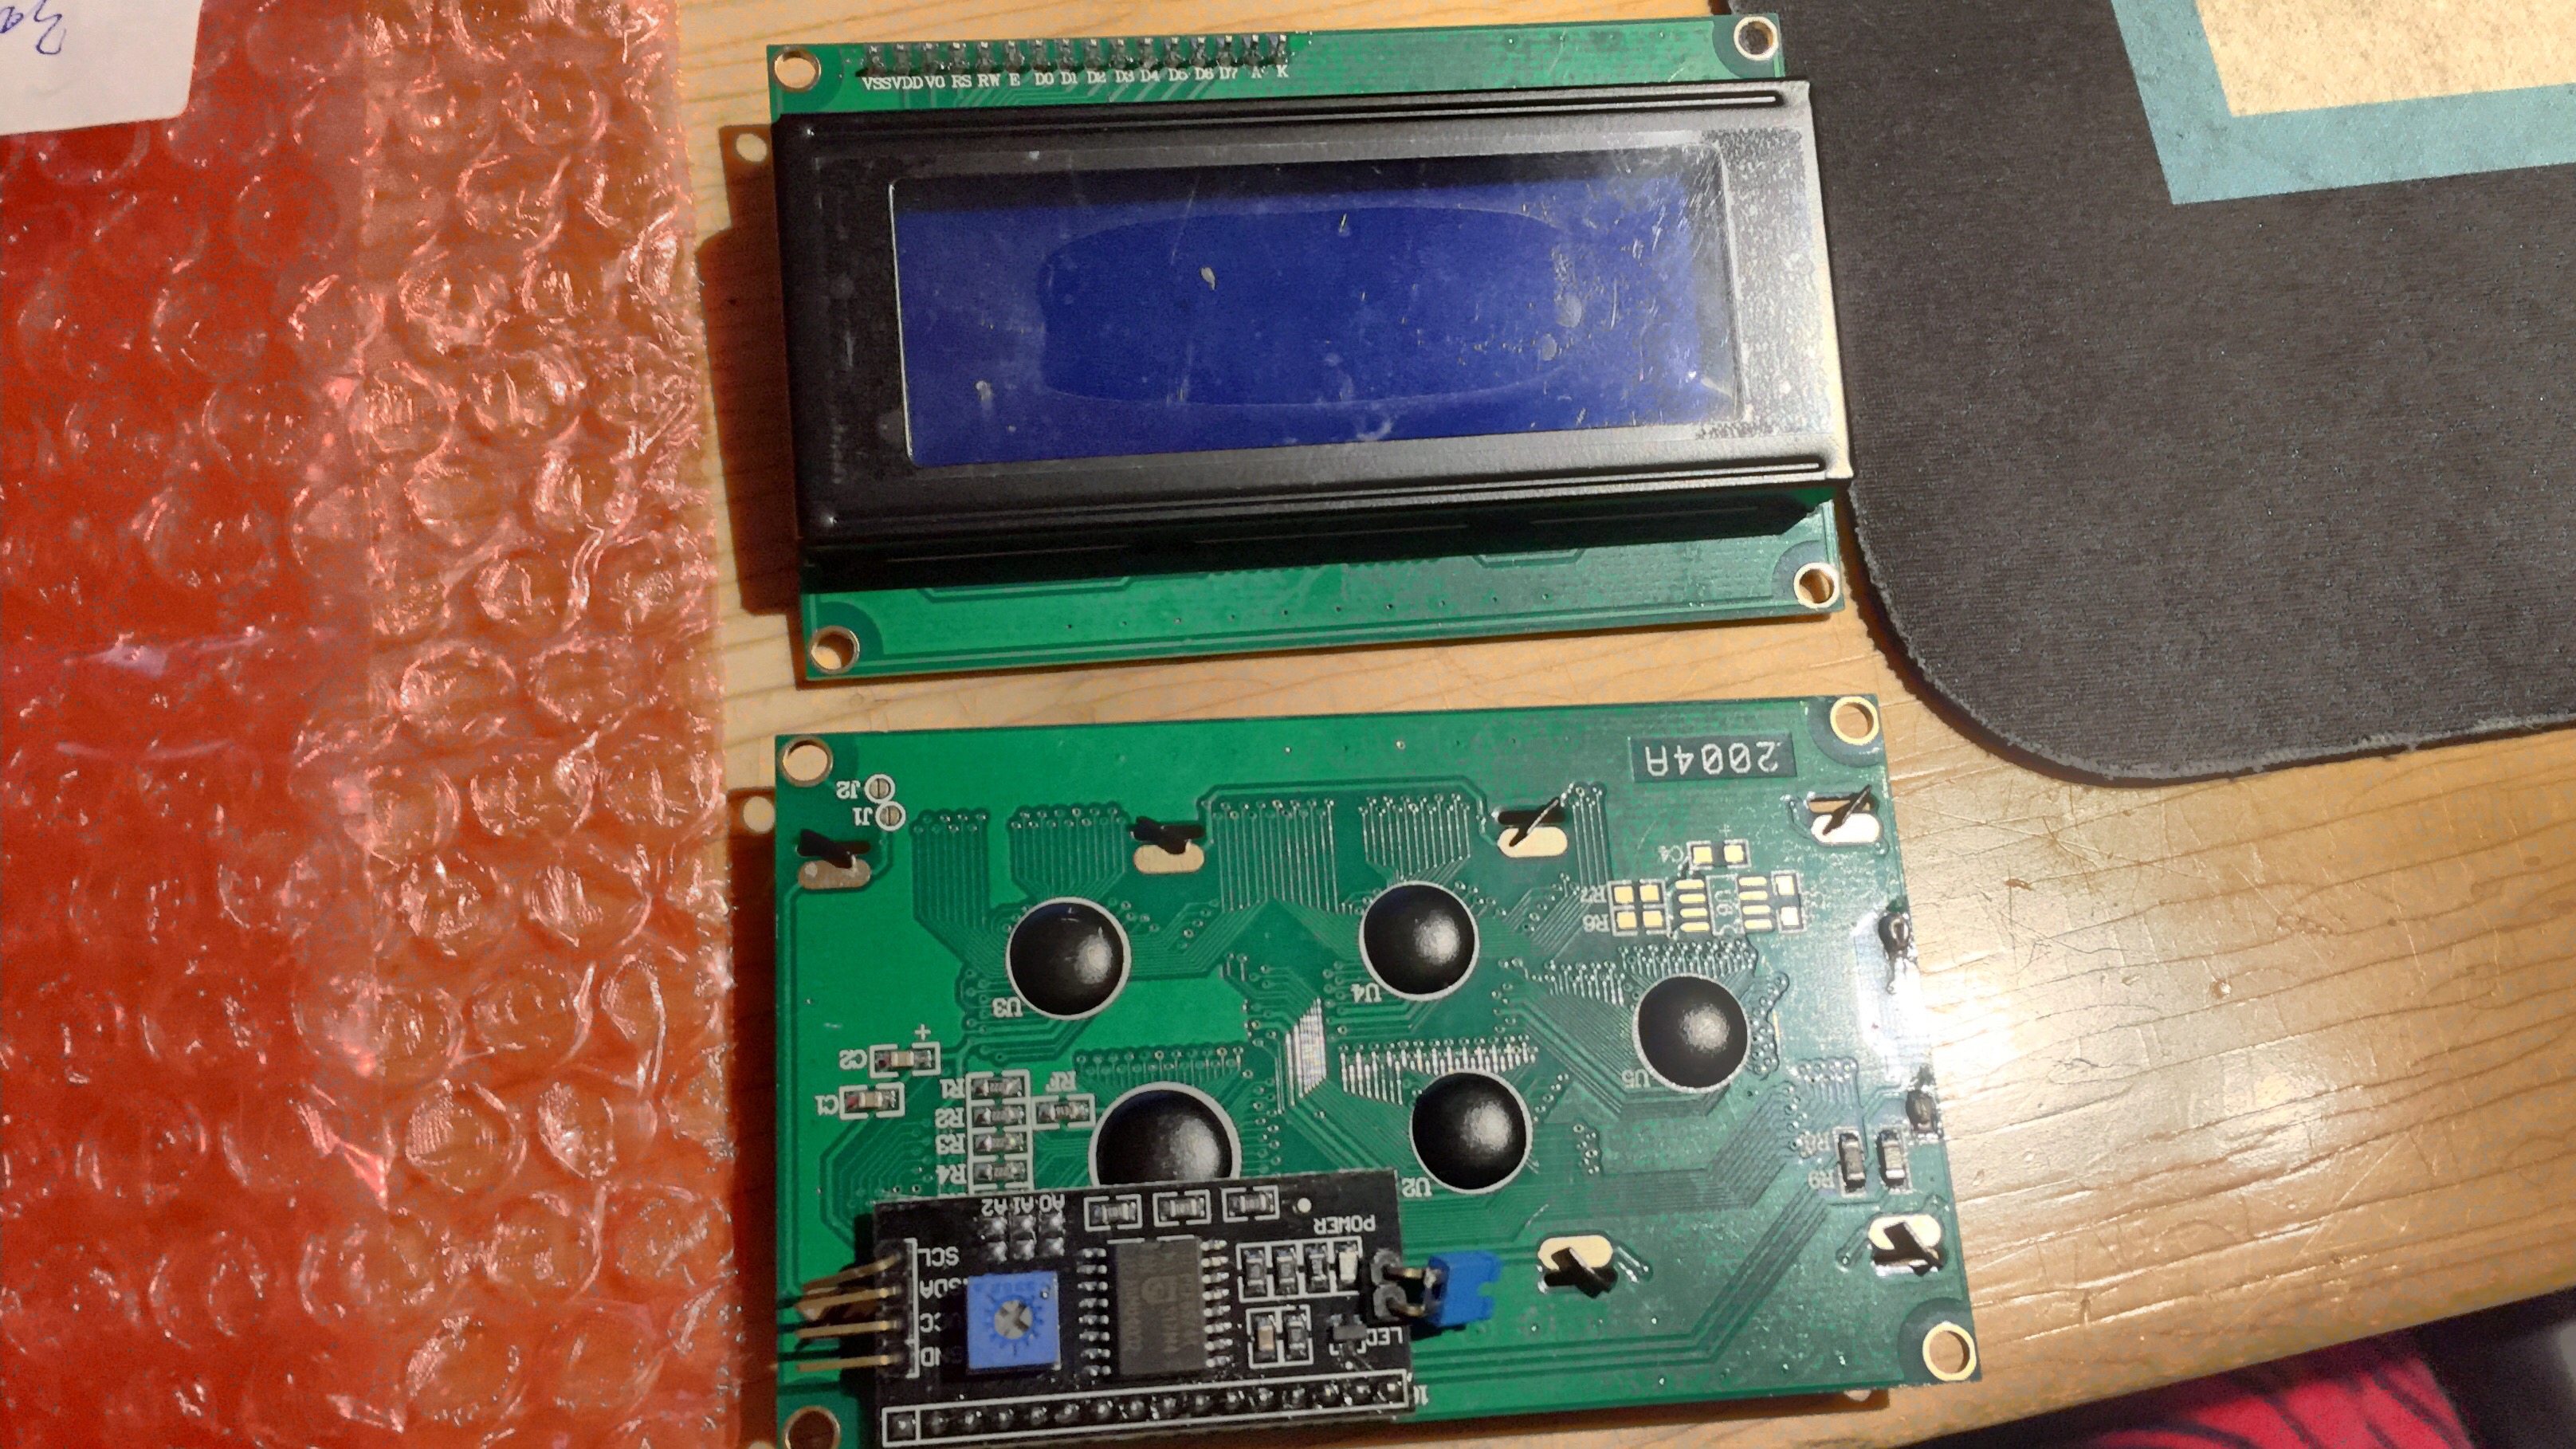
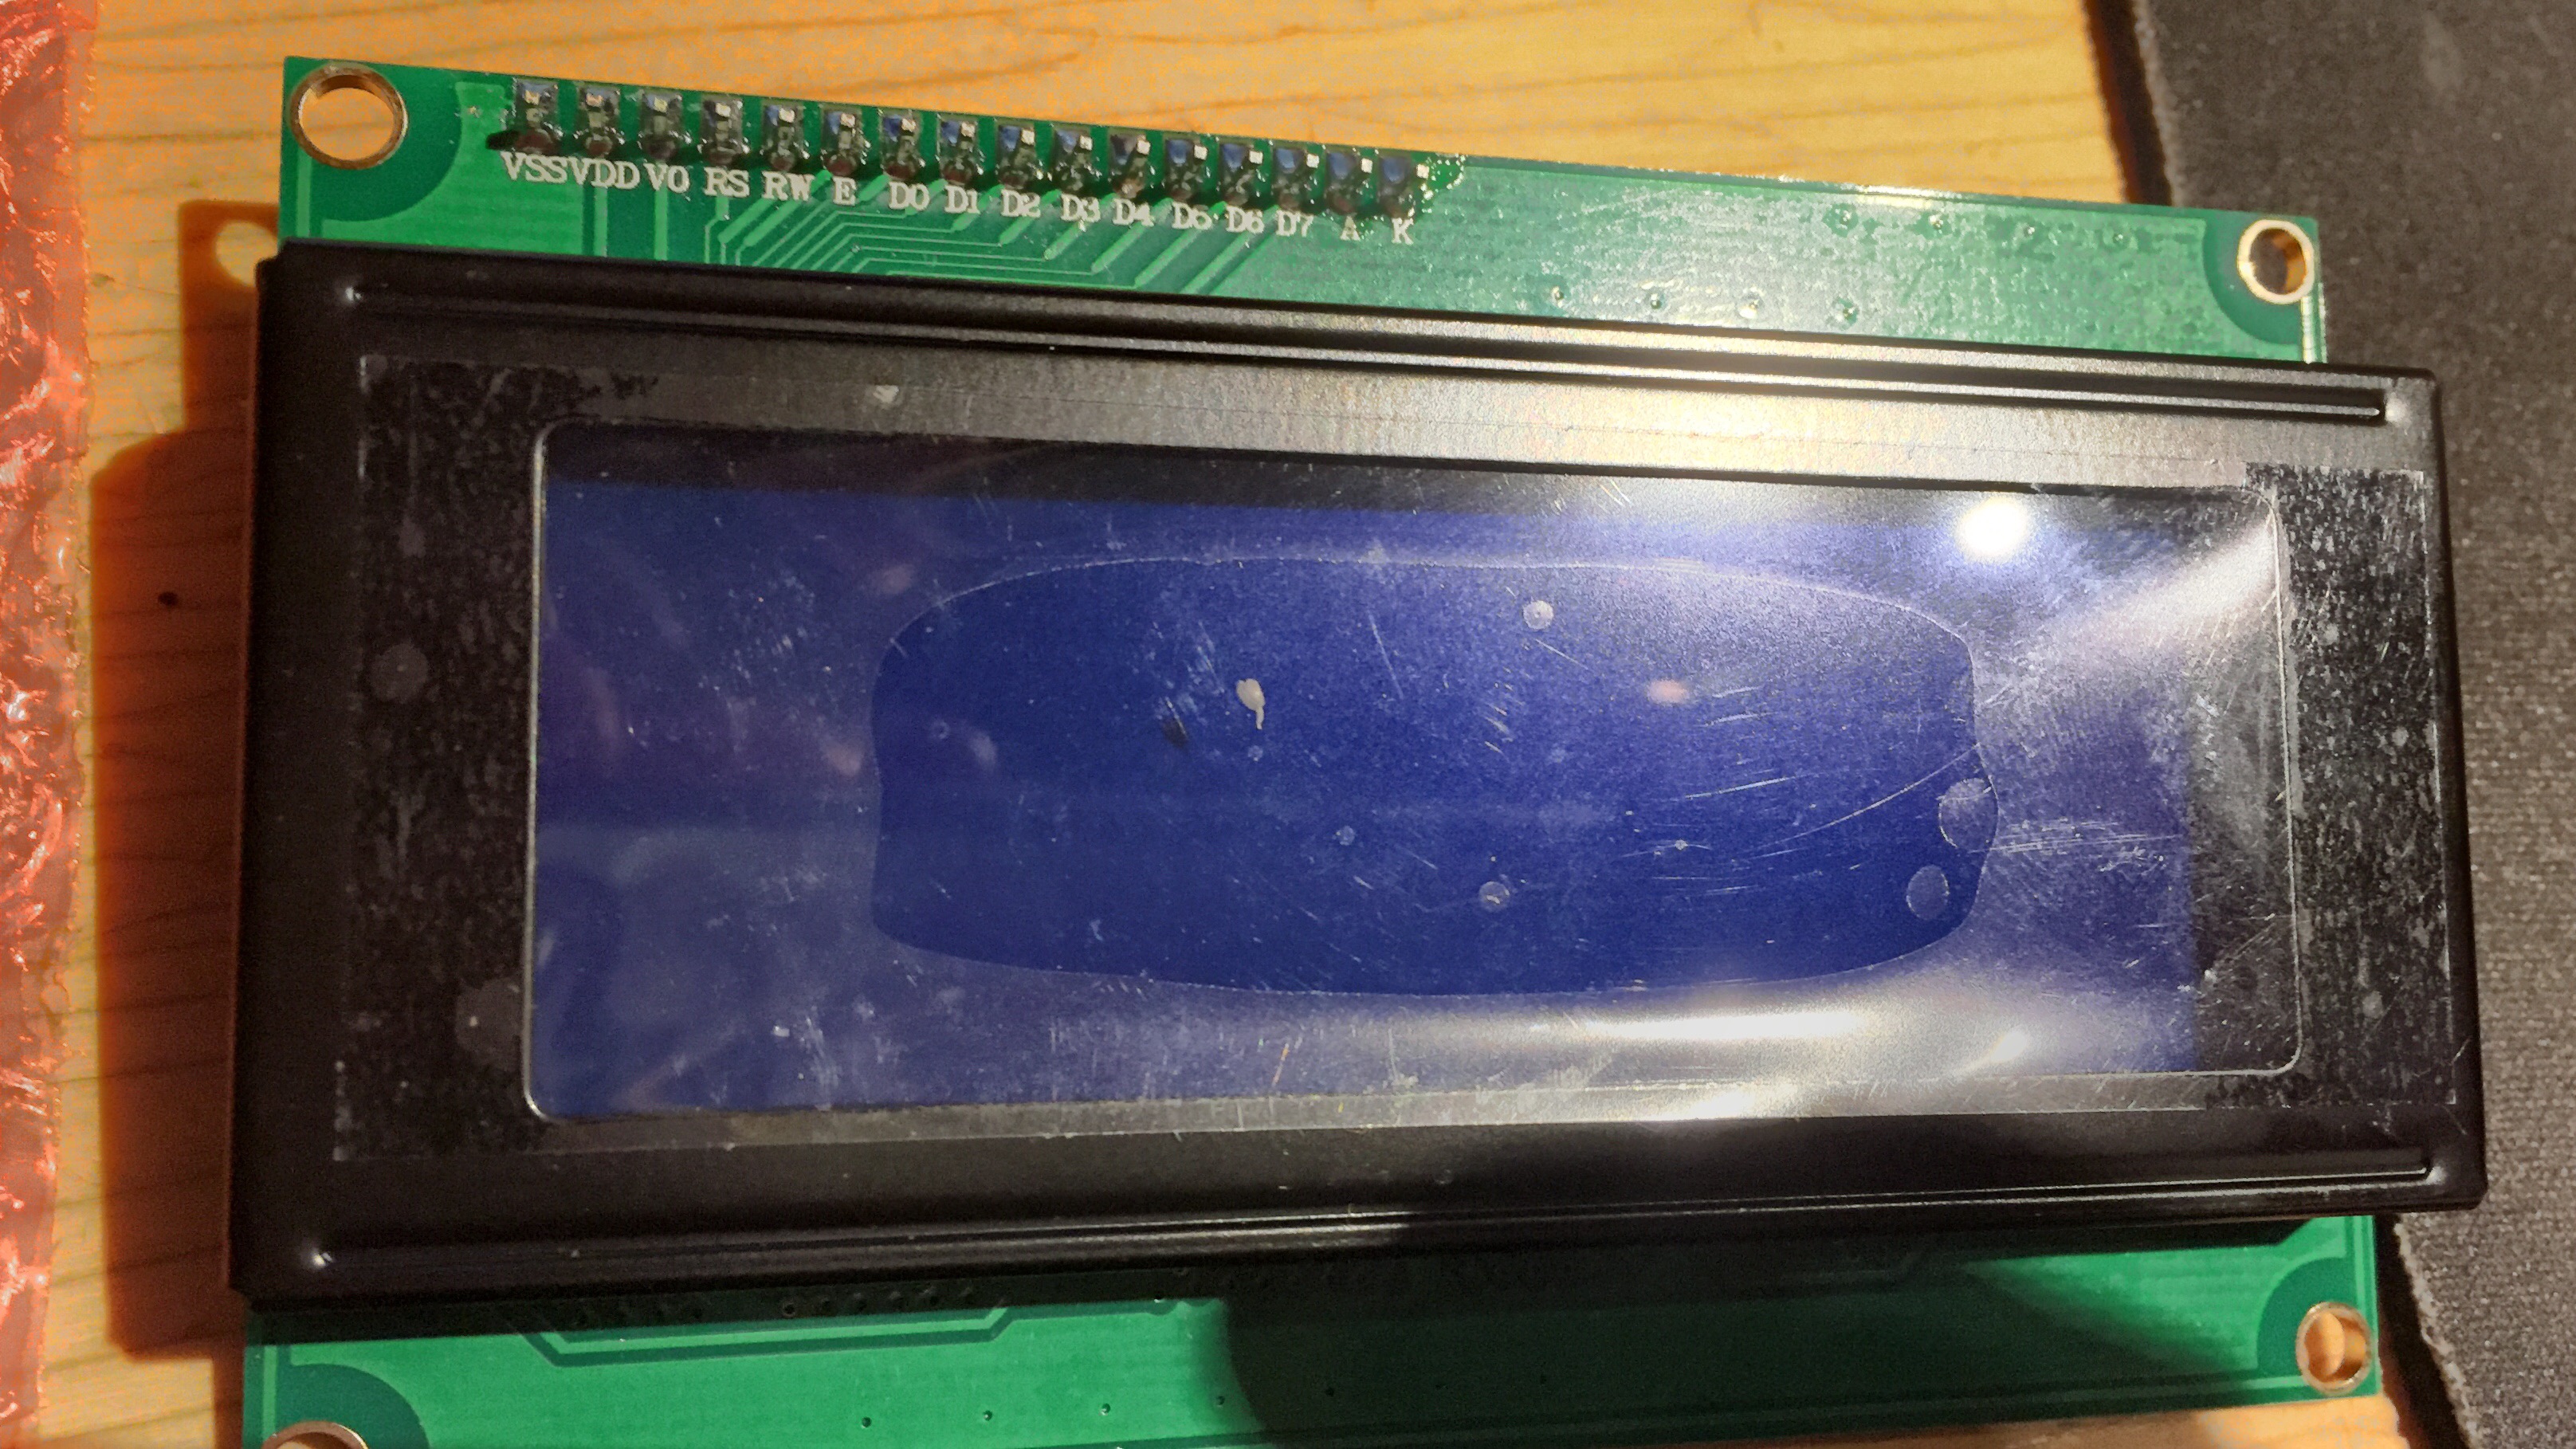
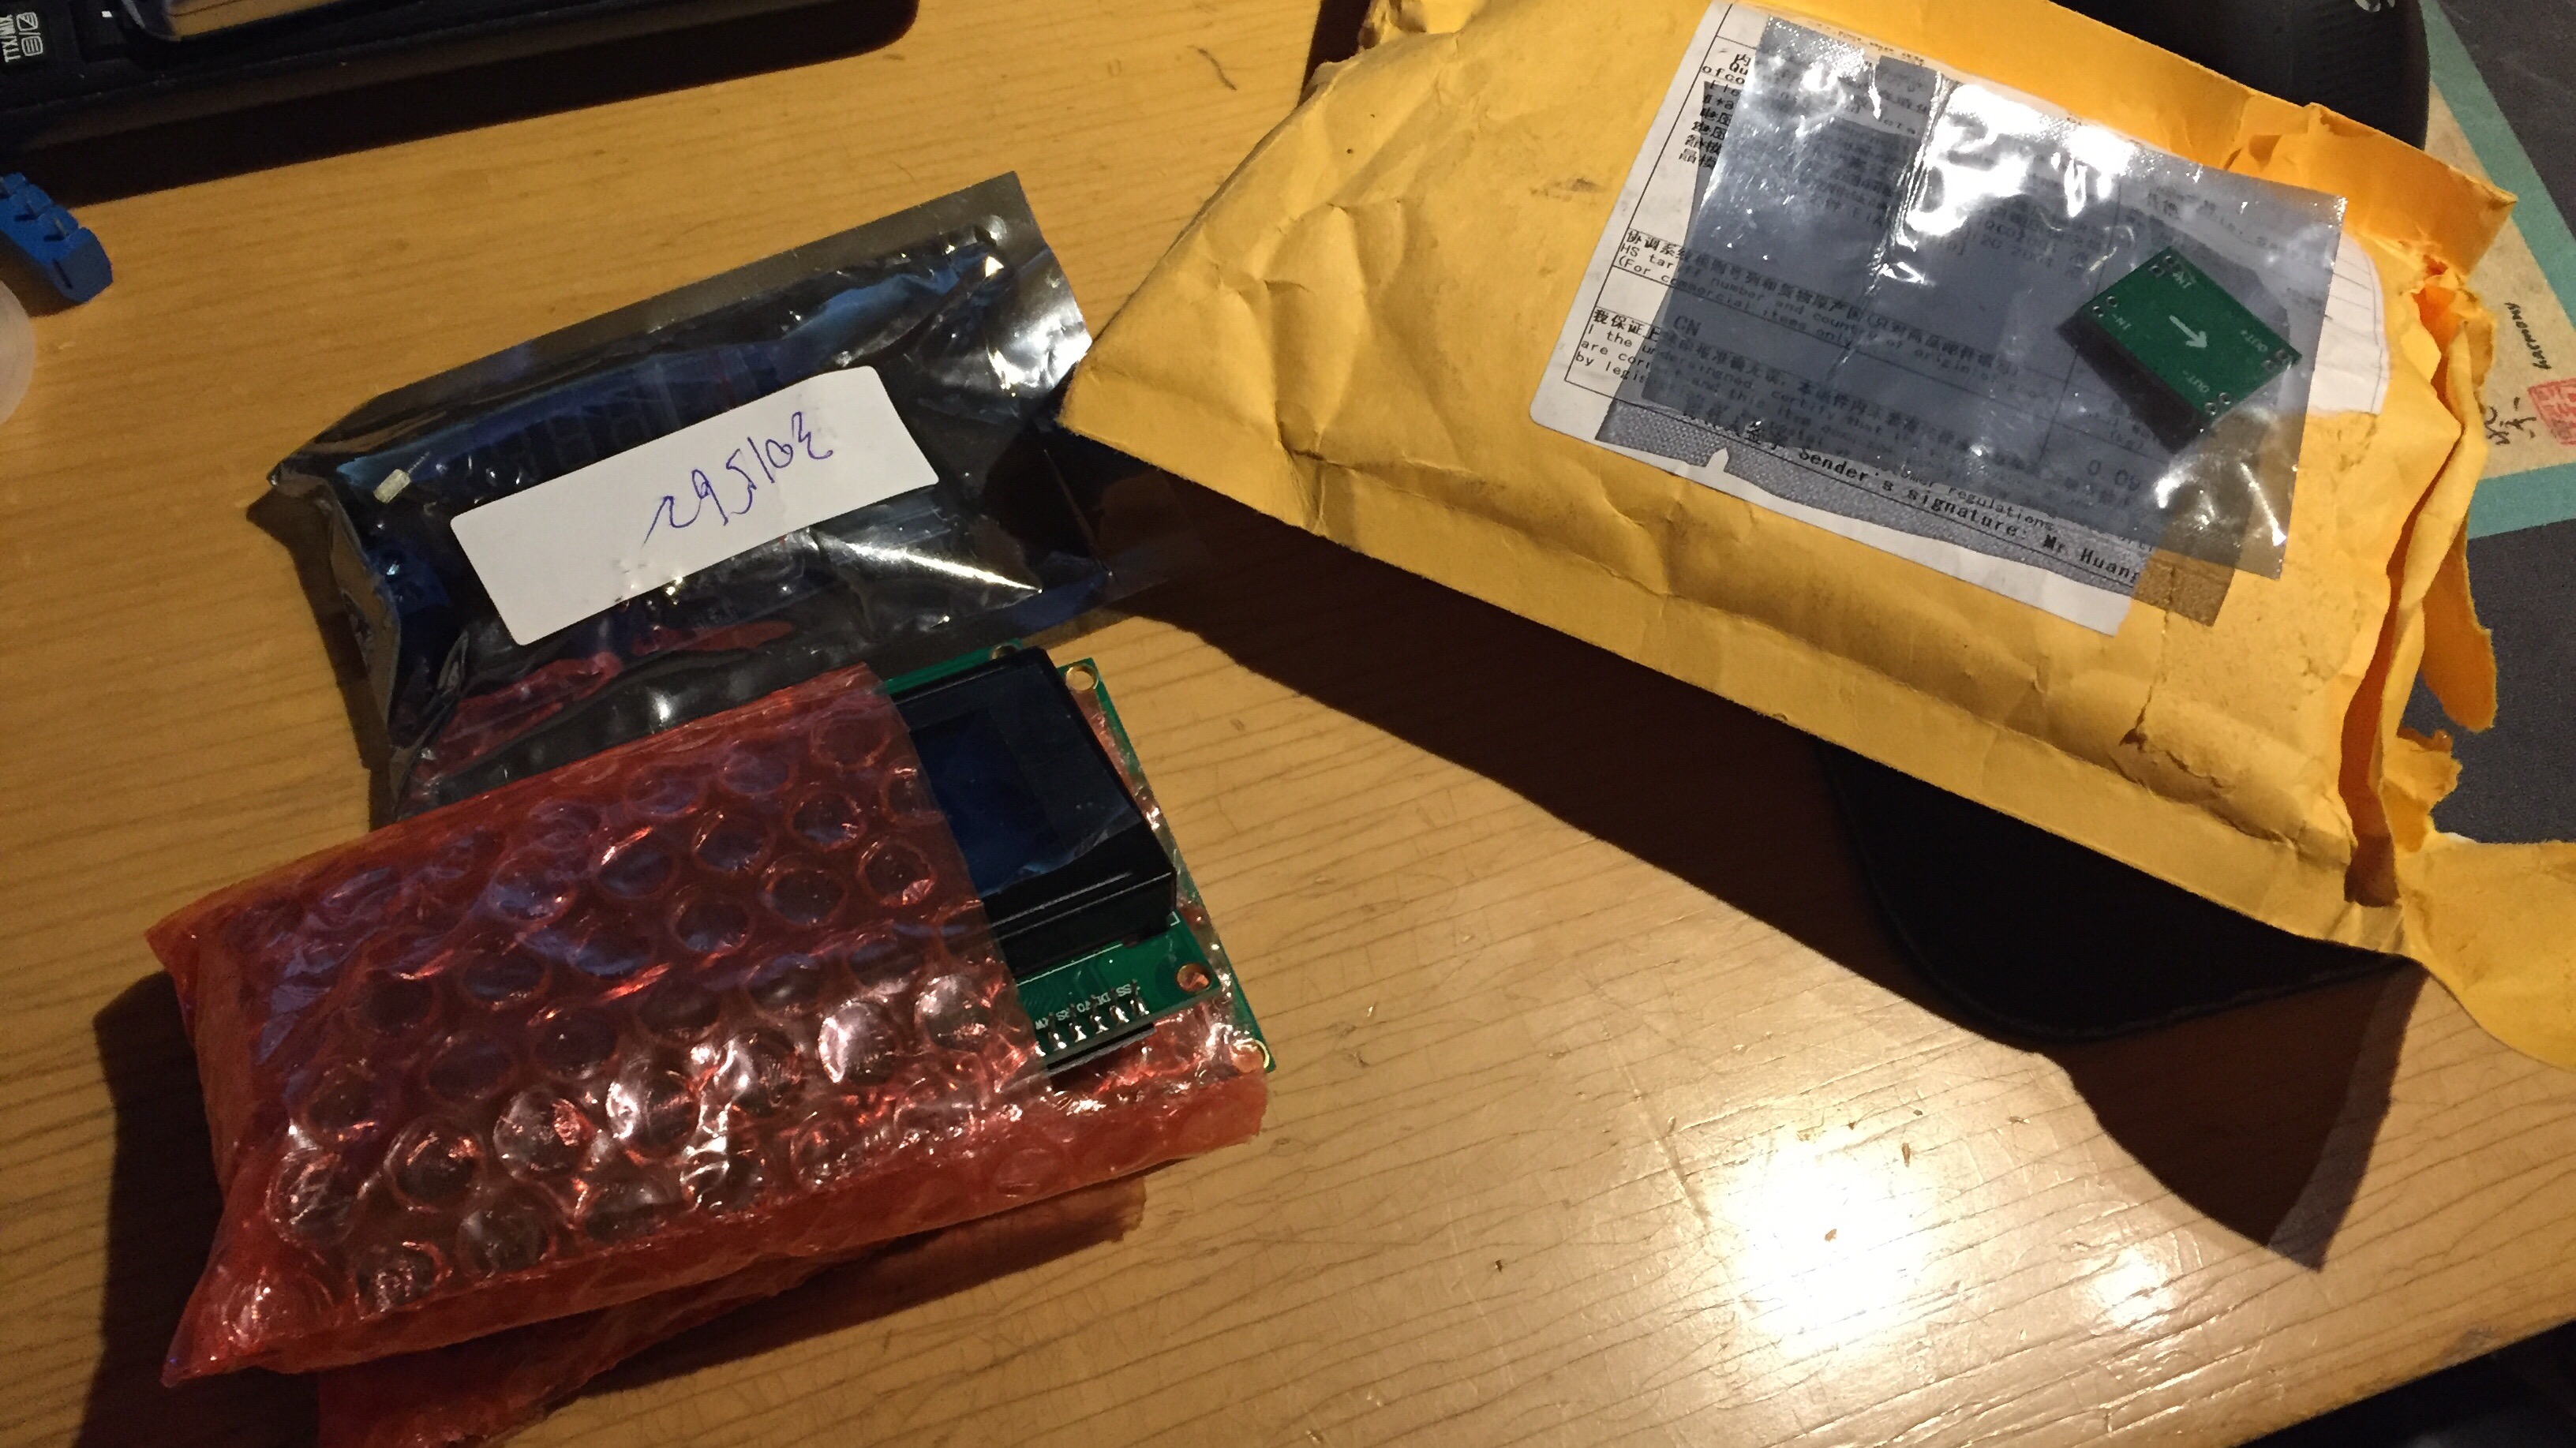
2 x LCD screen SPI /i2c interface.

One charger/voltage DC-DC step-down converter


This LCD screens are part of my project creating a homemade KWh meter, ill be connecting arduino to raspberry pi, reason i need arduino is the analog pins. Price of this items was around 5€ on ebay, super cheap china-stuff 😀

img_6193.jpg img_6194.jpg img_6195.jpg

Arduino has ordered same time but it taking very long time to arrive!

This is for home-automation, about to connect 3-phase Mains + 12 volt systems + charge from solar panel, let the hardware count and bring the numbers into screen how much there is energy coming from sun and how much is spending.
About this i going write more later, as now i cannot even start build it because lack of missing parts 😀


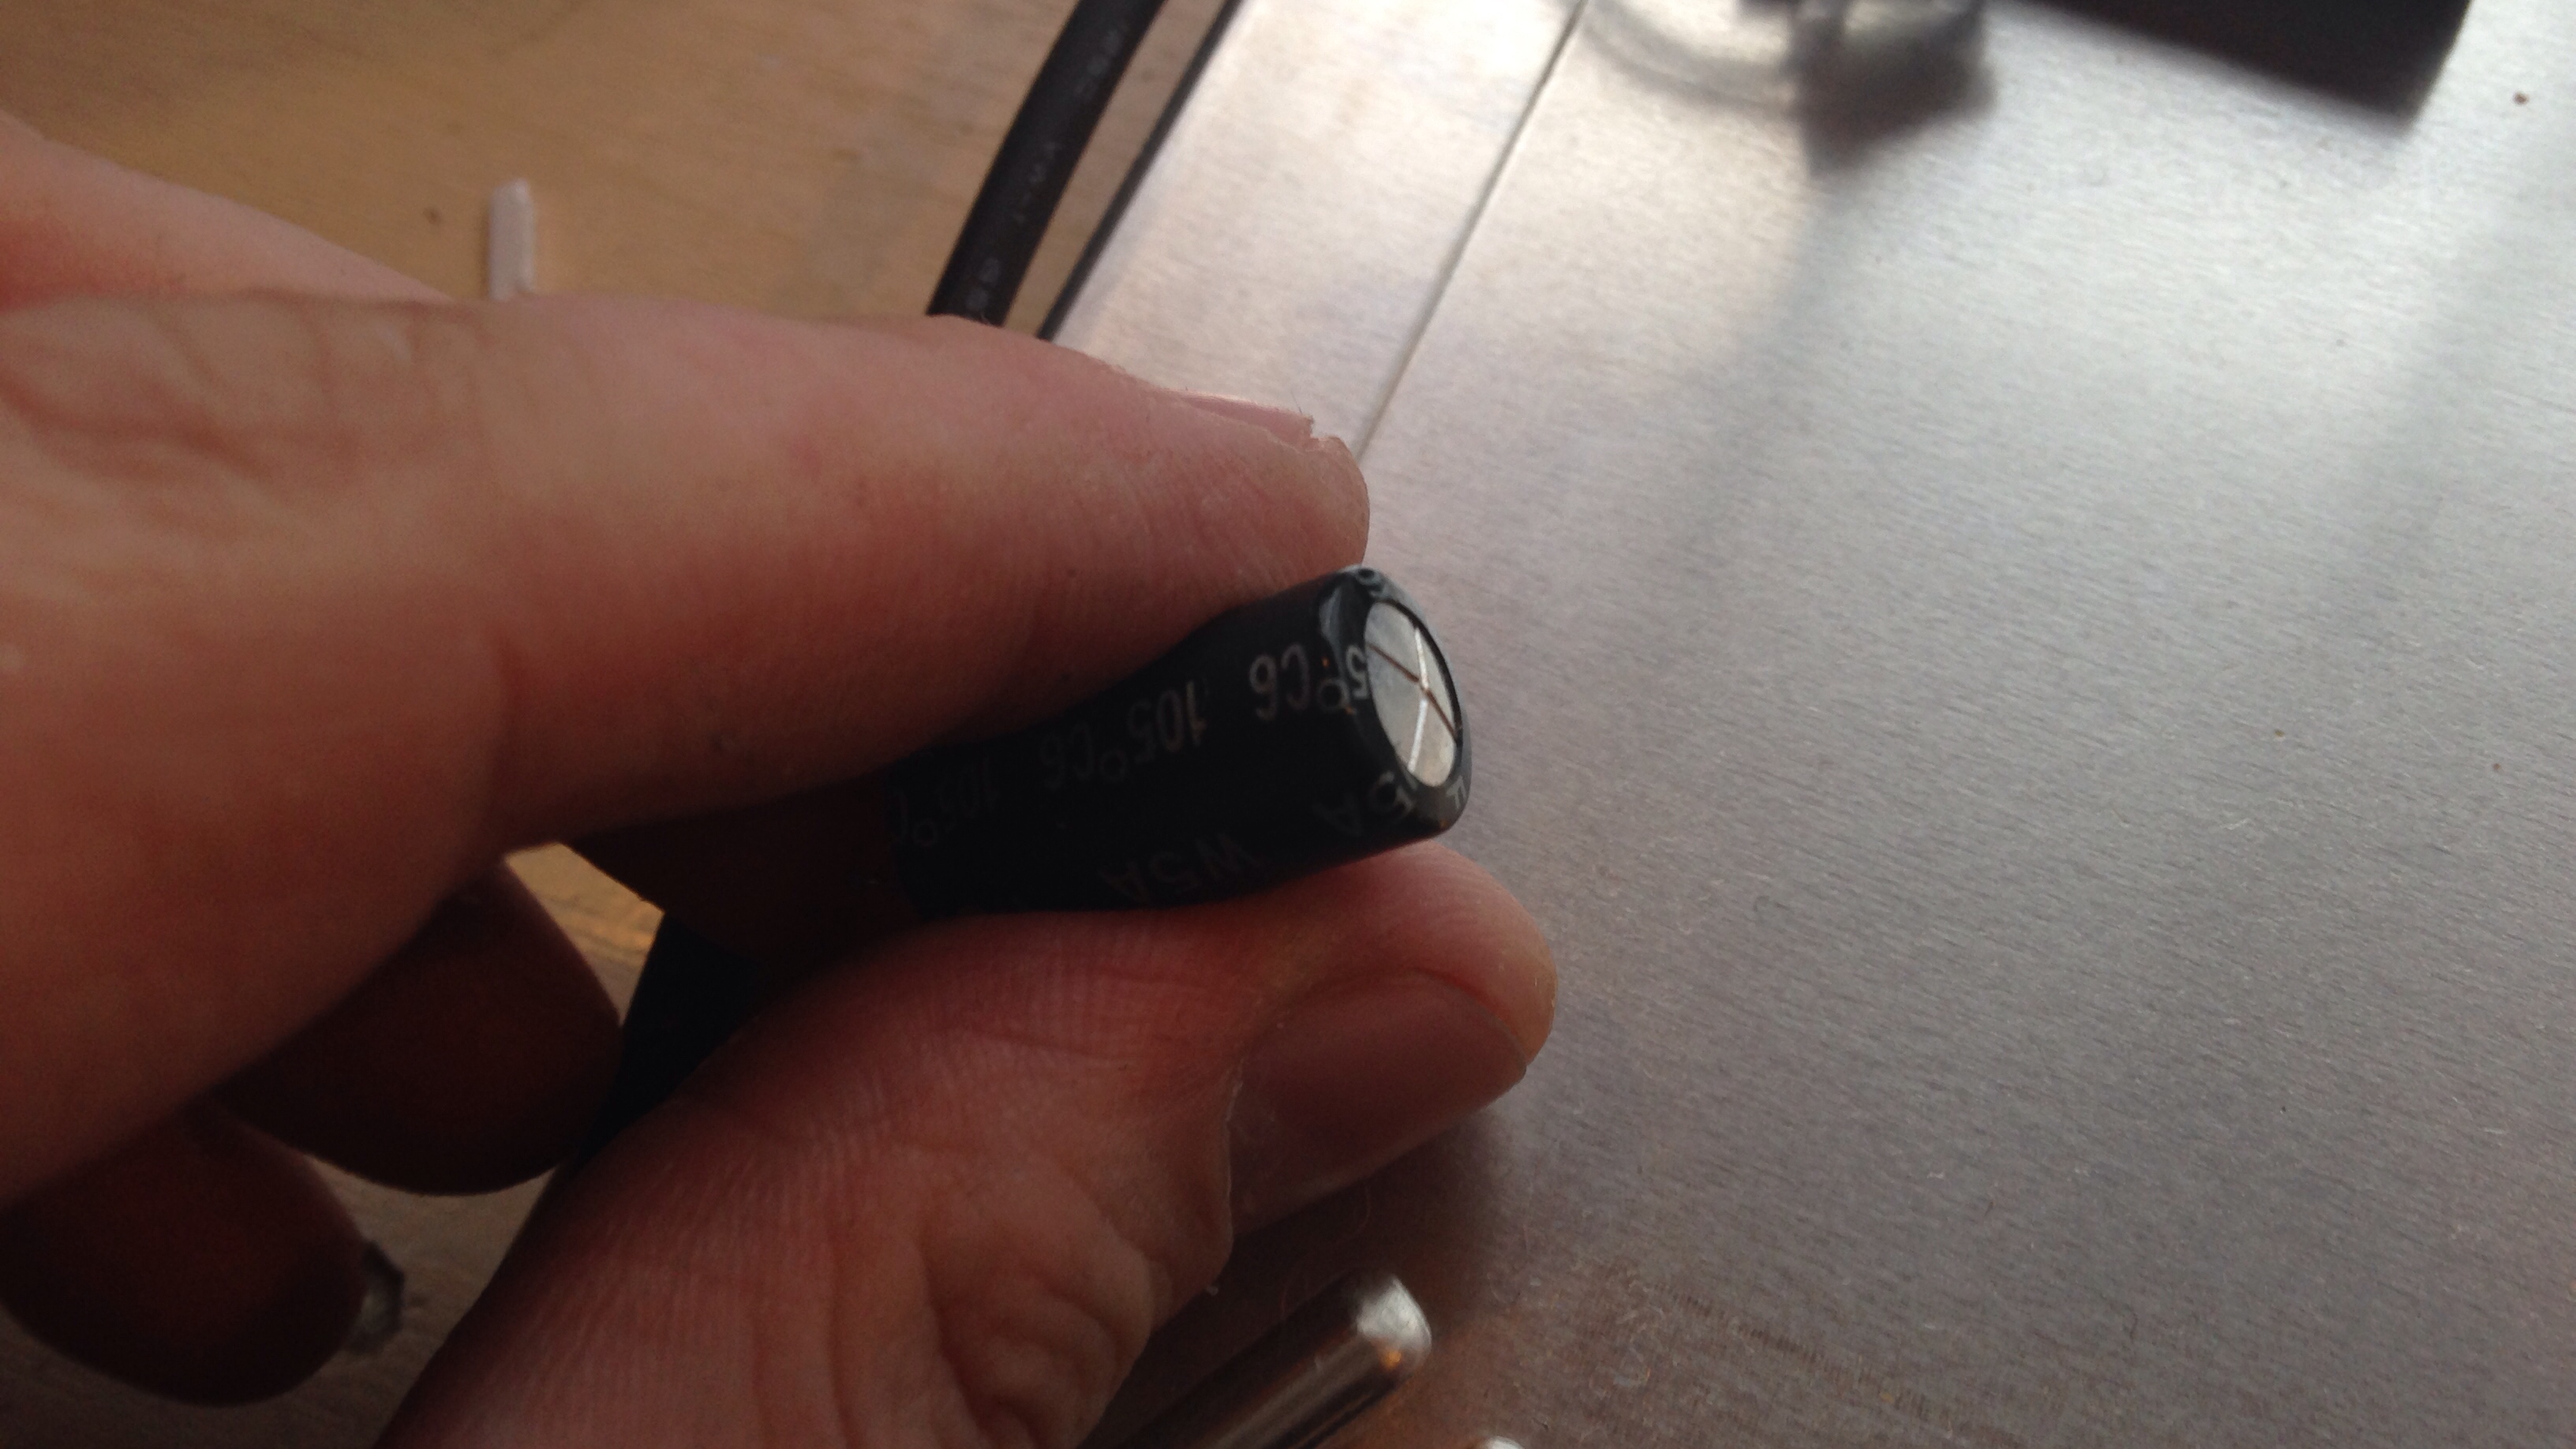
About DC-DC converter

Its a 75W 5A Adjustable LED Driver DC-DC Step-down Charge Module With Voltmeter, it cost about 3,70€ on ebay.
Im about to try this on solar panel tomorrow in a hope to get rid of need charge controller (on small panel)
Charge controller does not work at all with 40cell panel, lol. too much voltage even the manual says 50V is maximum.

img_6198.jpg img_6196.jpg img_6197.jpg

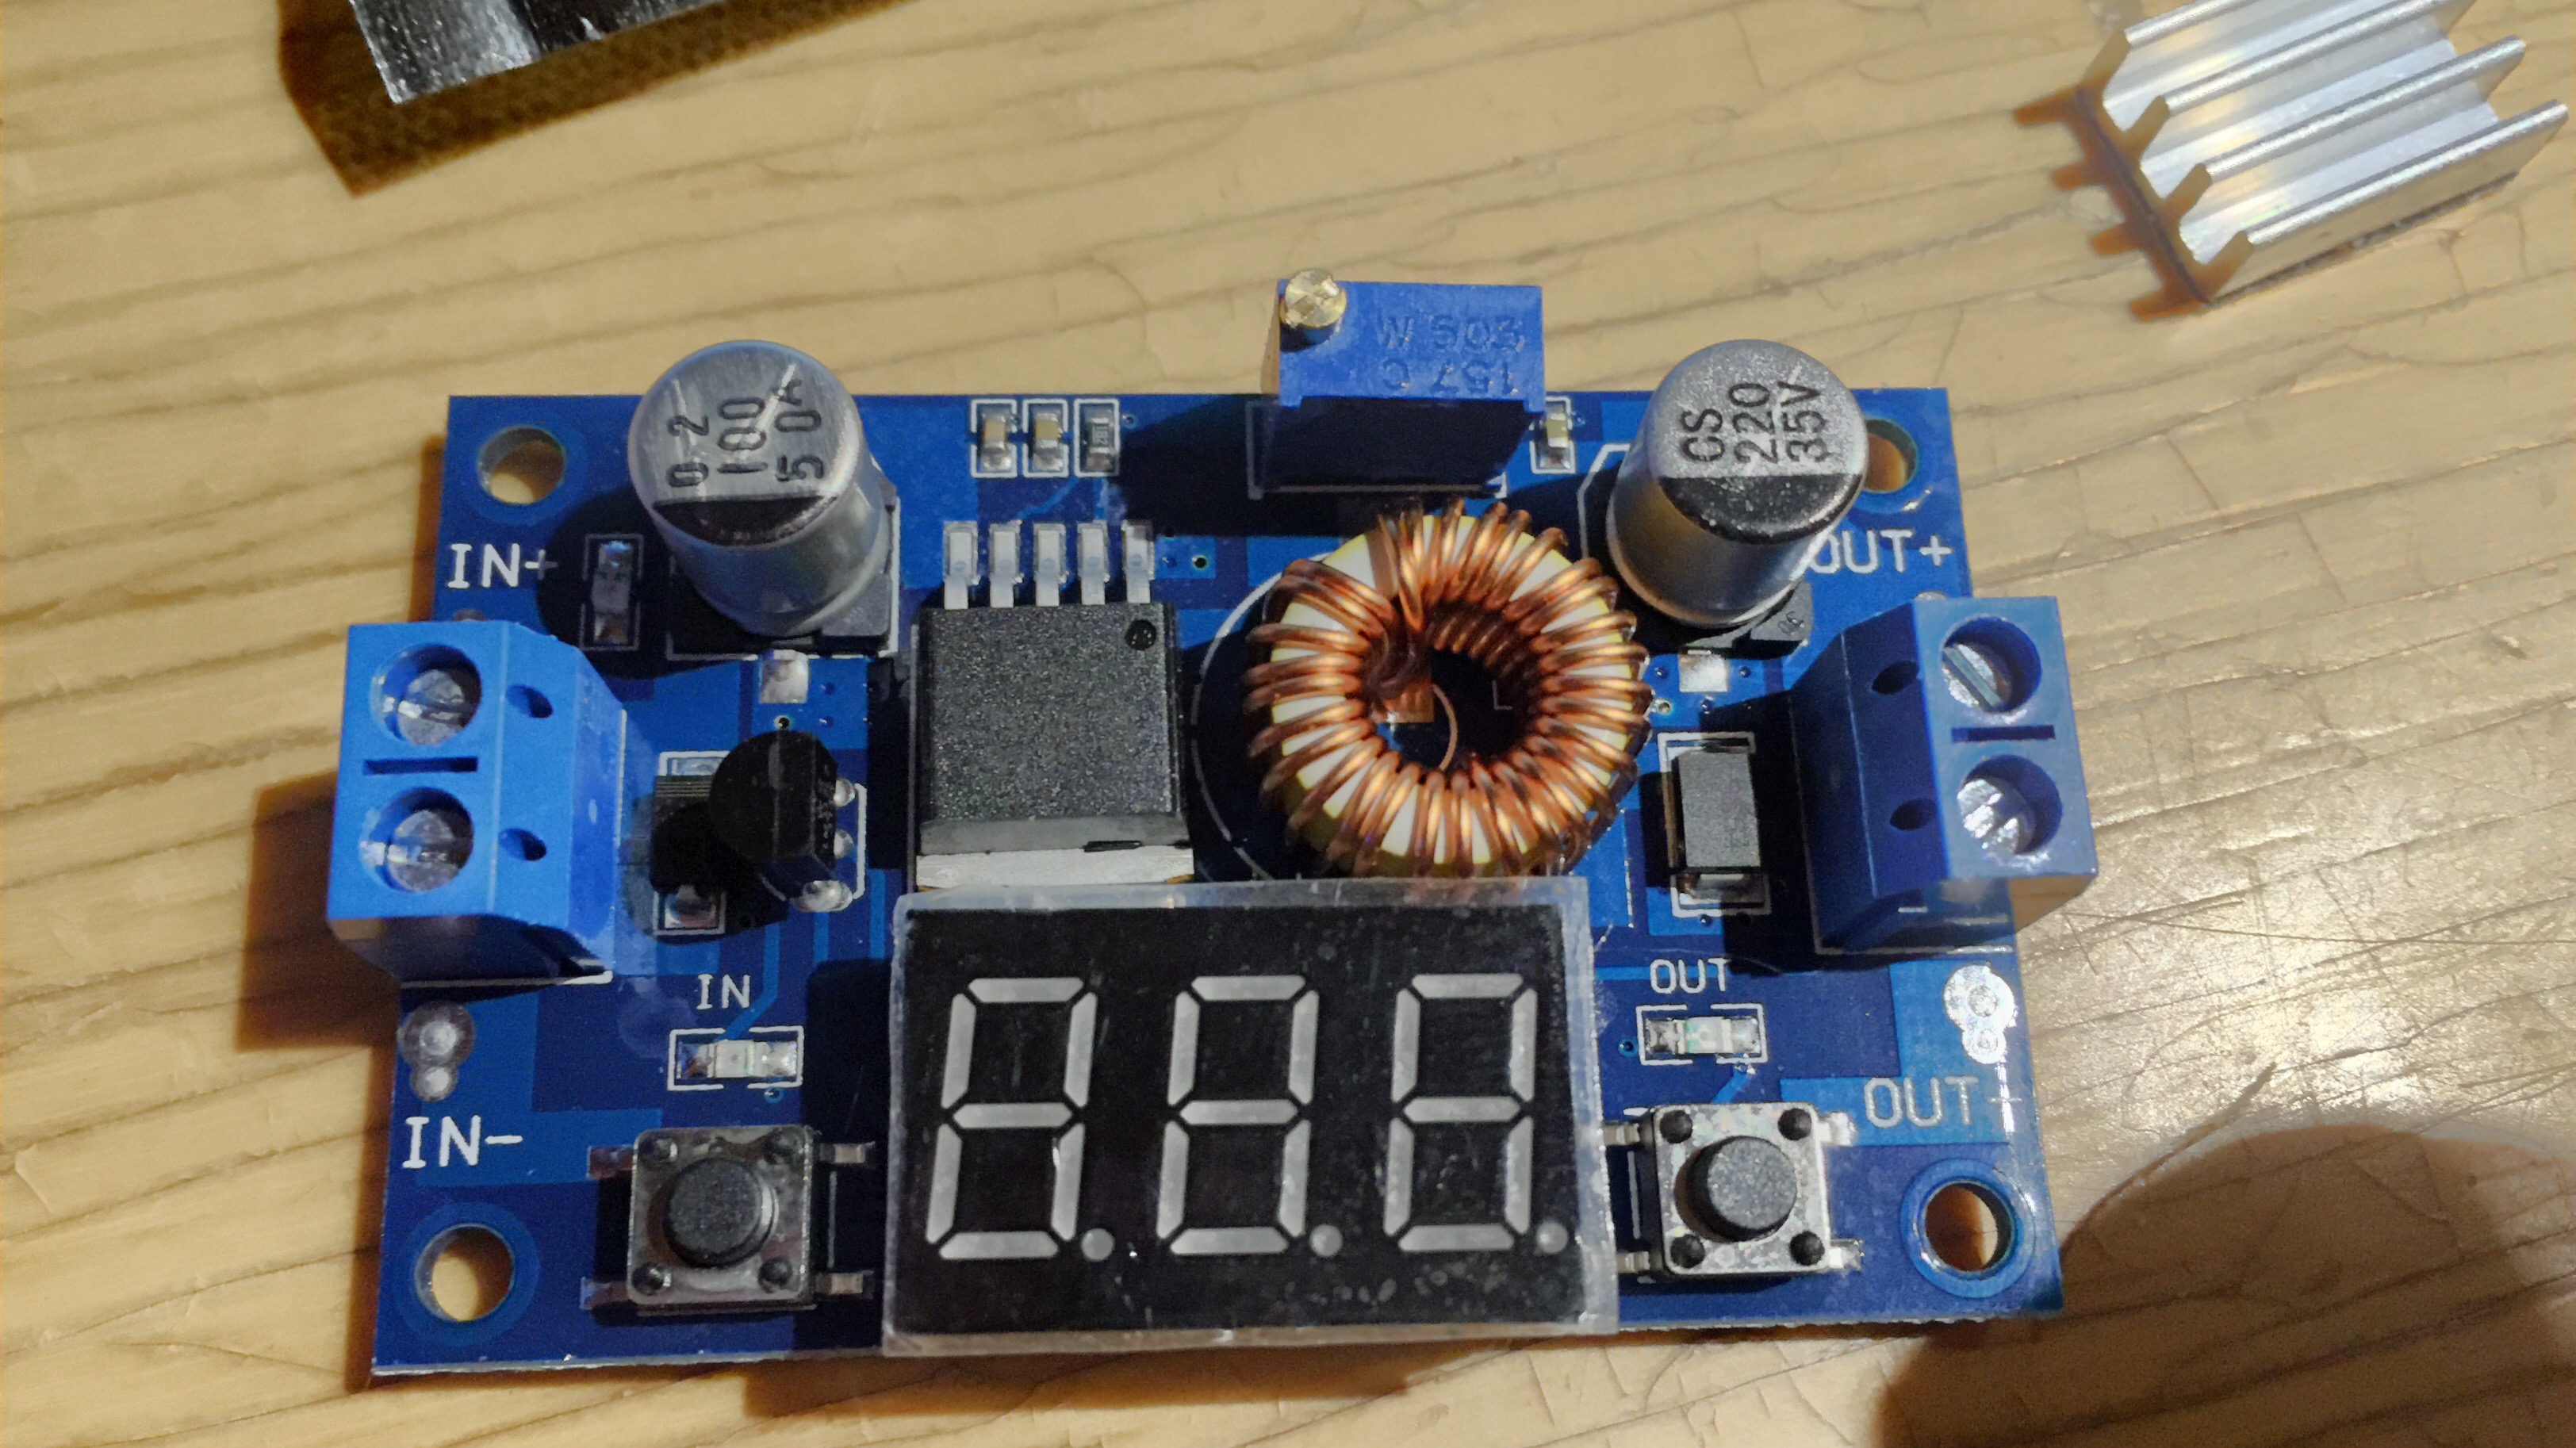
The DC-DC converter came with small heatsink and nice screws!
heatsink can be deployed to the FET i guess, there is nothing else where i can put it. But there is a char what is best efficiency and if that certain voltage is more than 90% i think no heatsink is needed on that point. The screws where good, i can mount it to the wall afterwards.

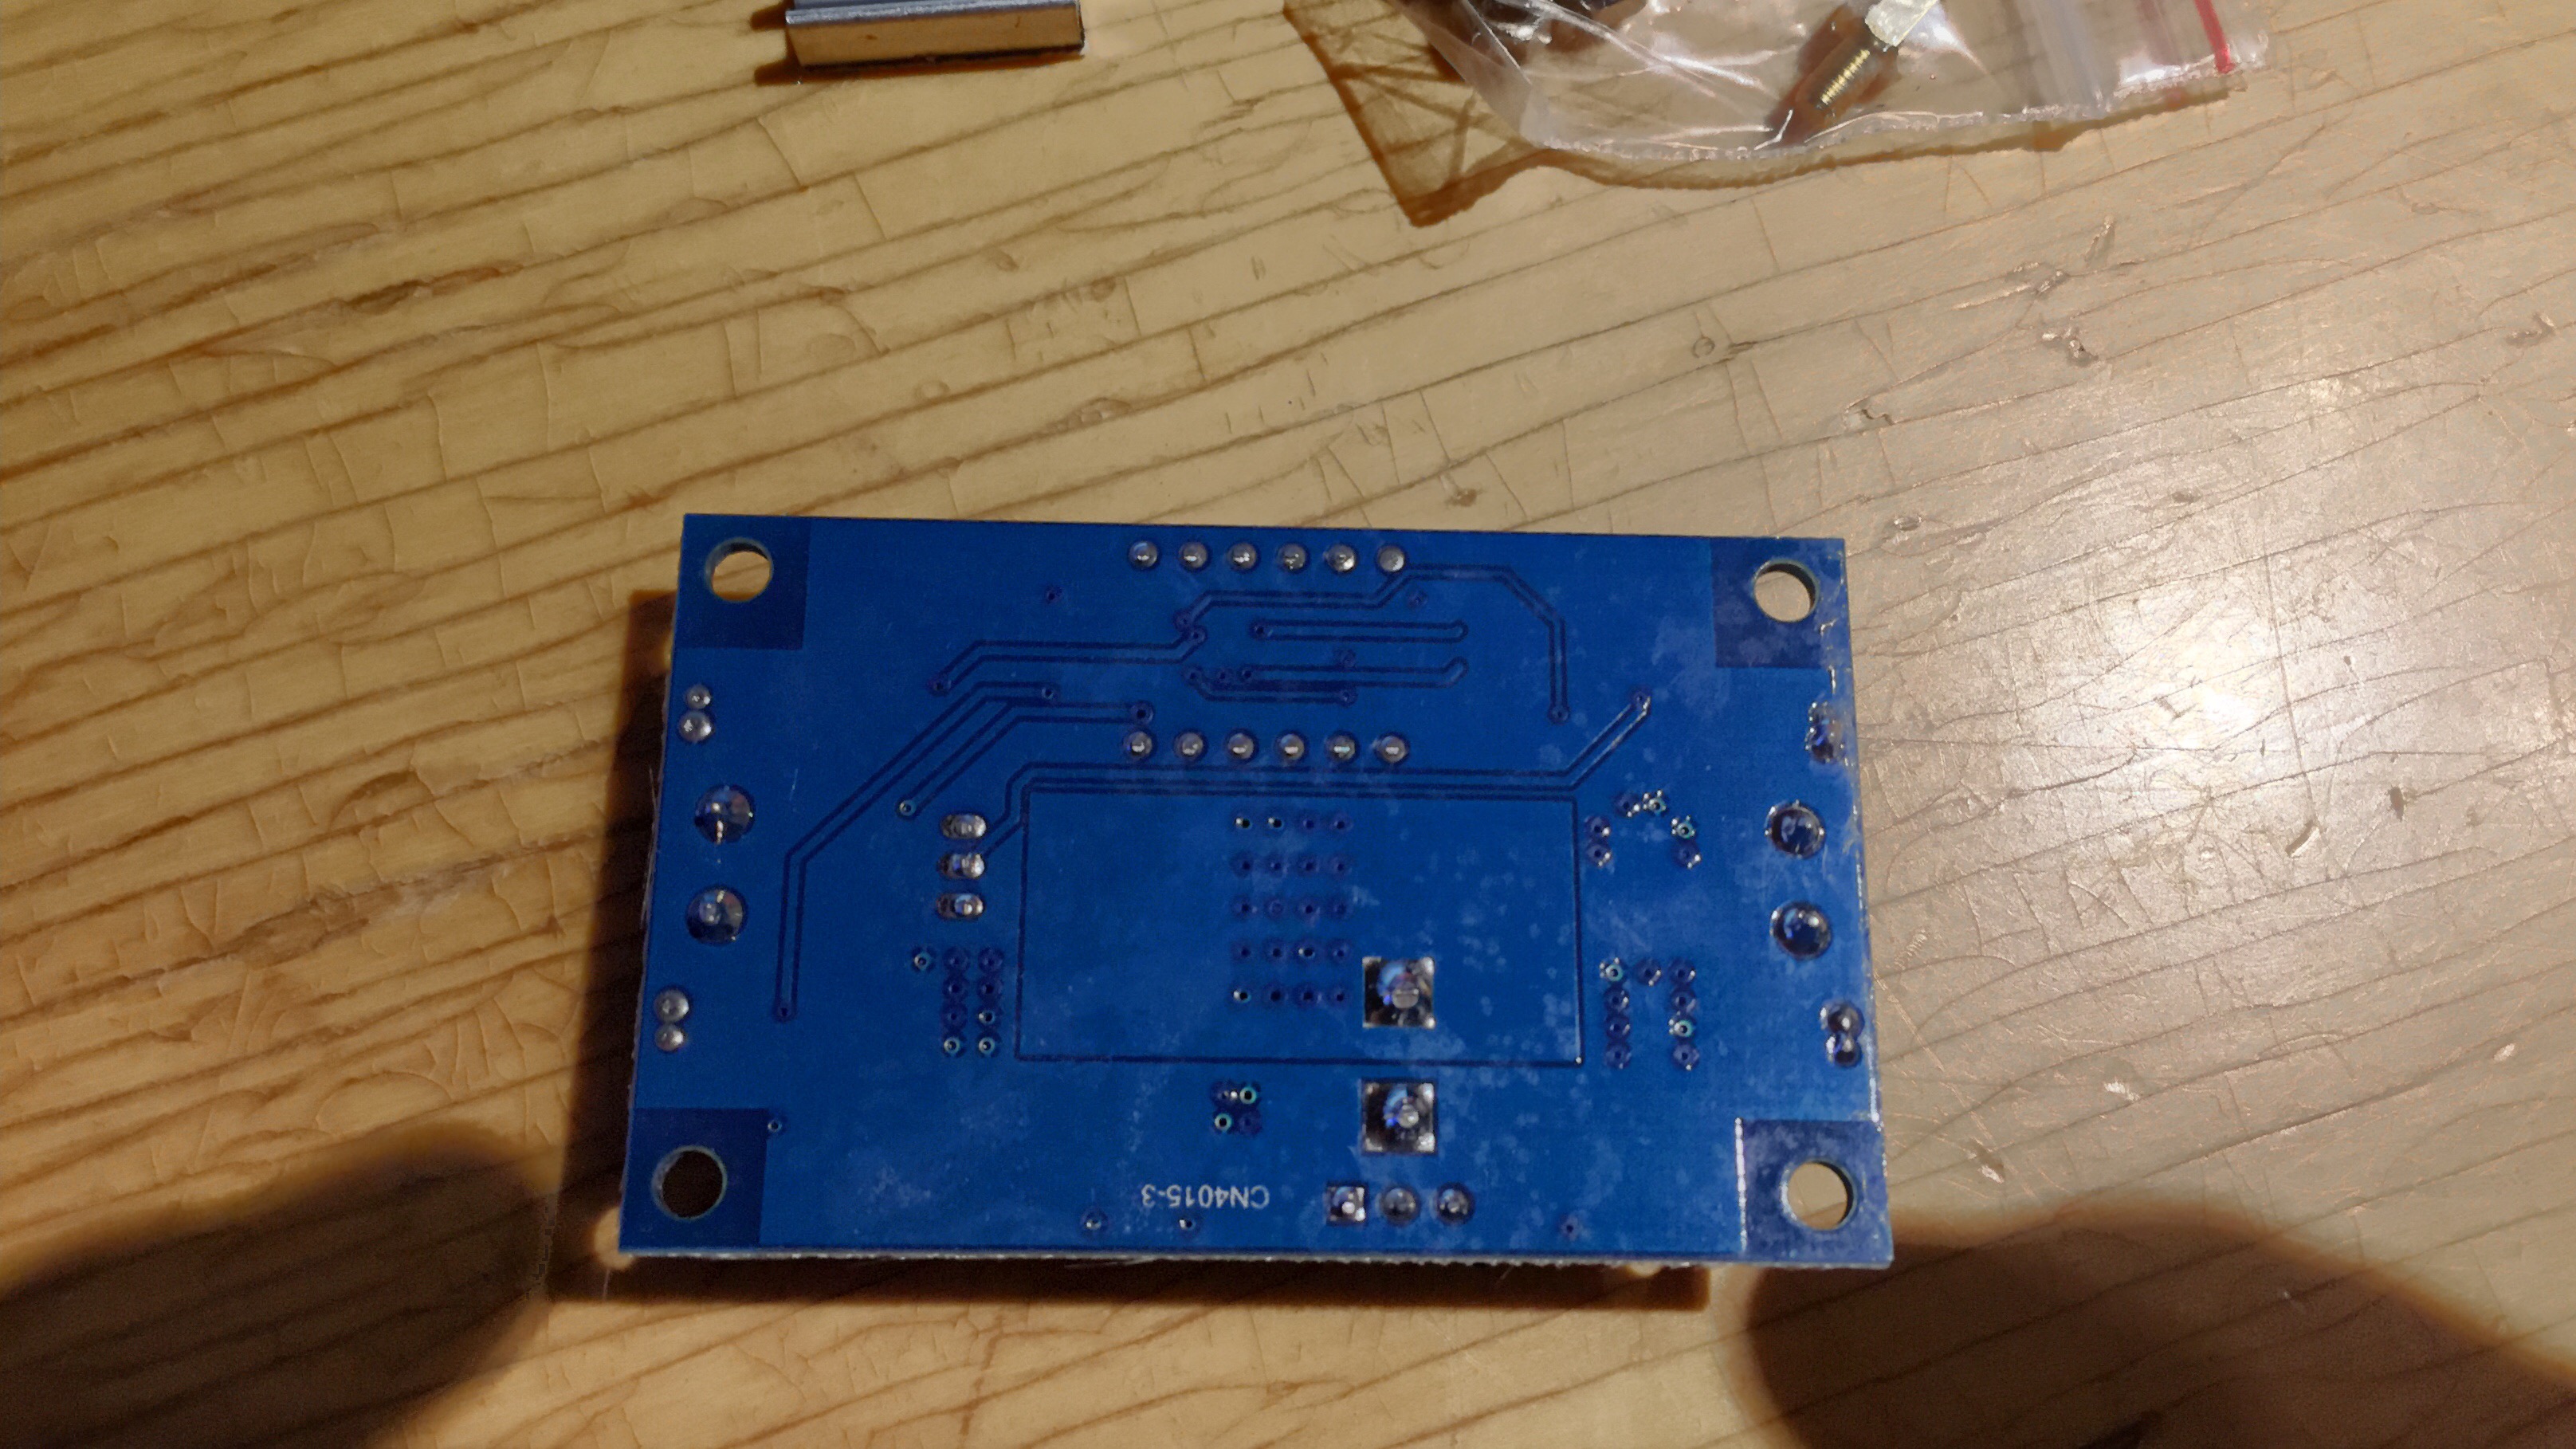
There was a extra component what i dident ordered

img_6192.jpg

It is step down converter 3A one, i know this because i have few of them already 😀
Have no idea why it came on same packet, well it is free stuff, why not!

Earlier came

img_6199.jpg img_6200.jpg

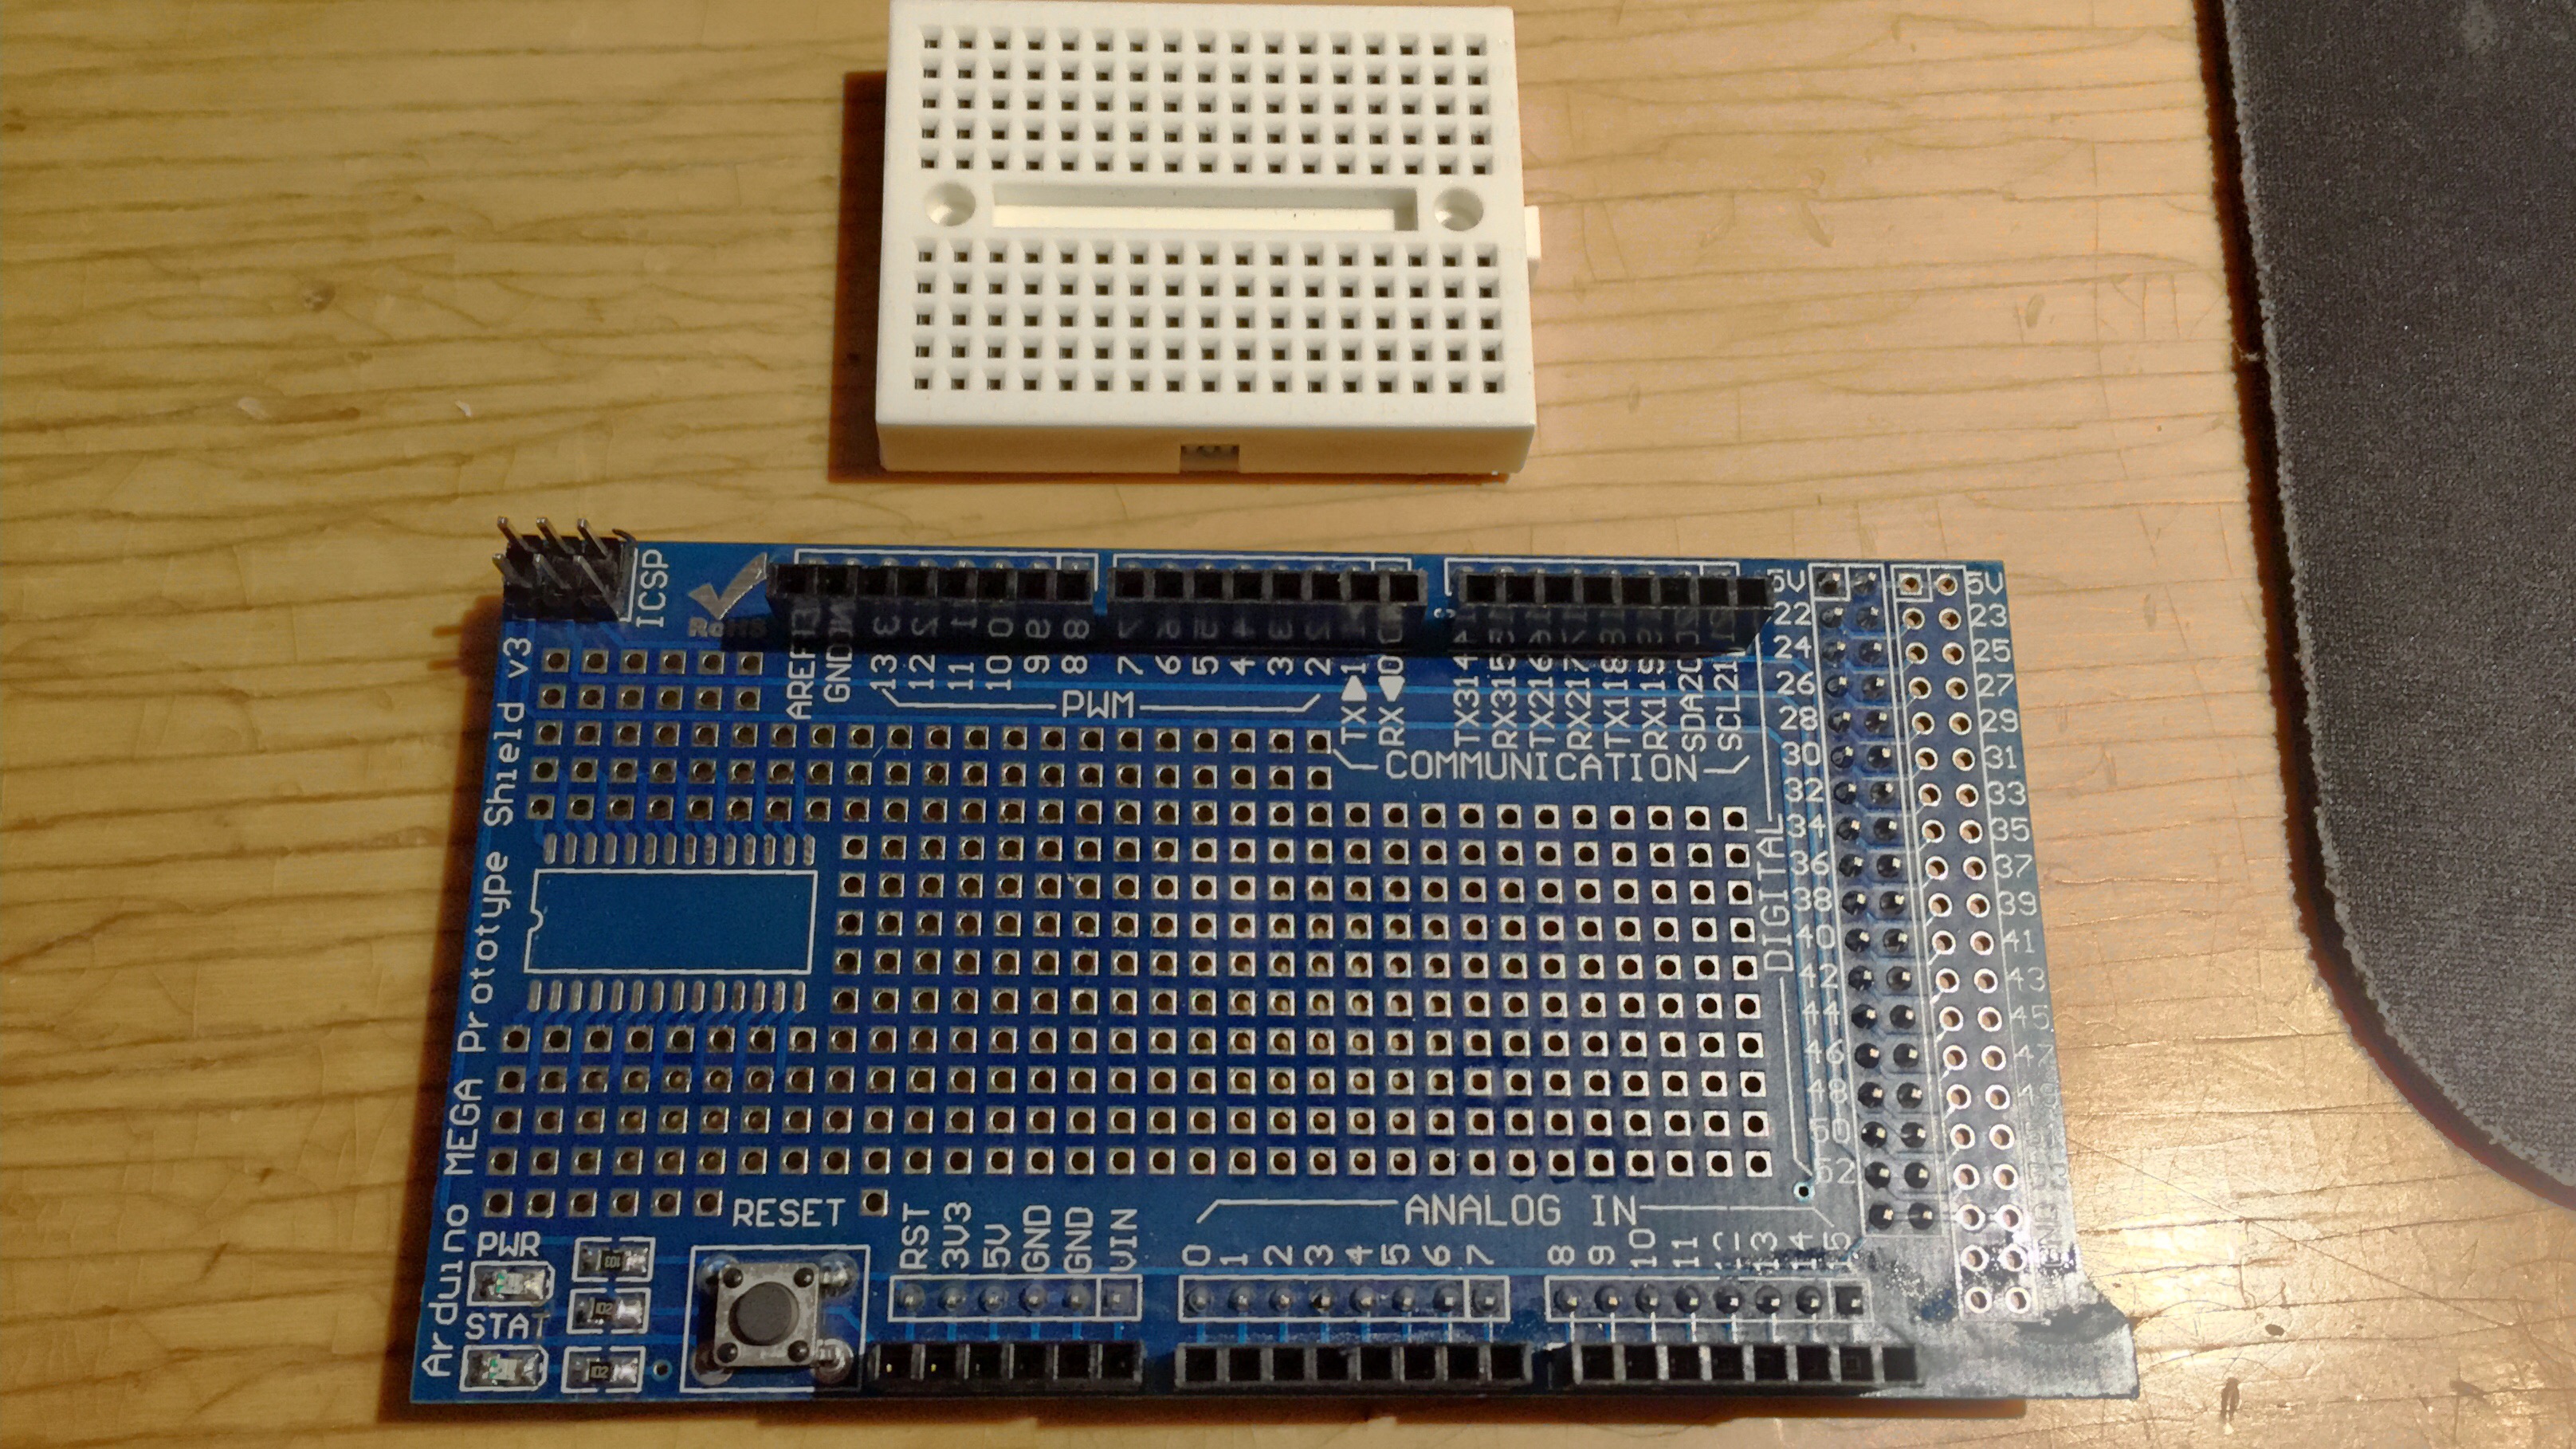
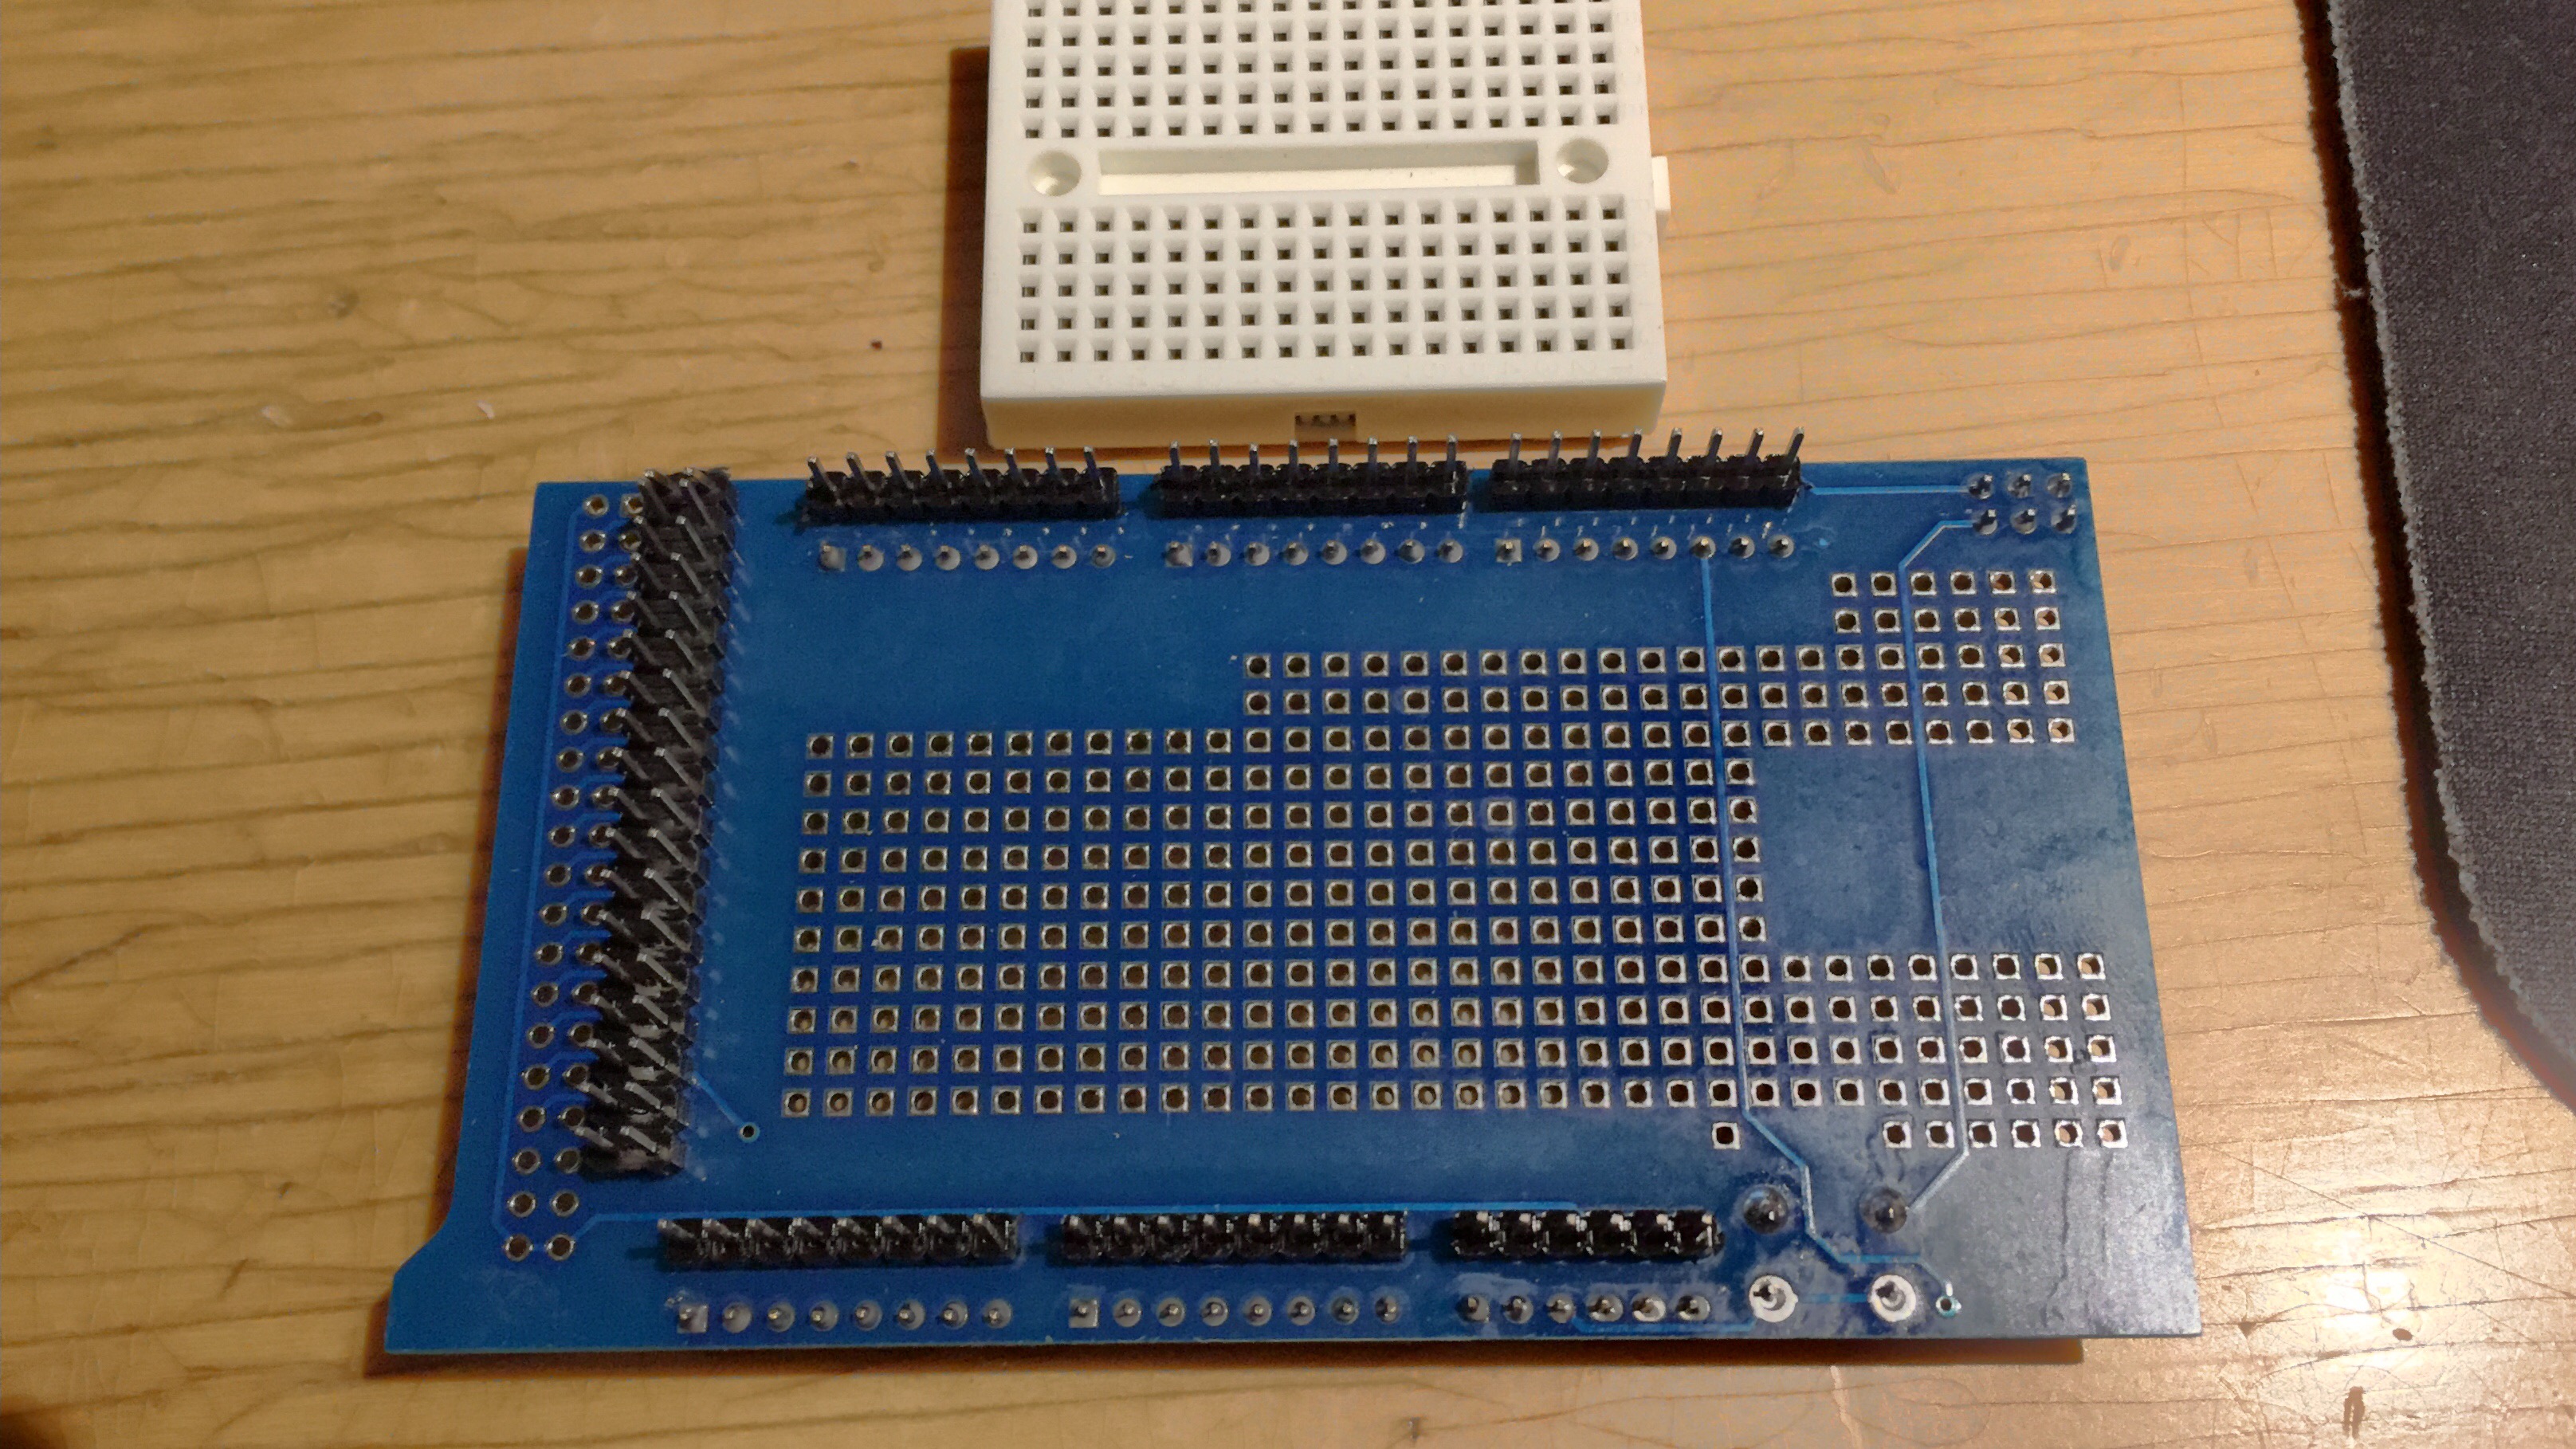
A proto board for MEGA (Arduino)
Oh yeah i need this for doing connections for HAL-Sensors and current transformers.

Seems it came with a small white proto board, what is not needed. its nice to have extra stuff 🙂 i don’t complaint. this white thing was part of the component so it belongs to that item.

Good cheap CLOUD storage up to 10T best cloud storage service

HUBIC Good backup space, works linux/mobile/windows/etc

logo

I have been using now about a year hubic cloud storage, it will give free 25Gig space for you. (been using free plan)

If you want more space, it will cost 50€ for a year or 5€/month for 10T. What makes cheapest cloud ever.

Hubic is part of OVH-Hosting its very big and trusted company, so this is risk-free. its best cloud backup service for the money.

If you are interested trying for free 25Gig account, do it here please, there is a referral program what gives you more space, what more friends you get.


QUICK TUTORIAL: Installing HUBIC on linux and mount a directory via mountpoint:
Im going trough very fast how you get hubic work on linux debian via mountpoint:

apt-get install gcc make curl libfuse-dev pkg-config libcurl4-openssl-dev libxml2-dev libssl-dev libjson-c-dev libmagic-dev
# IF YOU GET ERROR NOT FOUNT LIBJSON-C-DEV then Change it to libjson0-dev!
cd /tmp
wget https://github.com/TurboGit/hubicfuse/archive/master.zip
unzip master.zip
cd hubicfuse-master/
./configure
make
sudo make install

Setting up it:

Go to hubic my account -> setting -> developers -> Add an application -> add name some random text
hubic1

after you add those info press OK. then go details, you get this:

hubic2

Then continue on linux:

at the hubicfuse-master directory where you compiled the program there is a binary what will not install on system its called hubic_token.

./hubictoken

Fill the information:

hubic3

FILL EVERY QUESTION r -> r -> w -> wrd don’t leave it empty or it will FAIL!

now cut&paste those info to config file /root/.hubicfuse

nano /root/.hubicfuse

now mount it:

mkdir /mnt/hubic
hubicfuse /mnt/hubic -o noauto_cache,sync_read,allow_other
ls /mnt/hubic

its done! remember read readme of hubicfuse there is issues on root dir of cloud and renaming files, read the instructions.

REGISTER NOW HubiC it’s free!

If you like this, Please leave a comment 🙂

LG FLATRON L22ETG-WF Repair / Mod to LED back-light

Doing this post as English to other ppl understand as well.

POWER SUPPLY:

Okey i have this LG lcd screen what i repaired, there is switching power supply the caps, there was 5 of them what needed to change, there is plenty of instructions how-to change on this unit the parts, so im not going to write about that part. the power supply part num is: PLLM-M602A (15/5 volts) the 604 i think is 12volt version.

IMG_0648 after changing caps i got power to VGA control board.


POWER SUPPLY PROBLEM STILL EXISTS:

After changing caps i put everything up and just connected to pc to test it out and noticed there is no back-light, so i started to search that problem.
After looking abit i found a burned N-Switch there, part no: P2103NVG (found this info on russian forum by google). Well i started to thing where the hell i gonna get this part.. this problem is found on inverter side what powers up CFFL back-light lamps, so everything else was working fine. Already this monitor started to take more time than usual so i ended up on easier solution, convert the whole thing for use LED as back-light.

IMG_0645 pic of burned fet, i removed it later to not cause anymore problems


CONVERSION PROCESS PART: dismantling everything

Taking all apart, there is alot videos on youtube about opening a LG LCD monitor. its not rocket science i did not even look the instructions..

IMG_0653 IMG_0655 IMG_0650 IMG_0649 IMG_0652 IMG_0651 IMG_0646 IMG_0647


CONVERSION PROCESS PART: Installing LED

testing that lcd is working first then install the leds.
LED are from DX.COM SKU number is 65715 the color is 7000k and wattage is 4,8W/meter

IMG_0659 IMG_0660 IMG_0661 IMG_0662 IMG_0663 IMG_0664


CONVERSION PROCESS PART: Power to LED

This was tricky one, i know already its not perfect.
Connected 7812 regulator with a diode(on gnd) on +15Volt rail to get 12,6volts output for the leds,
using a transistor BD129 to cut power from led when screen is on power safe.
Connected first on “ON” line the transistor signal, but after i changed to rail named DIM so i guess i can dim light from menu of screen, and yes it works. only problem is this transistor base current is alot even a 800 ohm resistor is not enuf, i need later to reconstruct this part.
Other thing lack of current on base there is only 11volt on output this can be fixed in 3 ways: 1. add more diodes to gnd of regulator to raise its voltage. 2. add second transistor to drive the power transistor. 3 change to power fet. Best method is get voltage up to 13volts to get best light.

IMG_0671


CONVERSION PROCESS PART: final product

on images you will notice the led-strip there, its not smooth on bottom and top of monitor, this can be fixed by adding other type of strip or adding something to get light better. For me is ok.

IMG_0673 IMG_0676 IMG_0675 IMG_0674


FINAL WORDS

was it fun?
YES 🙂

was it worth?
Took lot time, but only parts there what really cost money was caps all other parts was already existing.

This was good learning project. i hope this info will help someone else.